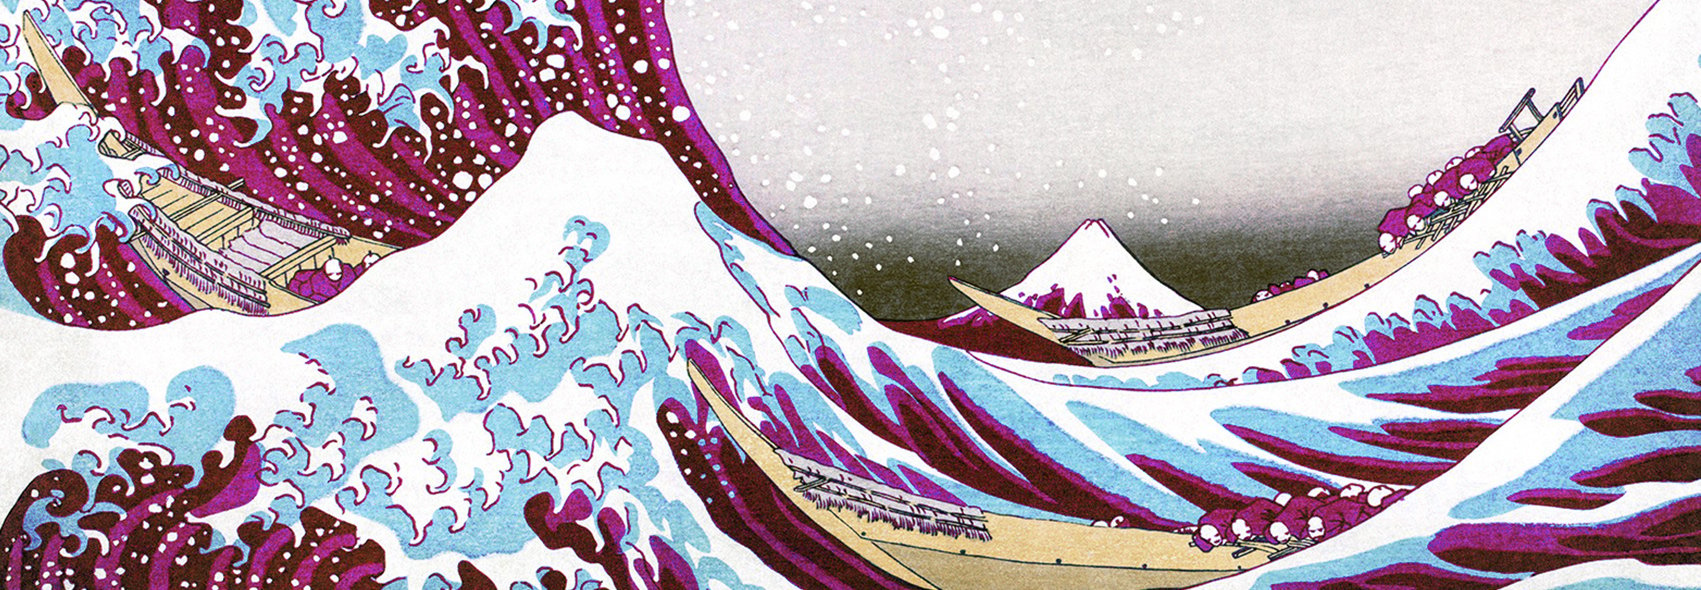
Sometimes the artwork you want to print isn't quite the colour you would like. This guide will show you 3 ways to get the colours you truly want from your images.
3 Ways to Recolour Your Artwork
So you have a piece of artwork you would like to print, but the image is largely blue, and you need it to match your red living room - well what can you do?
There are many, many ways of recolouring your artwork, and which method is best largely depends on the type of artwork you are recolouring.
This article will go through 3 different ways of recolouring artwork which should hopefully help you to get the colours you are after.
Contents
- Introduction
- Method 1: Selective Hue Saturation Adjustment
- Source Image
- Create a hue/saturation adjustment layer
- Select the colour you want to replace
- Change the Hue
- Result
Introduction
All the methods outlined in this article will be done using Photoshop, but where possible it will also be shown using free image editing tools.
One particular free image editing tool we like to use is Photopea. Photopea works in your browser, and for simple image editing makes a great replacement for Photoshop, and doesn’t even require you to install anything.
You will often find that the instructions for Photoshop will apply 1:1 to Photopea.
Method 1: Selective Hue Saturation Adjustment
This method is suitable for many different types of artwork, from graphics to photographs to illustrations - it’s extremely flexible and produces great, natural looking results.
Source Image
The source image I’m going to be using for this demonstration is “The Great Wave off Kanagawa (神奈川沖浪裏)” by Hokusai:
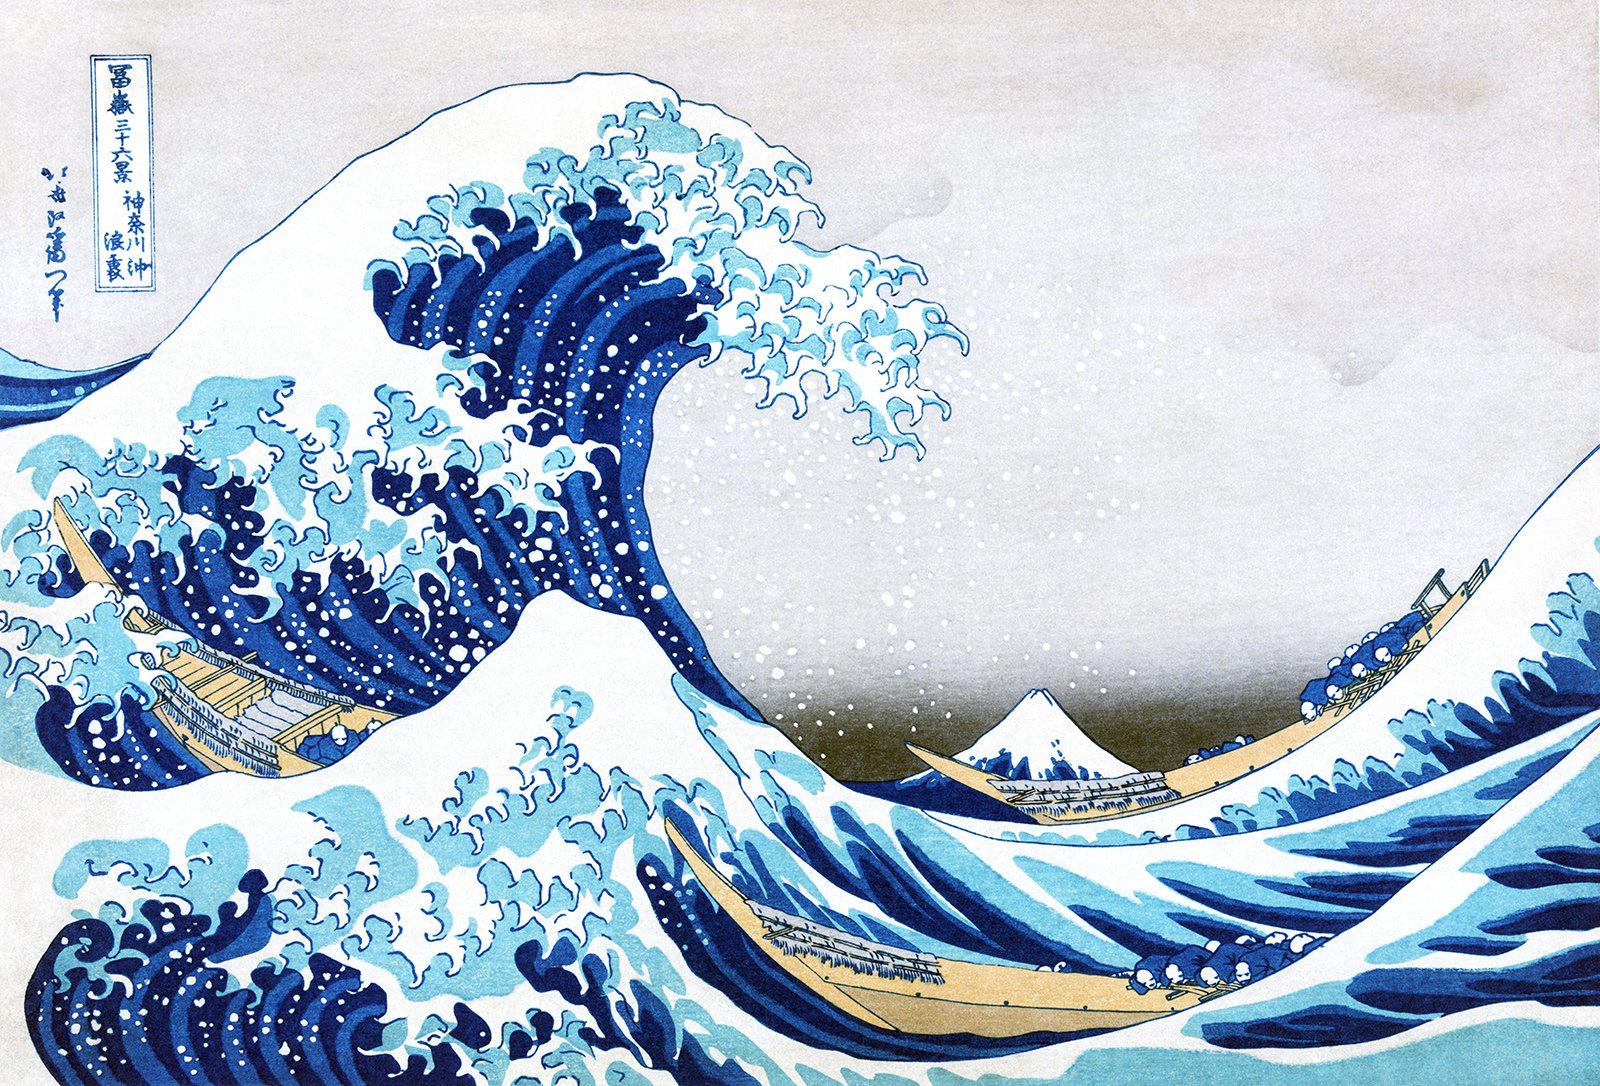
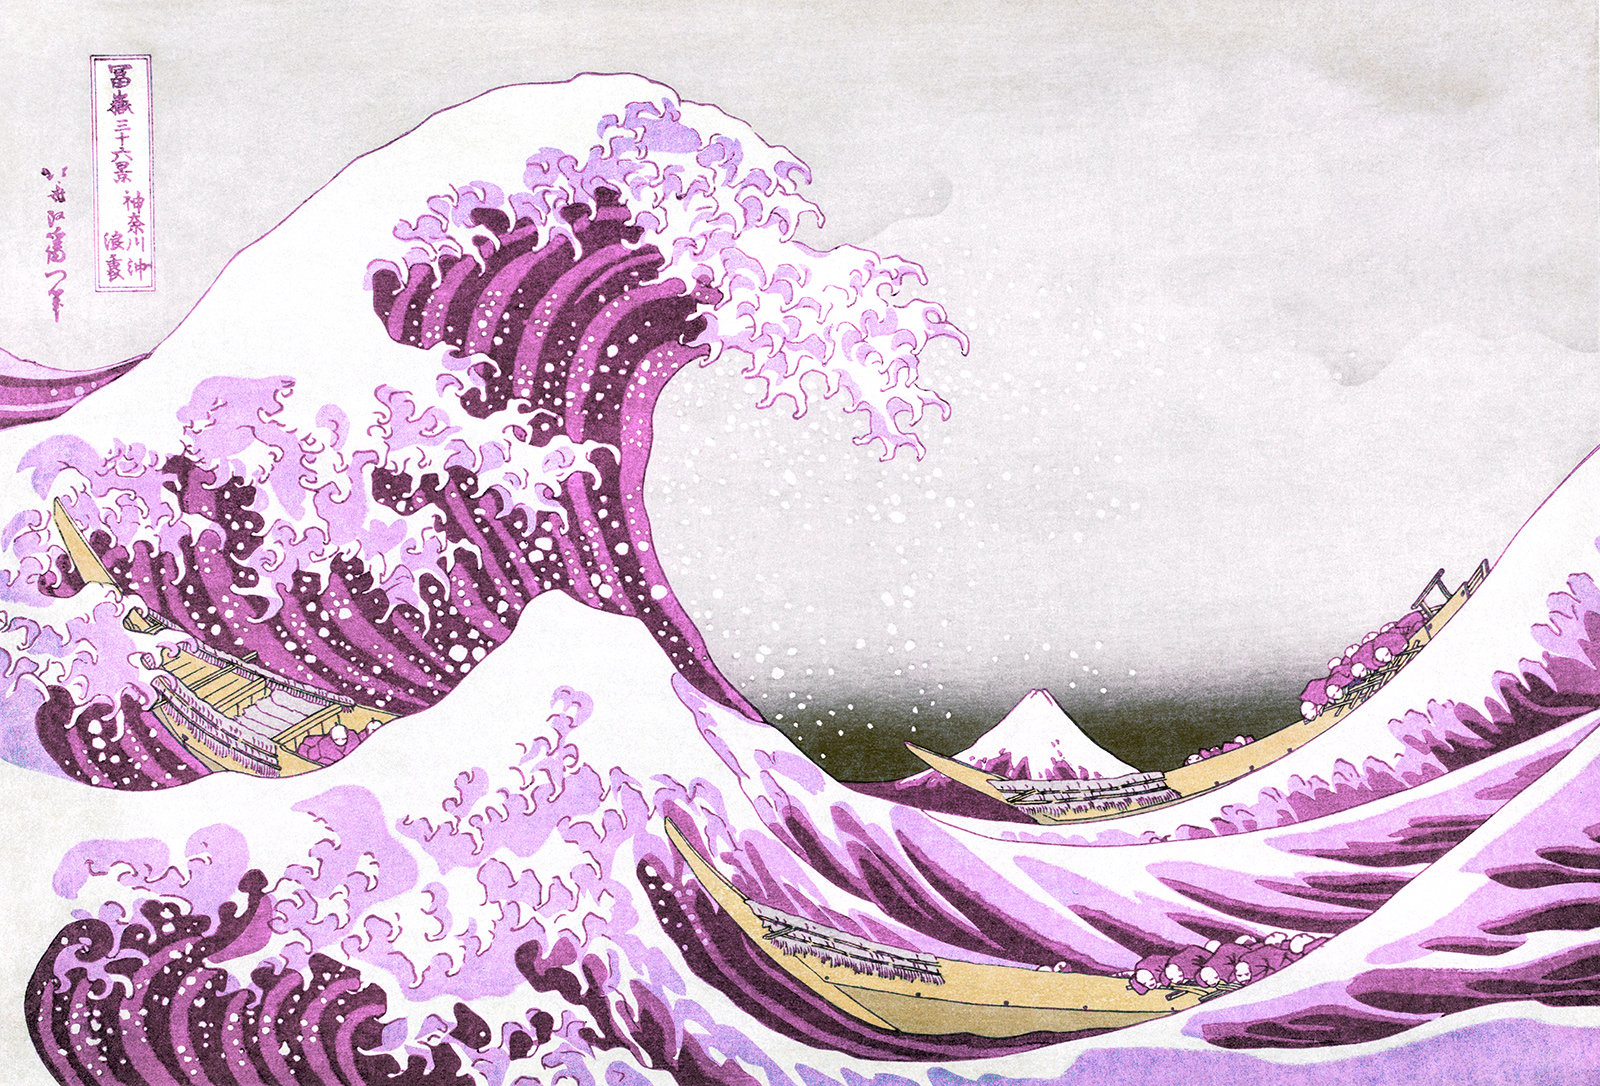
I’m going to try and change the look of the image by changing the waves to a pink colour.
Start by opening the image in Photoshop / Photopea.
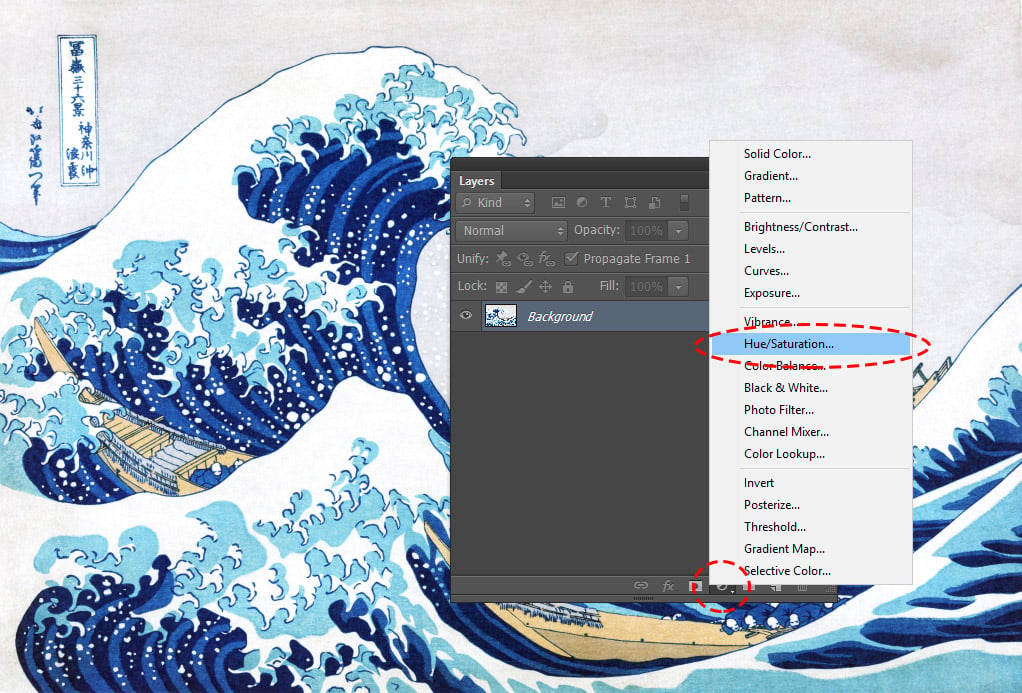
Create a hue/saturation adjustment layer
Go to the layers palette and click the half black/white circle at the bottom to open the adjustment layer menu.
Create a “Hue/Saturation” adjustment layer.
Select the colour you want to replace
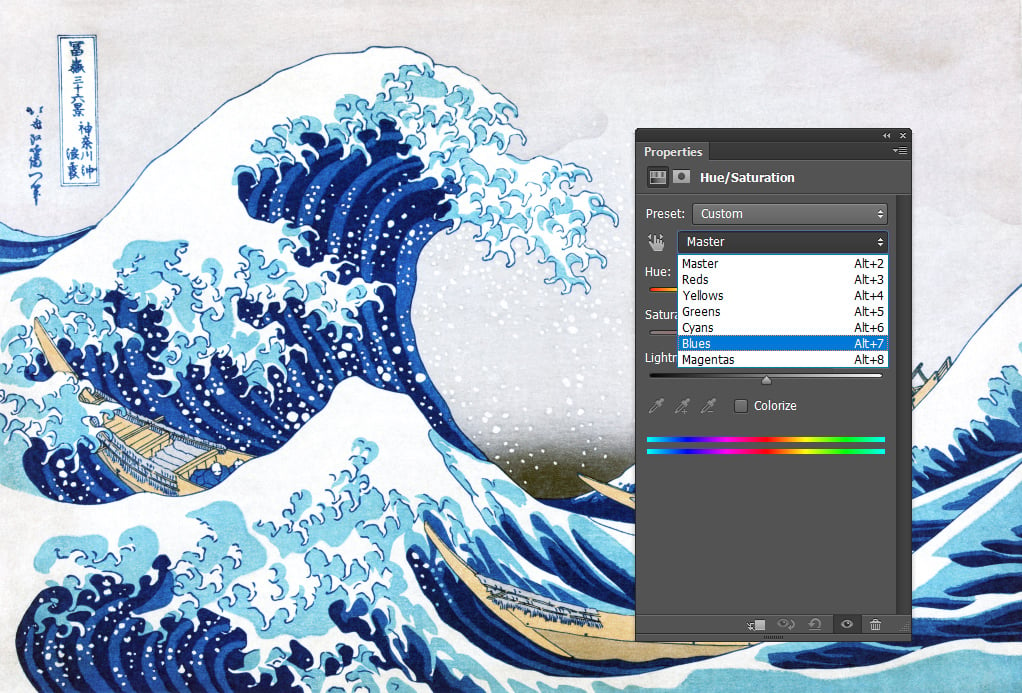
In the adjustment layer properties pane, select the colour that you would like to replace.
By default, ‘Master’ is selected. Go ahead and change this to the colour you are hoping to change (in my case, blue).
Change the Hue
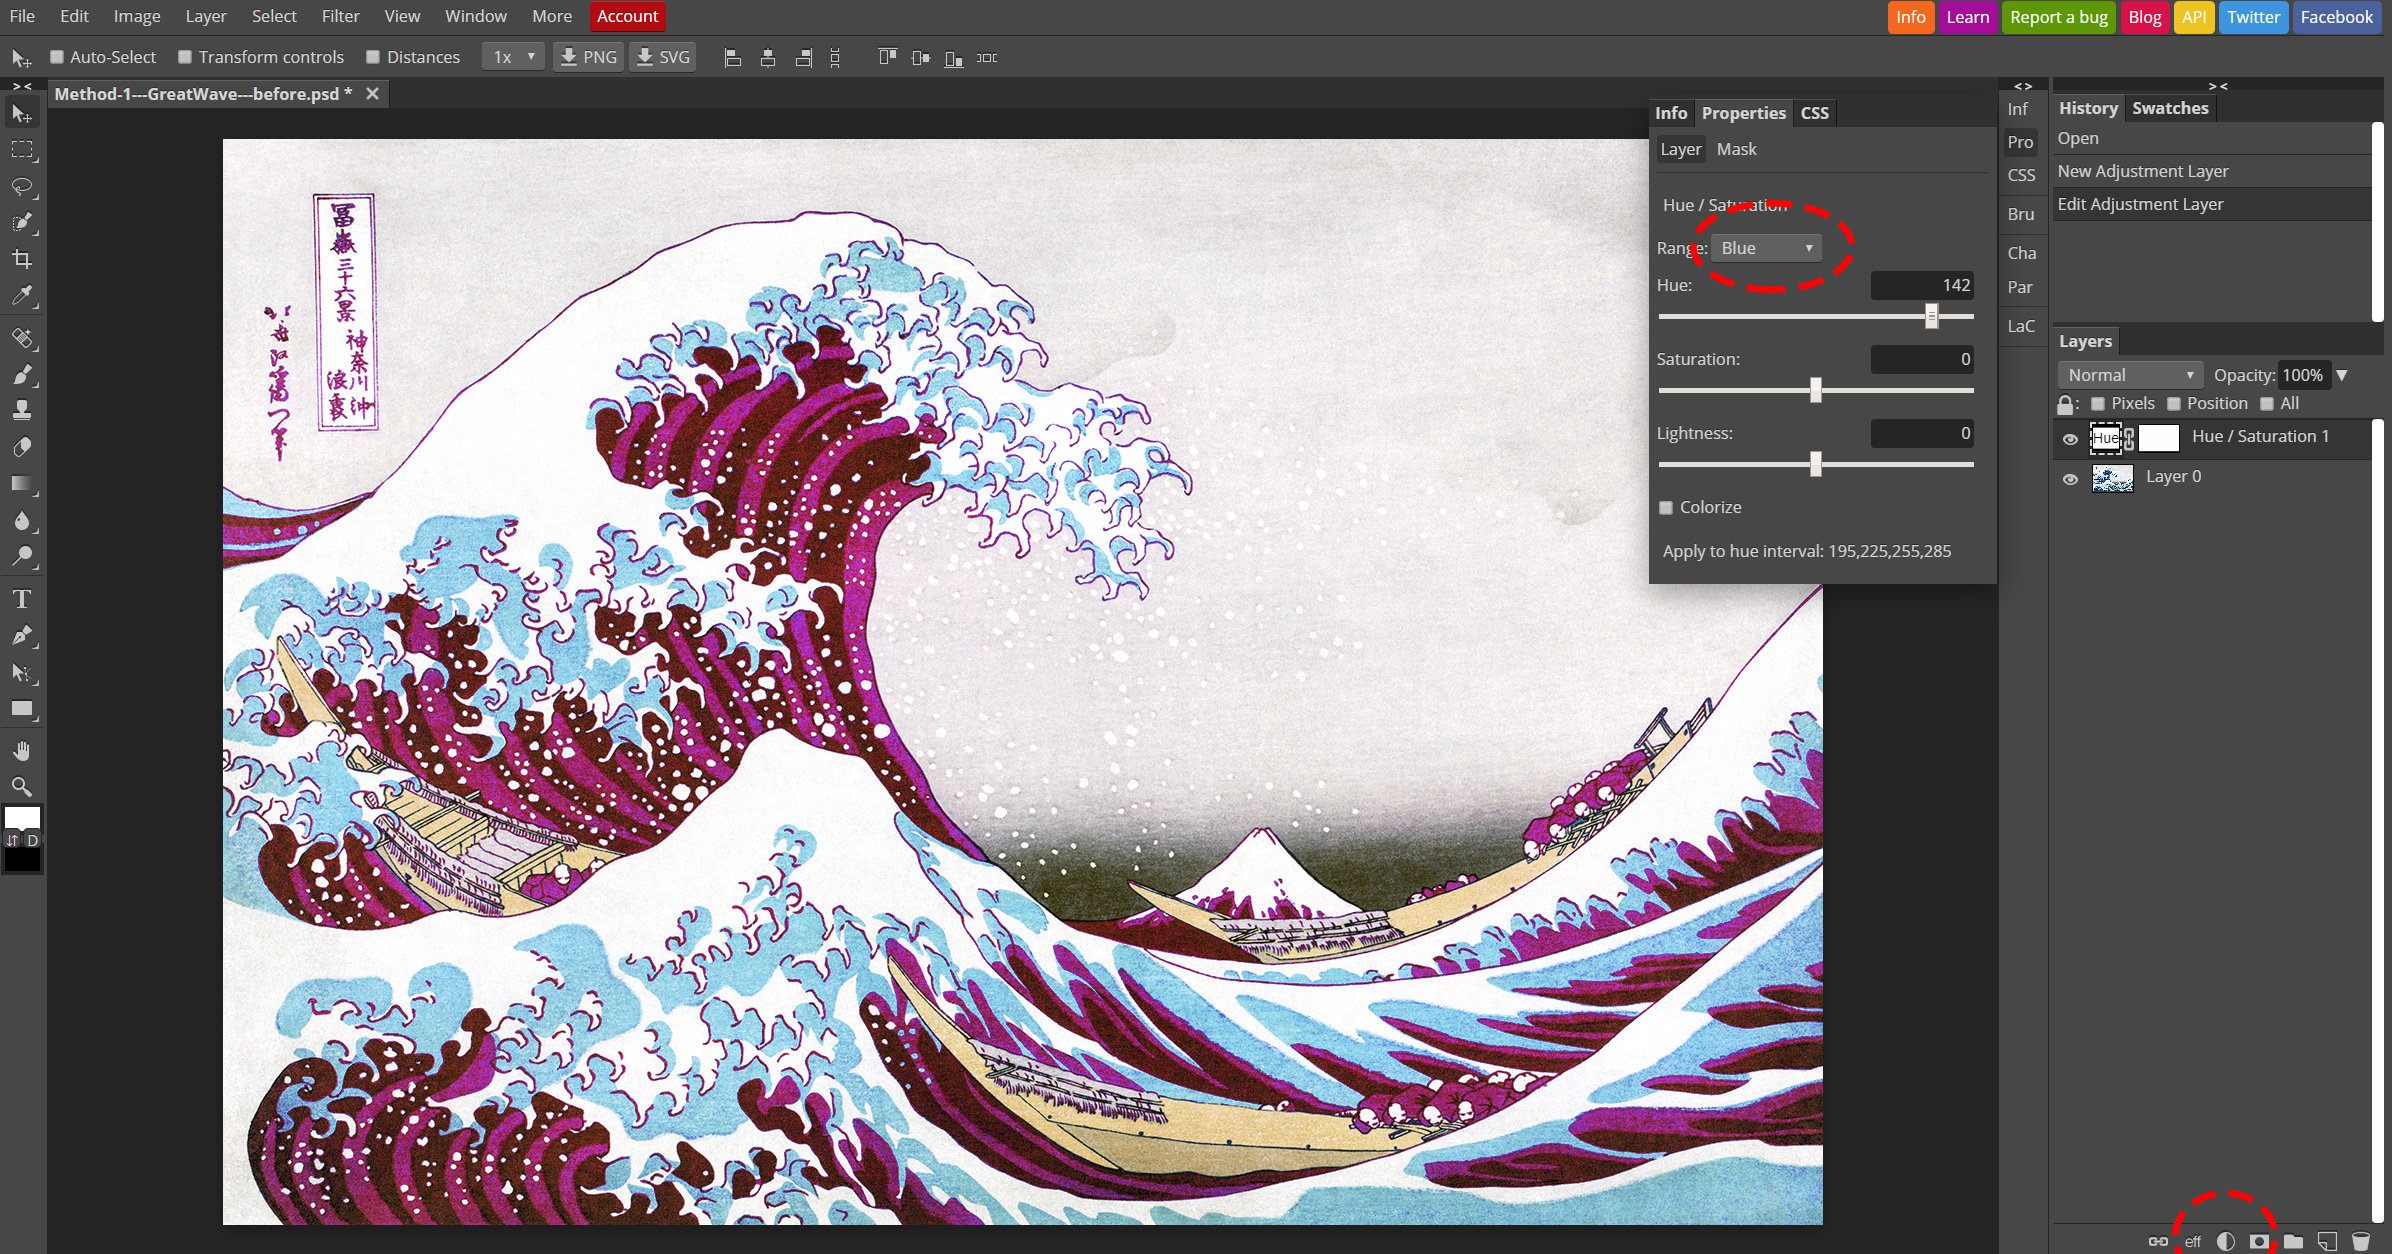
You can now use the ‘Hue’ adjustment slider to change the colour from blue to anything you desire. In this case, I’m going to change the waves from blue to pink.
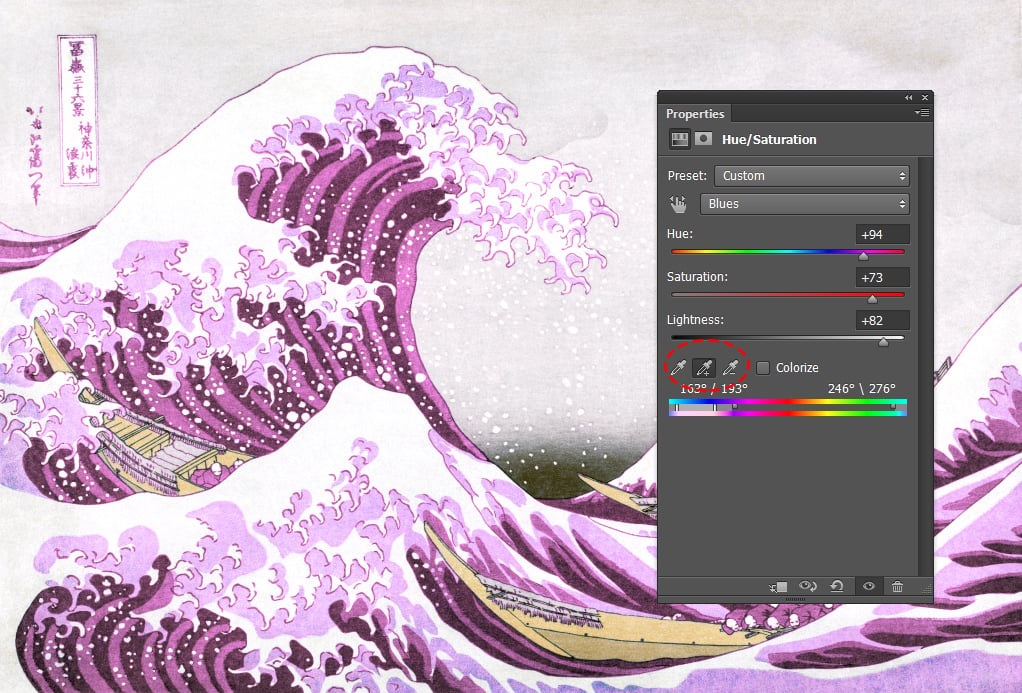
You can fine tune the colours you would like to replace in Photoshop by using the eye dropper tool on the properties tab to select the colour in your image you would like to replace.
You can also play with the saturation and lightness to futher shift towards the colour you are after.
The steps to do this in Photopea are exactly the same, and produce very similar results:
Result
Here is the final result:
It also works great for photos
Method 2: Colorize Hue Saturation Adjustment
This method is best suited for images where you want to change the colour of the whole image.
Source Image
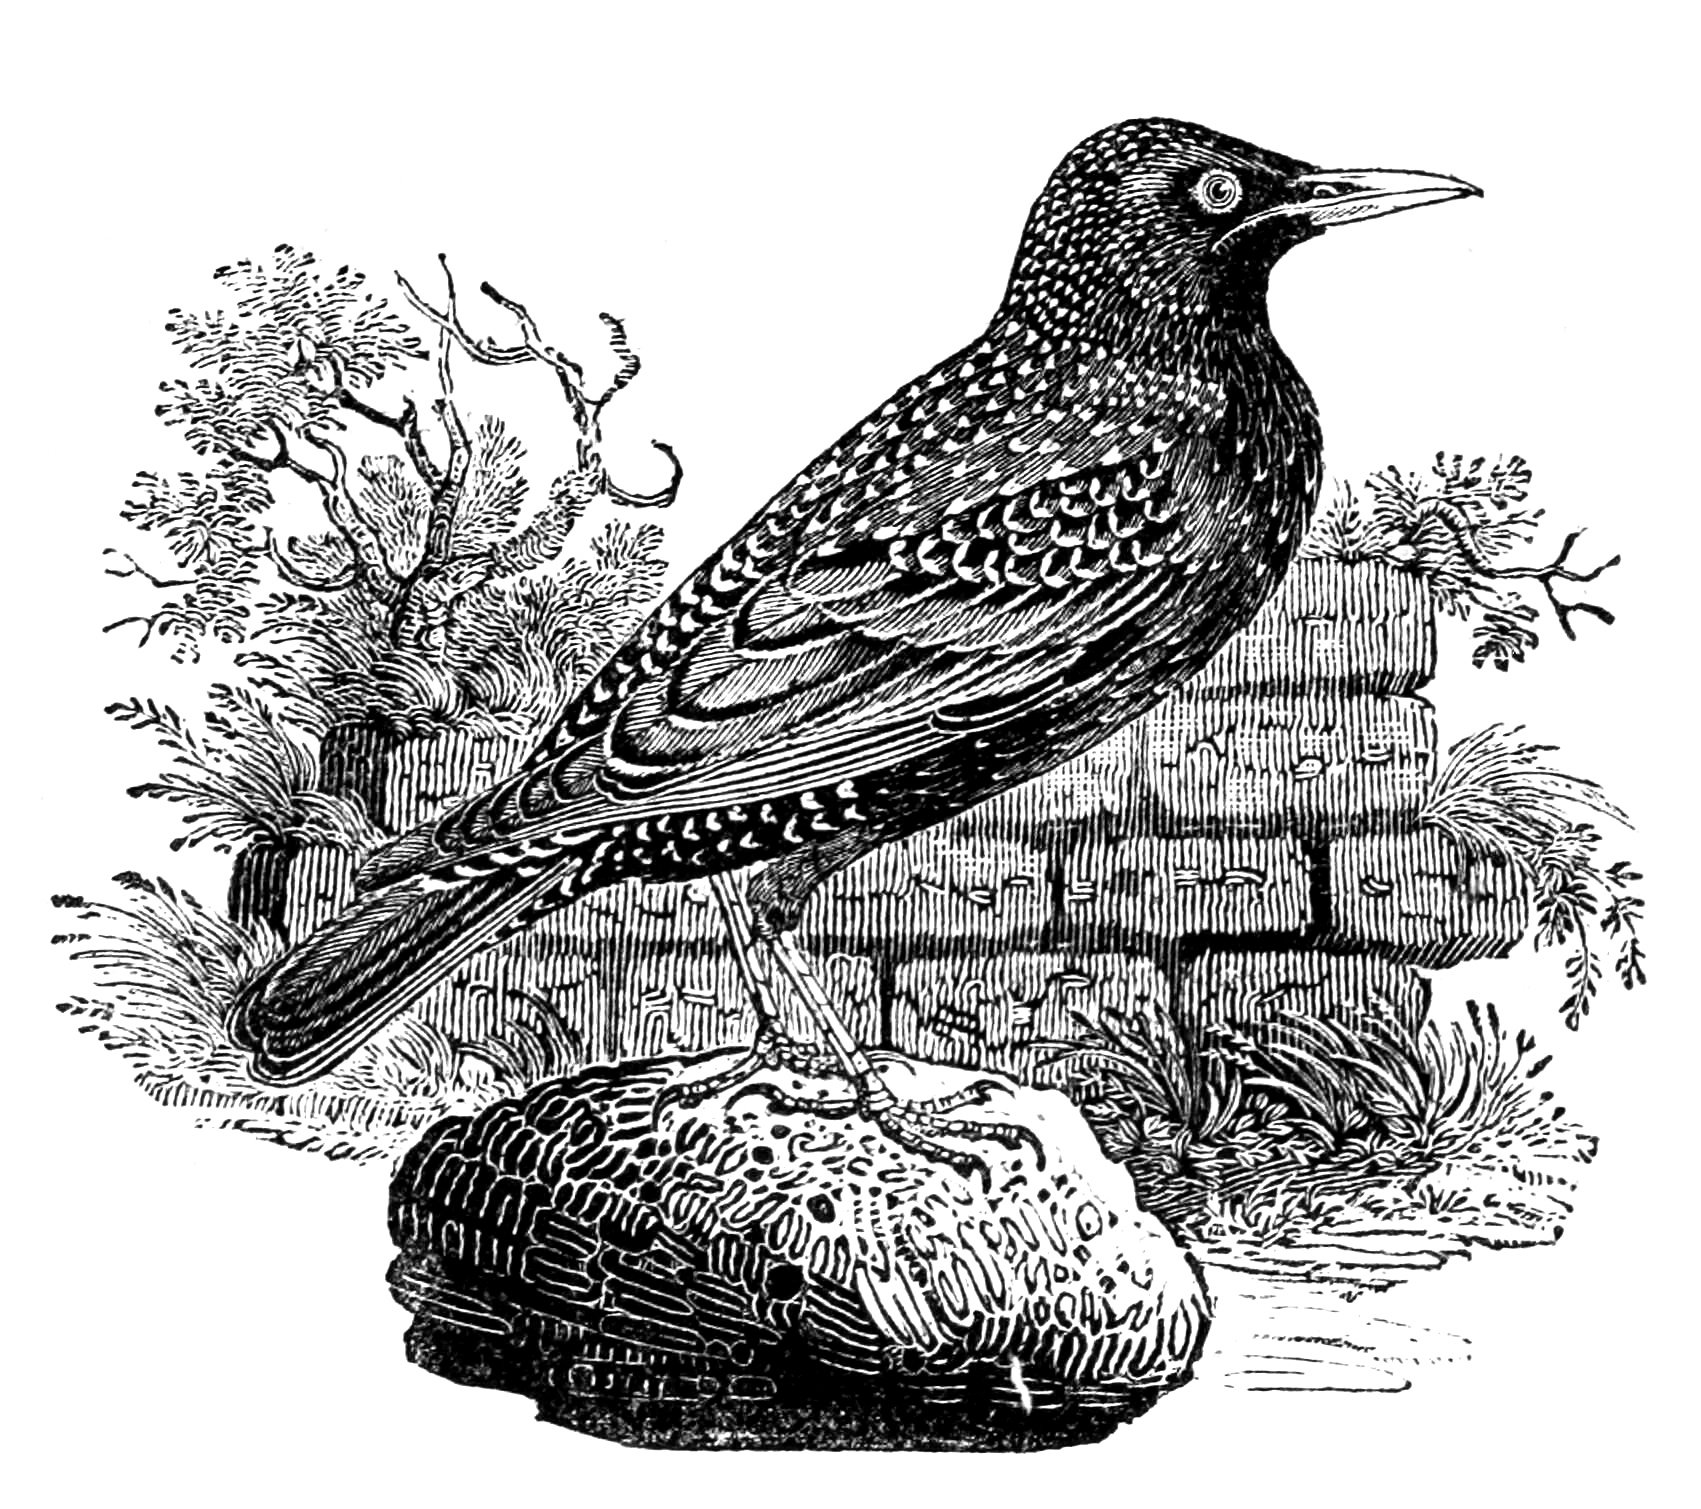
I’m going to be using this illustration of a blackbird for this example:
Start by opening the image in Photoshop / Photopea.
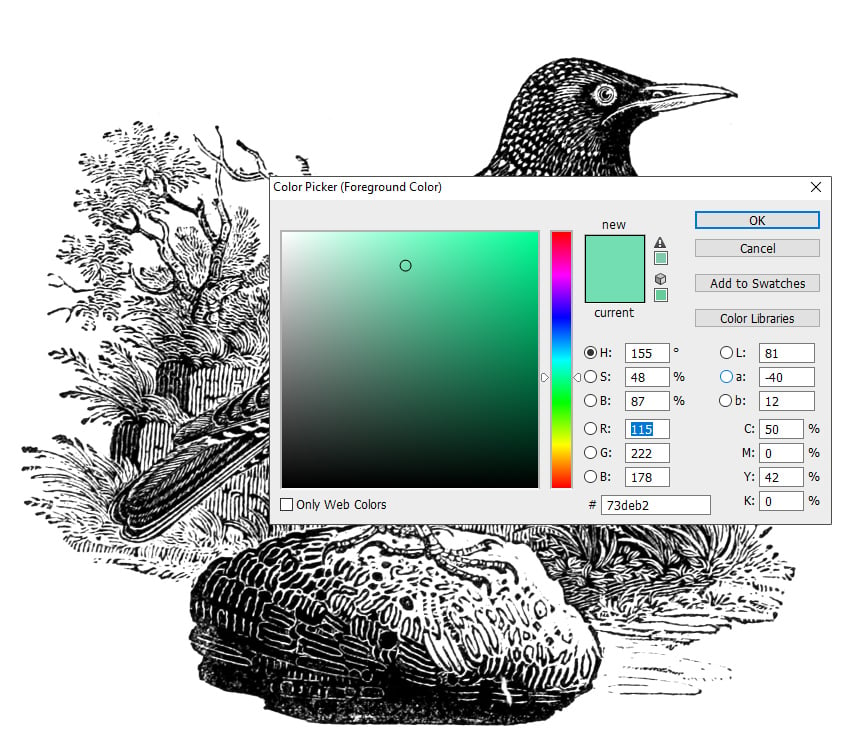
Select Your Colour
Select the colour you would like to change your artwork to as your foreground colour. By double clicking on the upper rectangle on the colour palette, usually found to the far left in photoshop.
You will then be presented with a colour picker:
Create a hue/saturation adjustment layer
Go to the layers palette and click the half black/white circle at the bottom to open the adjustment layer menu.
Create a “Hue/Saturation” adjustment layer.
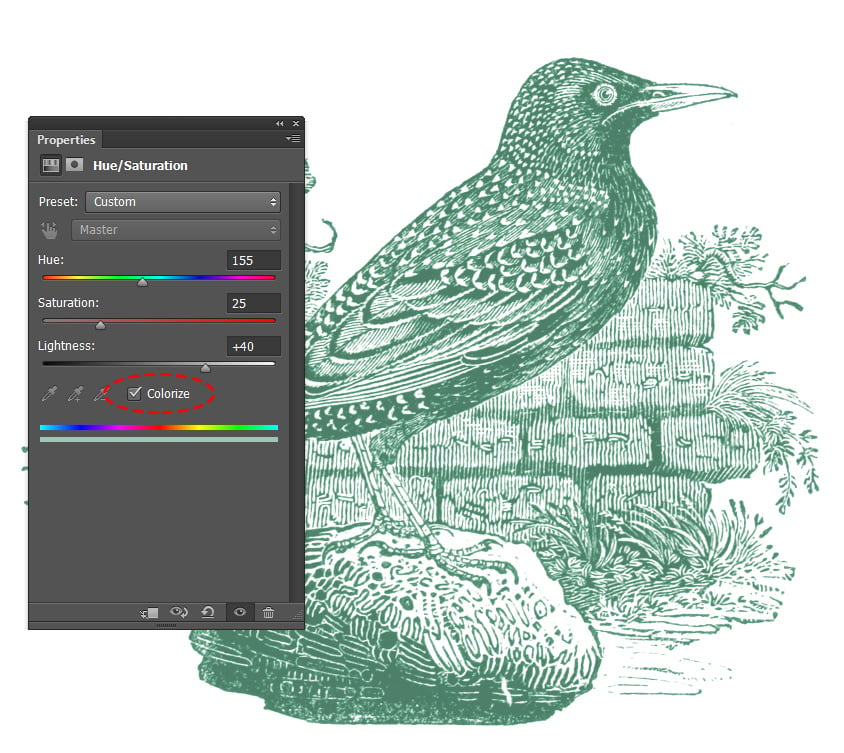
Tick the ‘Colorize’ box, and you should see your image transform.
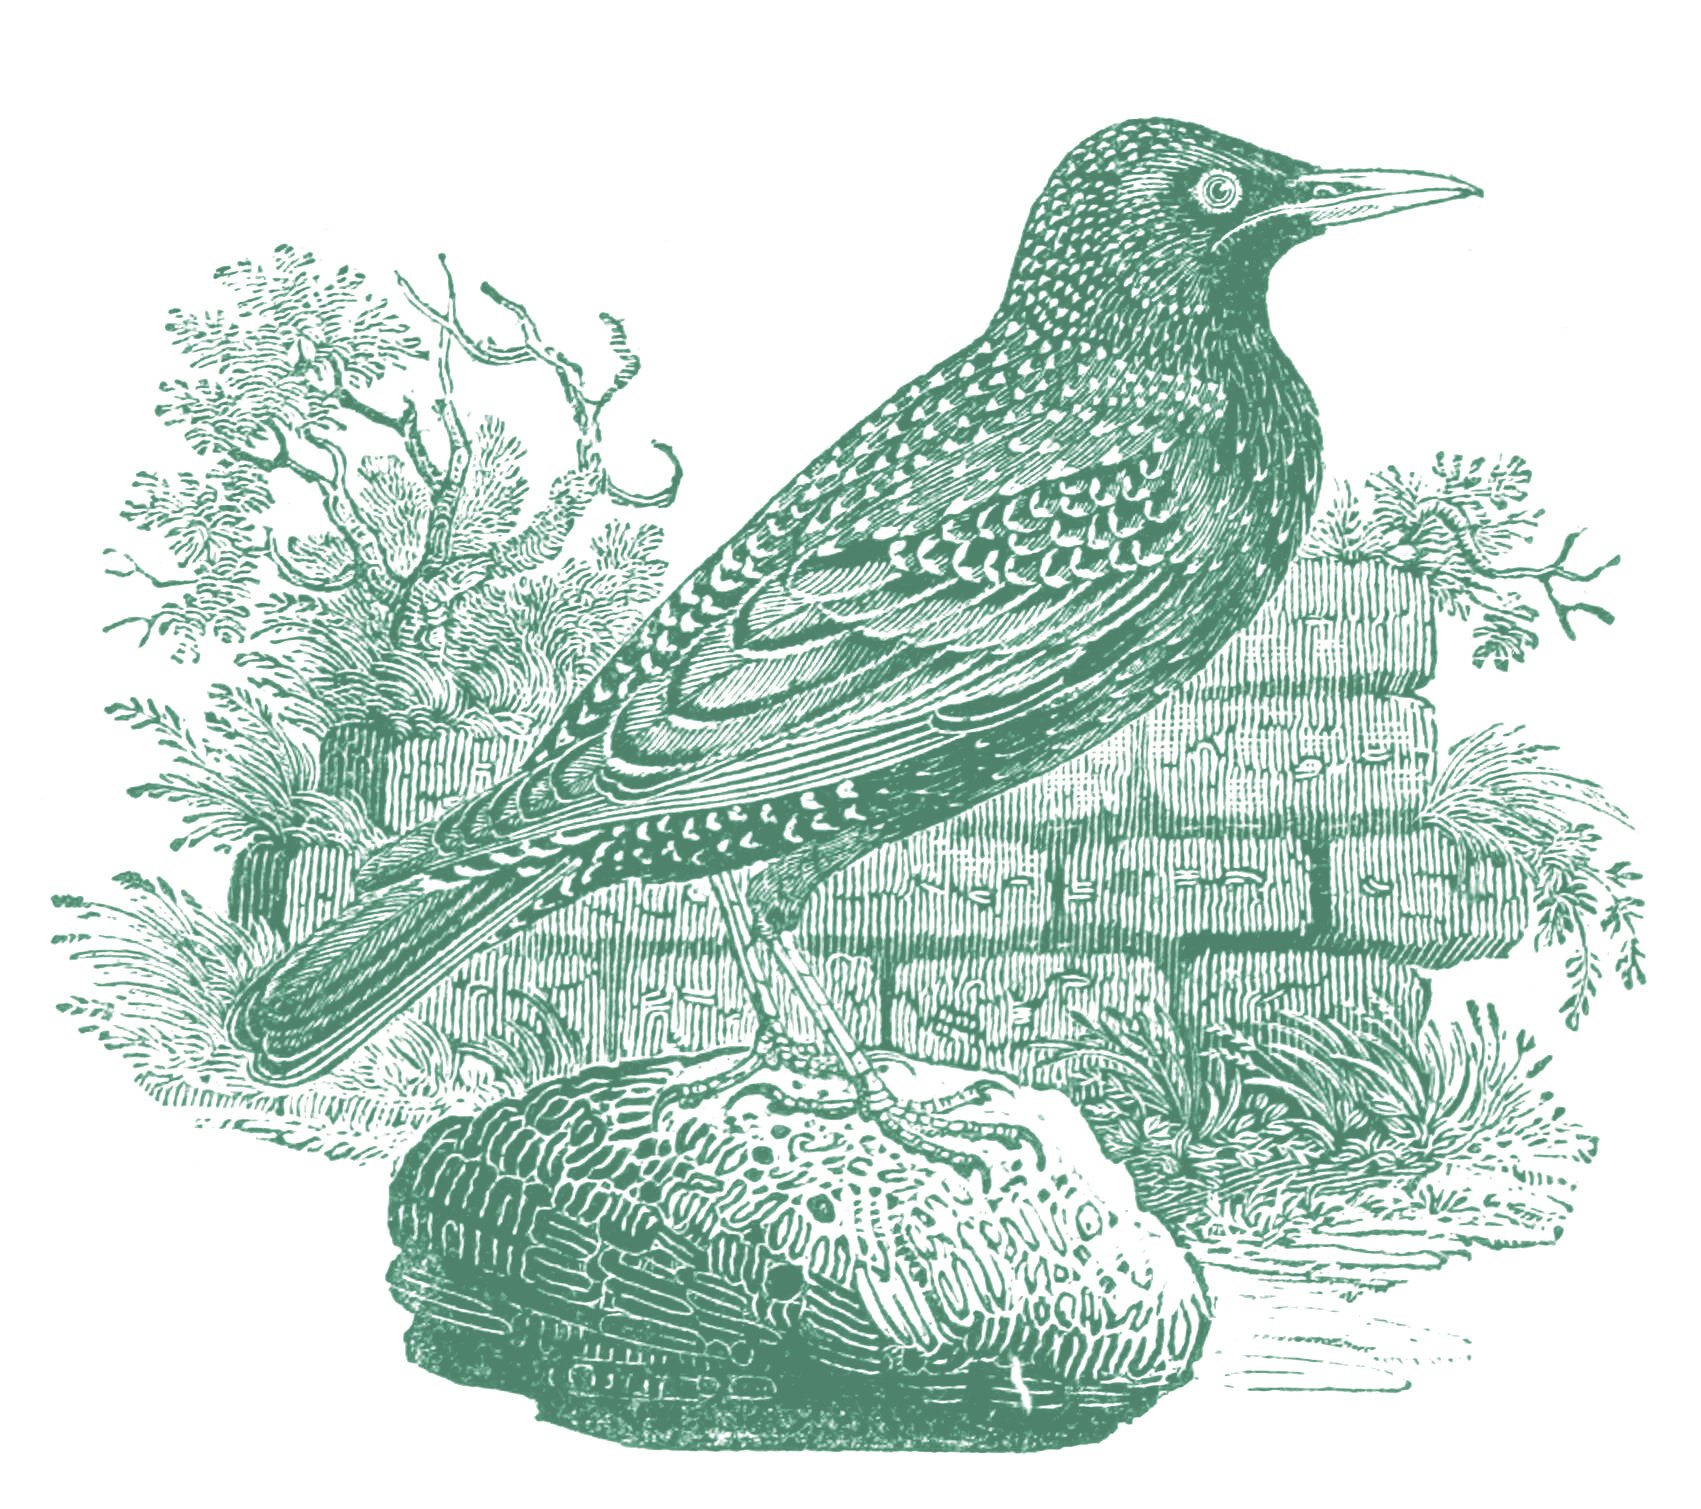
Result
Here is the final result:
Method 3: Solid Colour Blend
If the above two methods do not work for you, then giving this method a go may be worth a try.
This method works best when you want to replace multiple colours, or the colours are similar to other colours in the image and you need to be very precise.
It is hard to get good results with this method, but it can pay off.
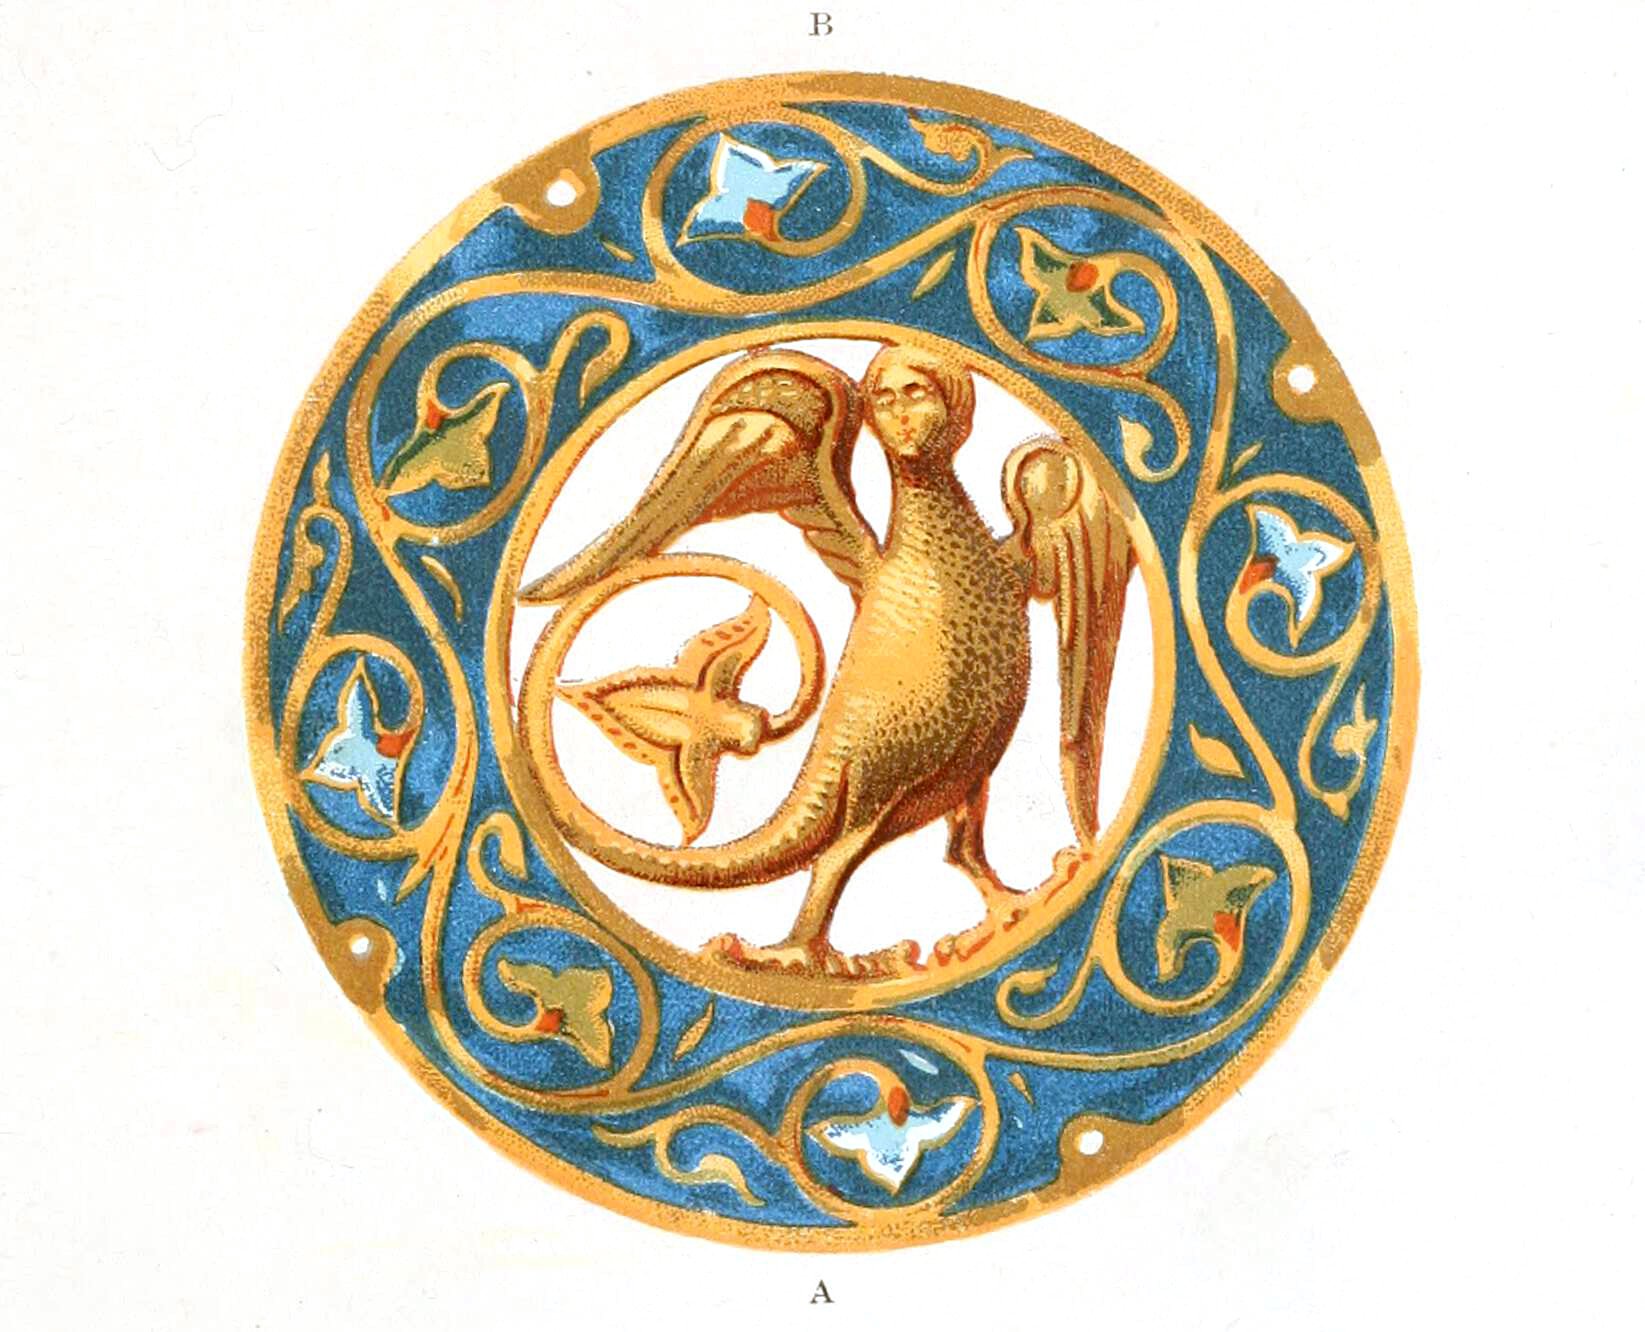
Source Image
I’m going to be using this illustration of a blackbird for this example:
Start by opening the image in Photoshop / Photopea.
Select Colour Range
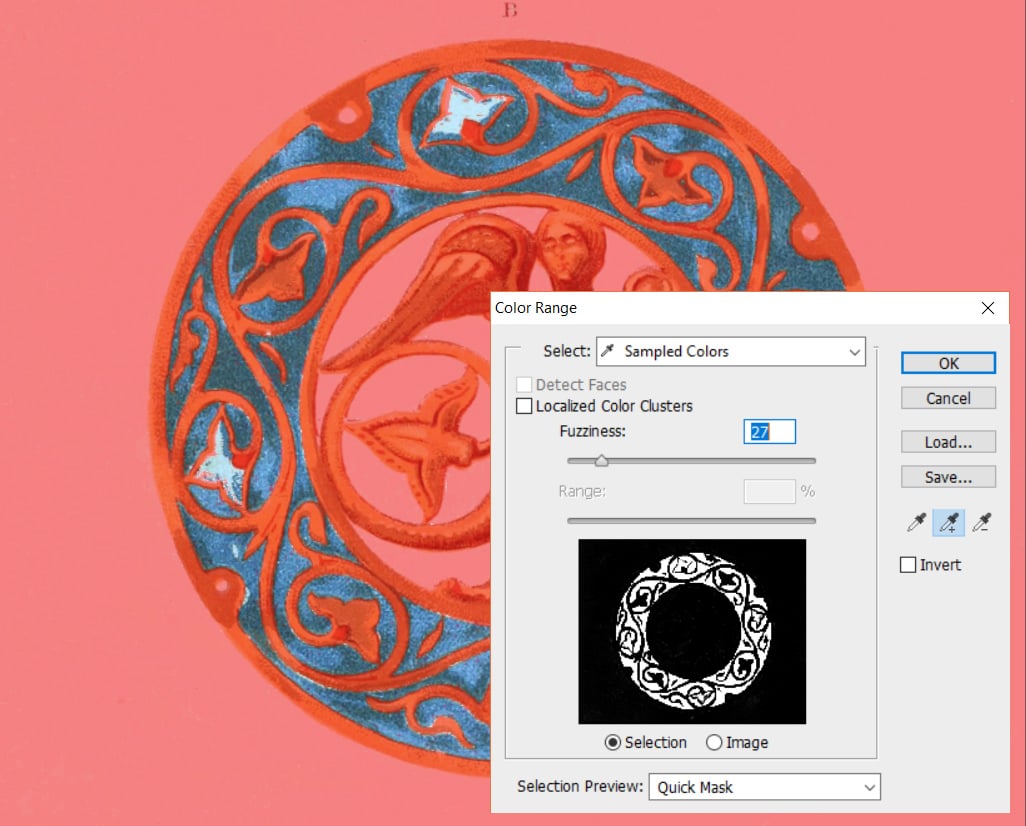
Head to the top menu, and click ‘Select > Color Range’.
You will be presented with the selection dialog. Us the eye dropper tool on your image to select the colours you wish to replace.
Create a Solid Colour adjustment layer
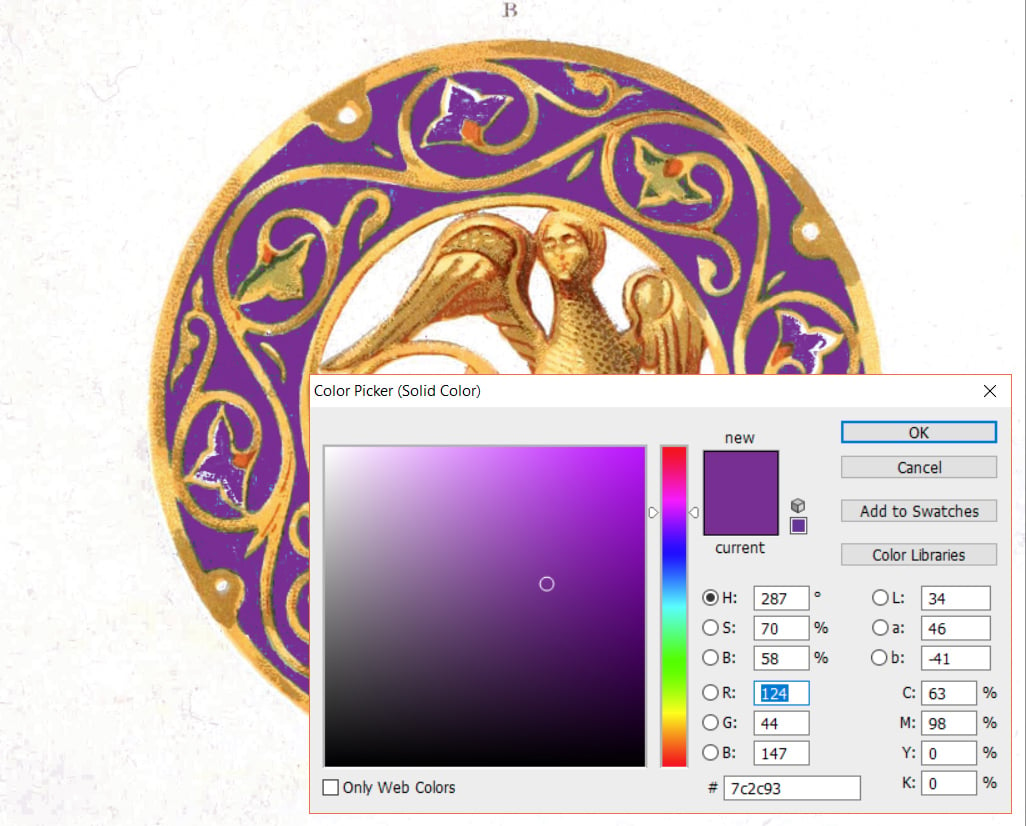
Go to the layers palette and click the half black/white circle at the bottom to open the adjustment layer menu.
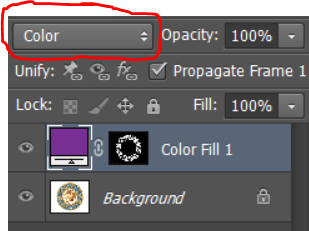
Create a “Solid Color” adjustment layer, and choose your replacement colour.
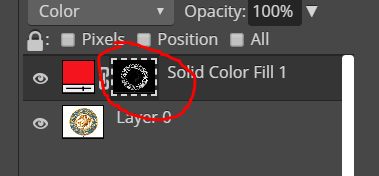
The steps so far are exactly the same in Photopea, except you will have to manually apply the mask by ‘Filling’ your selection.
Select the layer mask in the layers palette:
Hit ‘Edit > Fill’ and select ‘Black’, then hit ctrl + i / cmd + i to invert the layer, making blacks white and whites black. This should let the replacement colour shine through only in the places selected with the ‘select colour range’ step.
Change the blend mode
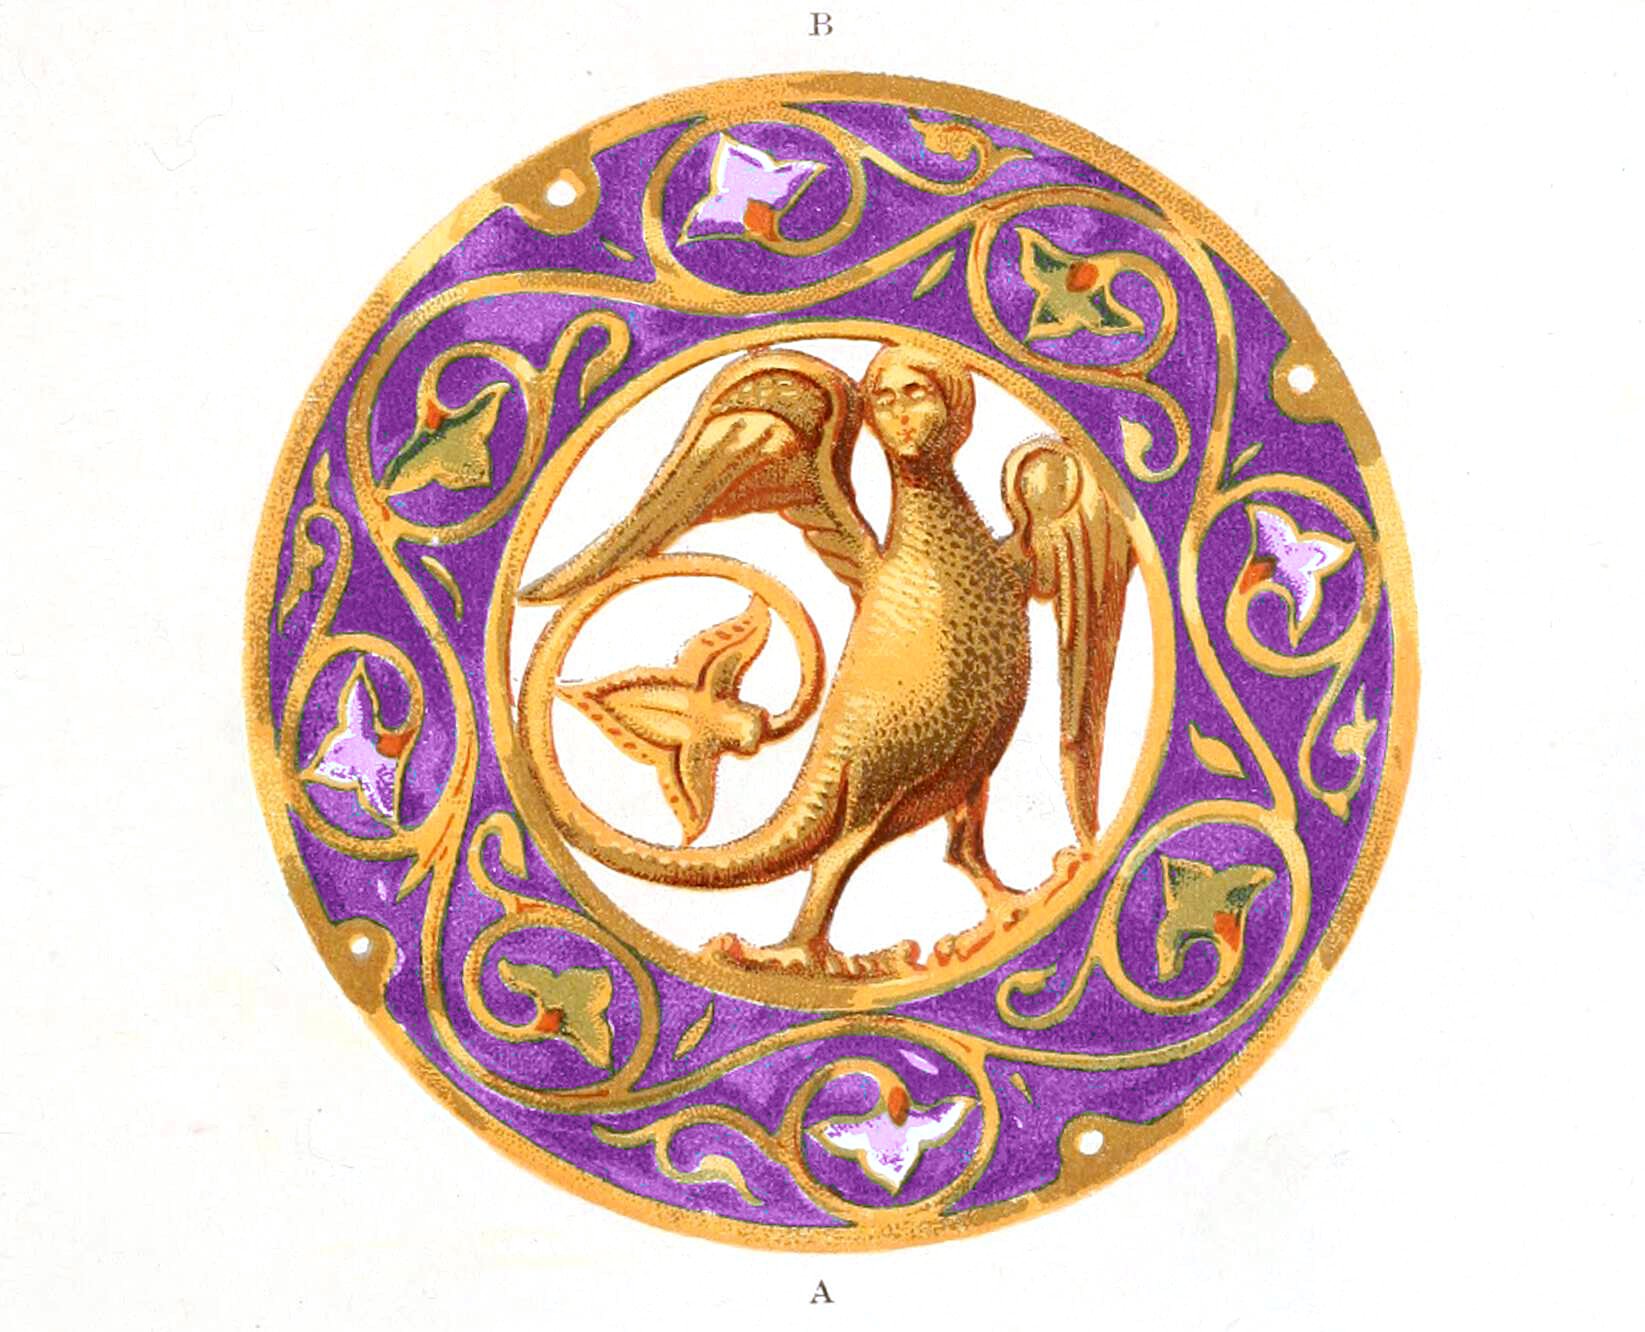
Change the blend mode of the solid colour adjustment layer to ‘Color’.
Result
Here is the final result:
Conlusion
It can be very difficult to change colours in your artwork, but hopefully this guide has got you well on the way to recreating your artwork in many different colours.
Further Help
If you need further help, be sure to check out:
And if you are still not sure what to do, feel free to get in touch and we will do whatever we can to help you on your way.
Contents
- Introduction
- Method 1: Selective Hue Saturation Adjustment
- Source Image
- Create a hue/saturation adjustment layer
- Select the colour you want to replace
- Change the Hue
- Result

 Loading...