When scanning or photographing artwork, you need to do some tweaking before you print.
Often, when scanning in drawings or line art, you’ll be left with a slightly off white colour from the paper.
When re-printing, the paper background will often leave unsightly shadows and marks on the print that are easily corrected.
All instructions in this article will be using Adobe Photoshop CS6, but any image editing software should be able to do these simple edits.
Contents
Starting Image

We’ll start with this image, obtained from the British Library collection of public domain scans. It’s a fairly simple image, but it could do with a little cleaning up before printing.
Cleaning Up
Start by using the Patch tool  to get rid of any marks or parts of the image you no longer want. I use the following settings:


Don’t worry too much about cleaning it up too much, as the next steps will help to get rid of a lot of the blemishes.
Decrease Saturation
For black and white drawings, a sensible next step is to get rid of any colour in the image.
To do this, go to Image > Adjustments > Hue/Saturation and drag the Saturation slider all the way to 0, and hit OK. You should end up with something like this:

Lighten and Darken
The next thing we want to do is make the paper white, and the ink black.
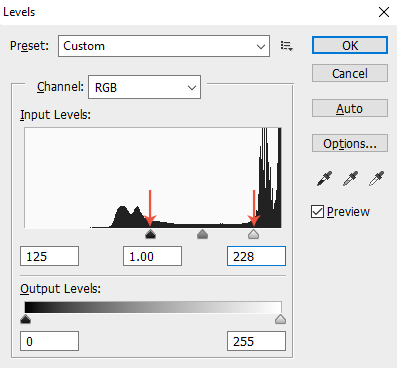
To do this, we’ll use the ‘Levels’ adjustment tool. Go to Image > Adjustments > Levels, and drag the right slider just past the first big peak on the right, and the left slider just past the other first big peak on the left.

And you should end up with something like this:

Colour Drawings and Paintings
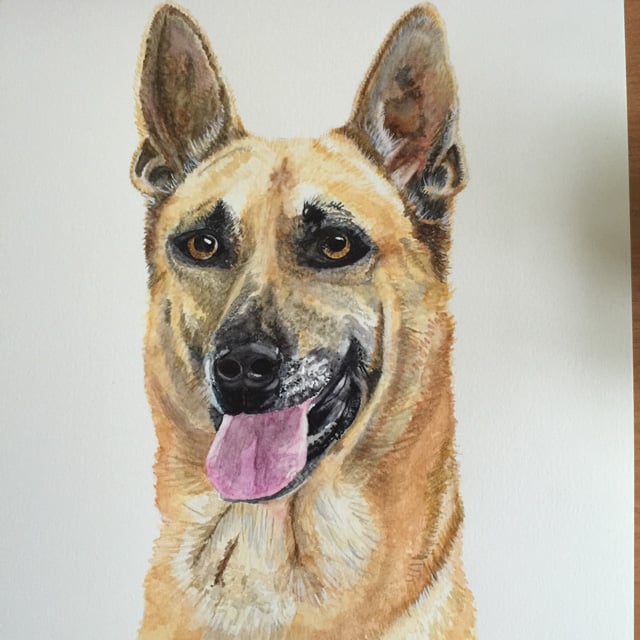
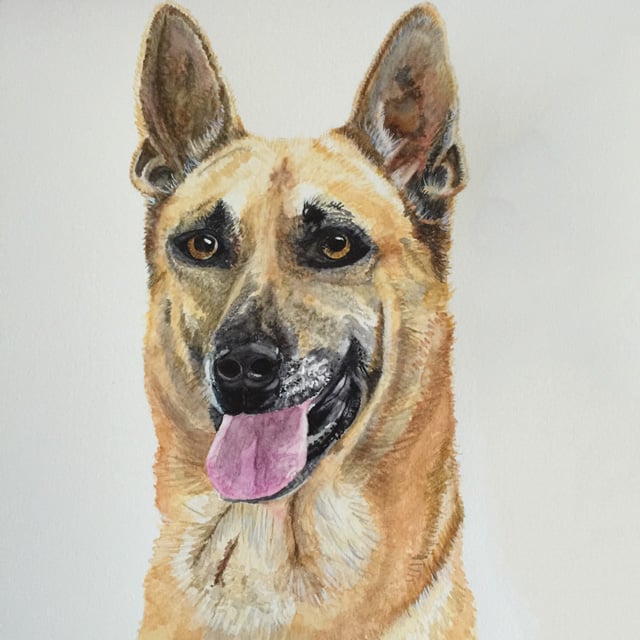
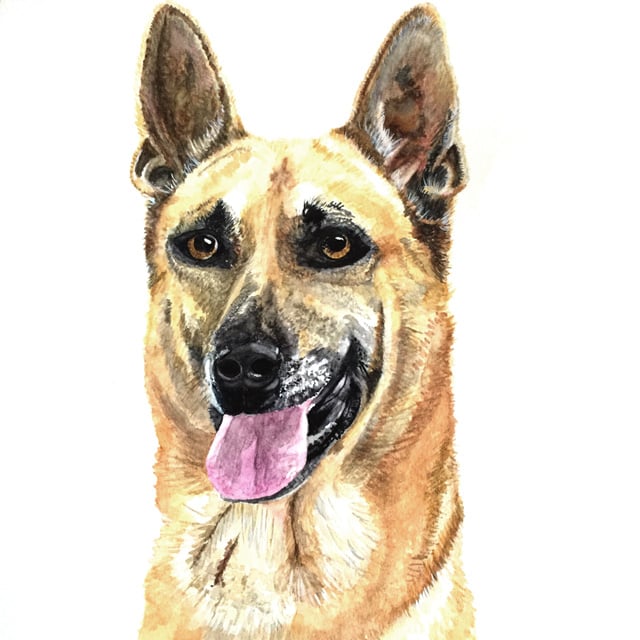
The same principle can be applied to colour images, you just have to miss out the desaturation step:


 Loading...