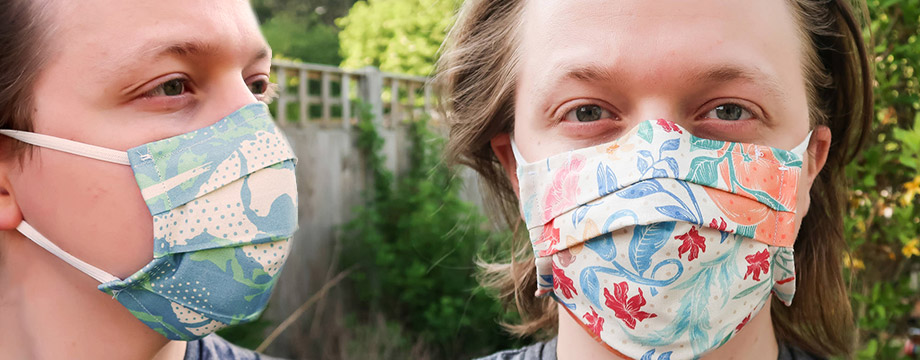
How to create a custom printed face mask from fabric, with a free downloadable pattern.
Contents
Introduction
An effective face mask can help protect you and others from pollen and disease.
Scroll down for a FREE face mask pattern that you can print straight onto the fabric, print out at home, or copy out using a pen and paper.
We have some great tips on which fabric to use as well as tips on laying out your pattern to make the most of the fabric.
Disclaimer
The face masks described in this blog post have not been tested or approved for medical use. The instructions have been provided for information only and recommend you conduct your own tests to ensure they are suitable for use. We accept no responsibility for use.
What you’ll need
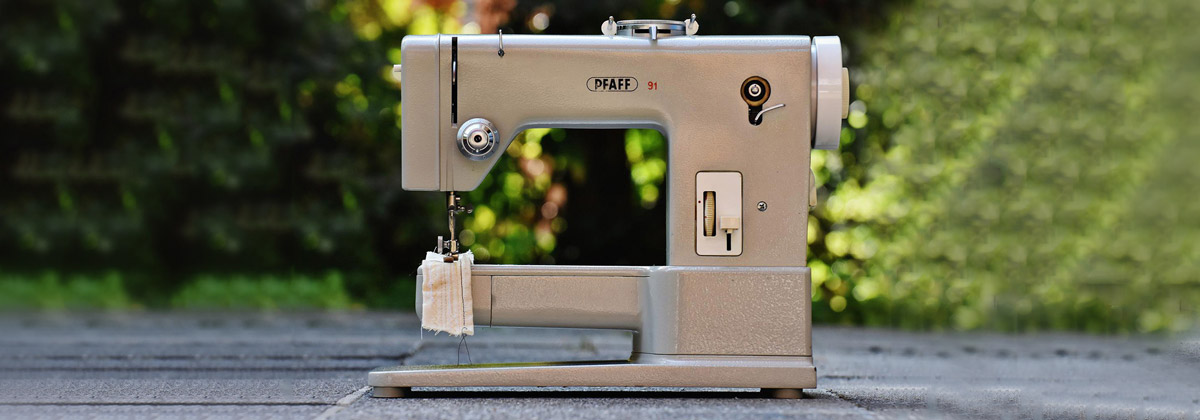
Sewing Machine or a Needle and Thread
If you don’t have a sewing machine, don’t worry - it will take a little longer to make, but you can hand sew these masks.
Fabric
Your choice of fabric is very important. You want something that is going to stop particles and water droplets from getting in and out, but also allow you to breathe easily.
If you’re going to be wearing your mask all day, it’s also important that it is comfortable.
We recommend our Classic Plain 156gsm, Organic Calico 156gsm or Economy Cotton 136gsm.
Both these fabrics are light/middle weight with a plain weave that’s not too tight.
In a double layer, these are fairly easy to breath through while being soft on your face and still blocking water droplets. Being 100% cotton they are also washable and easy to iron.
The Classic Plain and Economy Cotton have also been tested to EN71-3:2013+A3:2018.
If you’re going to use printed fabric, we recommend a light colour print to help with the longevity of the print, as these masks will be subject to more washing than a normal print.
8cm of bendable wire
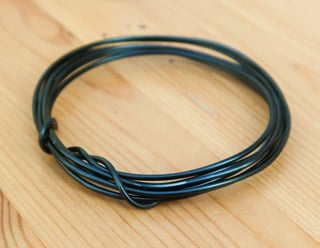
For the wire, you can use gardening wire, bonsai wire, cable twist ties; any wire that is easily bendable but keeps its shape will do the job.
Some 5mm wide elastic
The elastic can be found in most sewing kits. If you’re struggling to find elastic, you can always create some ties to go round the back of your head instead.
Pattern
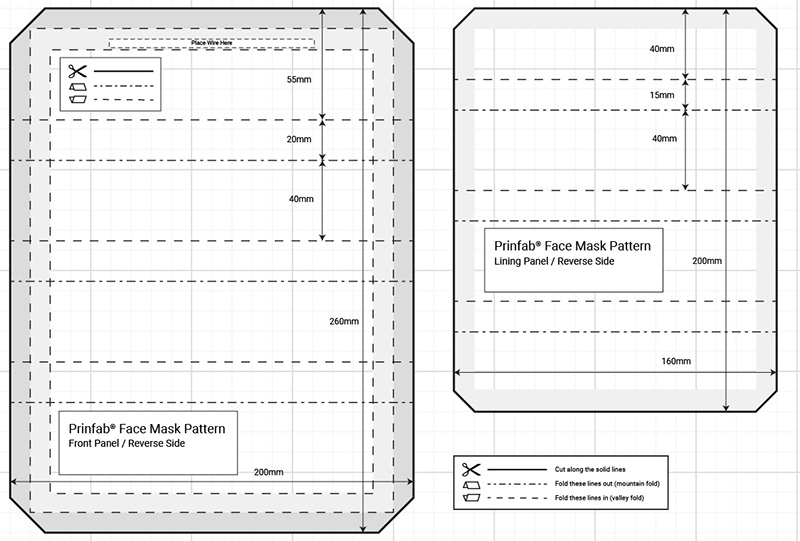
The pattern is set out on 2 sheets of A4 for you to print out at home:
If you don’t have access to a printer, the measurements are all labelled on the pattern so you can draw it out onto a piece of paper, or straight onto the fabric.
The grid in the background is a 1cm grid you can use to help you draw it.
If you’re printing it out make sure to disable all scaling when printing, and double check the measurements once the pattern is printed out.
Overlay
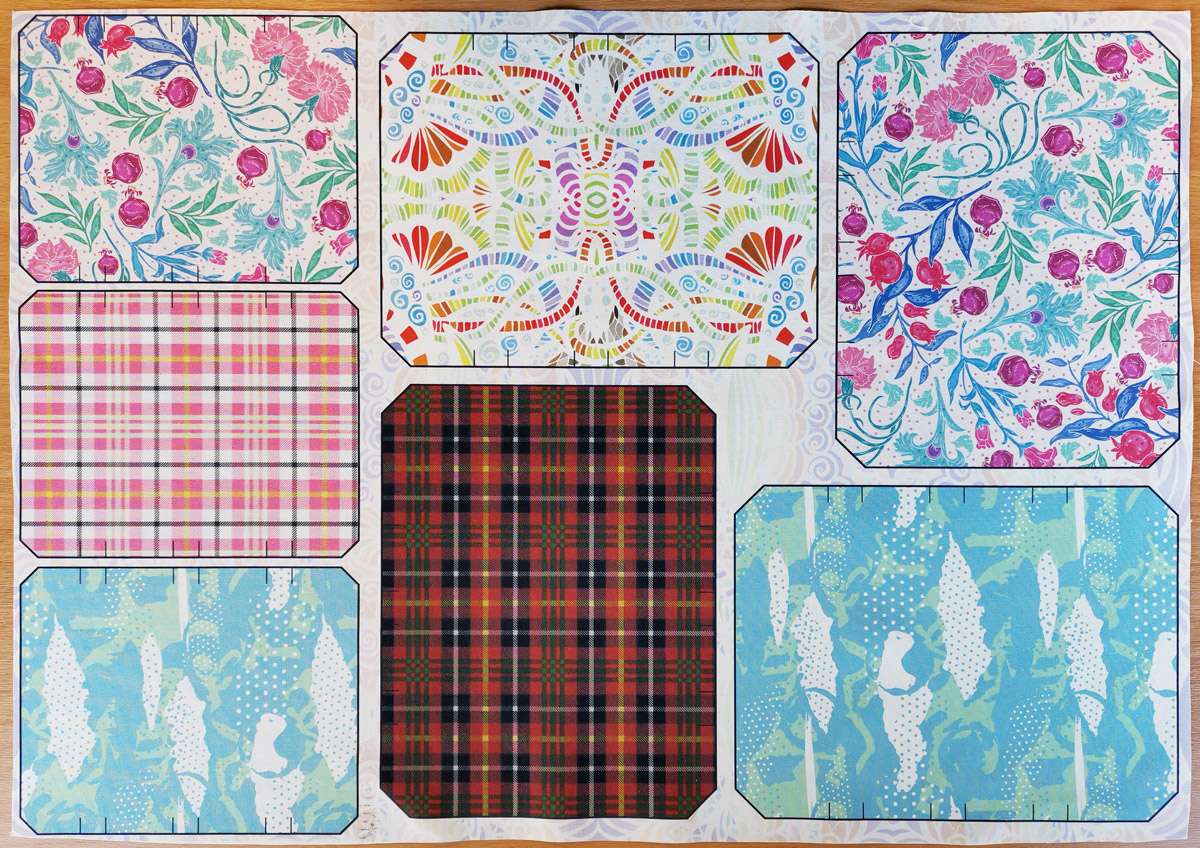
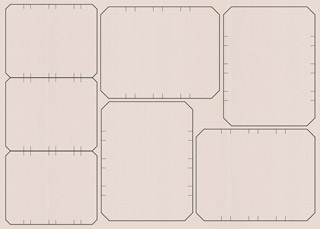
An overlay is a great way to save time and help plan your design by putting an outline onto your image to print straight onto fabric.
This makes it super easy to cut your designs out afterwards.
You can download the overlays here:
To use the overlays, drag and drop them from your download folder onto your pattern in Photoshop.
It should import at the correct size, but double check the measurements and make sure - the files are set up at 300DPI.
The folding lines are there to help you create the folds in the mask, and should be hidden by the hems. If you’re worried about them showing through, you can set your overlay layer to 25% opacity, especially for light prints.
Printed Result
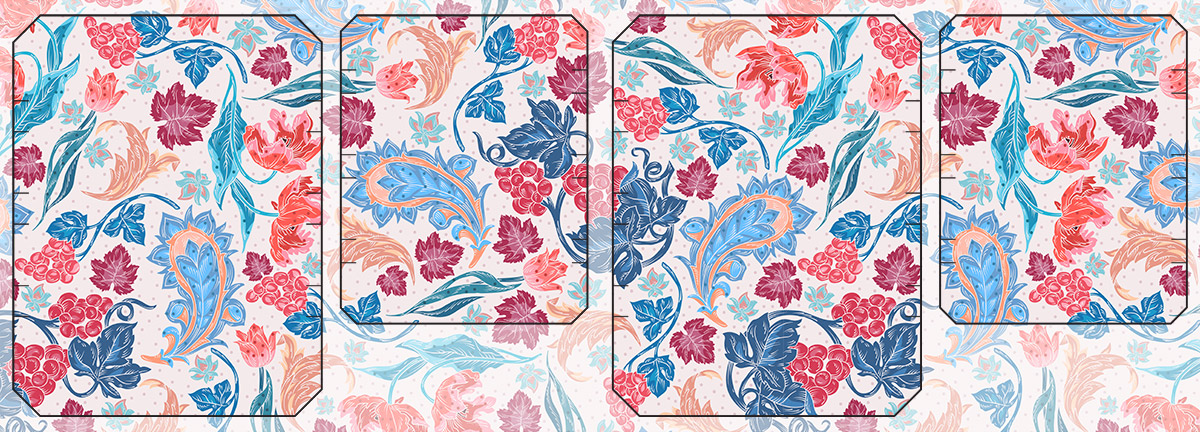
If you used the overlay method like I did, when you receive your printed fabric, it should look something like this:
Sewing Instructions
1) Cut your fabric out
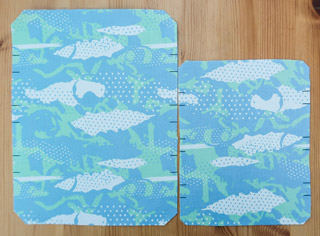
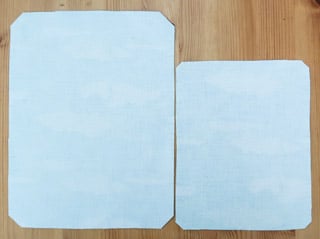
Cut out your fabric, staying as close to the lines as possible.
You should have two pieces of fabric, a front panel and a lining panel. The lining panel should be slightly smaller than the front panel.
If you have a larger head or face, add 1cm to the width and height.
If you have a smaller head or face, you can subtract 1cm from the width and height.
For children up to 12 years old, subtract 2cm from the height and 1cm from the width.
For children up to 7 years old, subtract 3cm from the height and 1.5cm from the width.
2) Fold and Iron
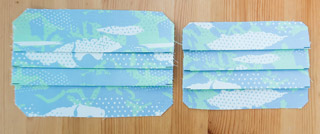
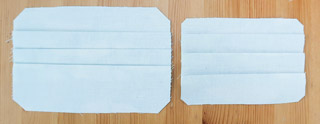
Lay your front panel fabric face down on the table, so that the unprinted/reverse side is facing you.
Now fold your fabric along the fold lines, paying careful attention to which way the folds go.
- “Mountain” folds should end up with the crease pointing towards you, sticking up, like a mountain.
- “Valley” folds should end up with the crease pointing away from you, like a valley.
There should be a shorter gap at the top than at the bottom on the front panel.
3) First Hem
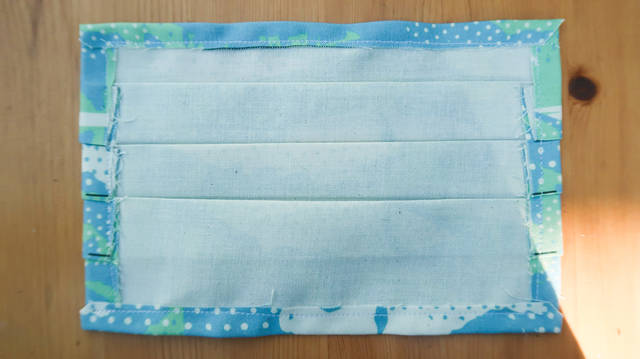
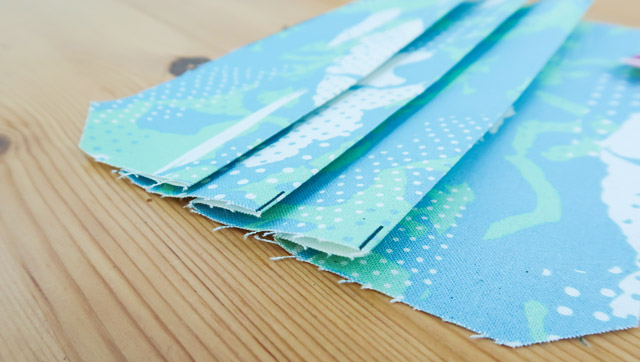
Fold the edges of your fabric in 5mm and crease with an iron.
The exact width of the hem doesn’t matter too much, just try and make sure it’s neat and even.
Now sew around the whole hem, keeping the sewing to the insides.
4) Wire
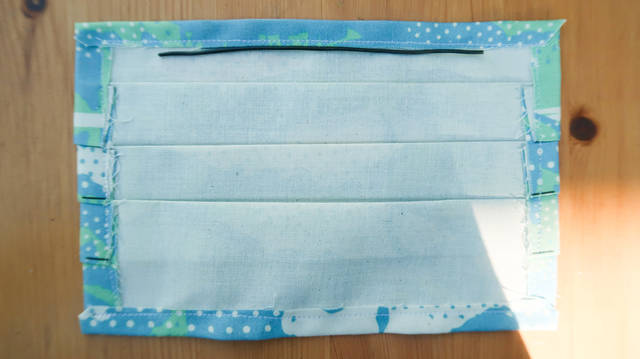
Place your wire right up against the top hem. This is where you have to be really careful to make sure your fabric is oriented the right way around.
The print side should have the flaps facing down, and the non-print side should have the flaps pointing up.
Refer to the picture if you’re unsure, or double check against the template pattern.
If you have trouble keeping the wire in place, you can hold it down with a pin, or a small piece of double sided tape.
Make sure your wire is nice and straight otherwise you will struggle with the next step.
5) Trim and Place Reverse Panel
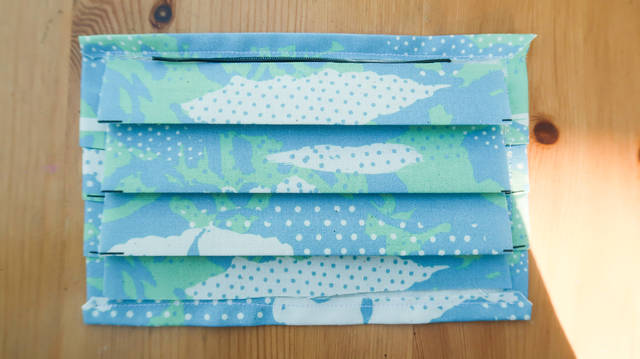
Trim your reverse panel so that it just butts up against the first hem, and place it on top.
The pattern is slightly oversized so some trimming should be required. Try and trim evenly from the left/right and top/bottom to keep things central.
6) Second Hem
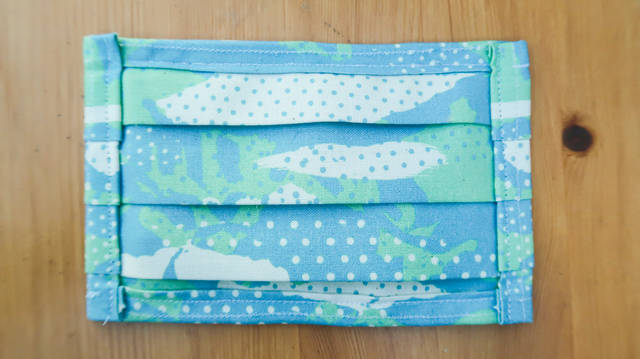
Carefully fold the top and bottom hems over and sew, making sure the panel gets completely trapped in the hem.
The wire should now be right at the top of the mask, and get trapped by your second hem.
Be careful when sewing the edge with the wire that your needle doesn’t wander off and hit the wire.
It may be beneficial to place your needle all the way to the opposite side of the hem, if your sewing machine allows you to.
You should now have something that resembles a mask!
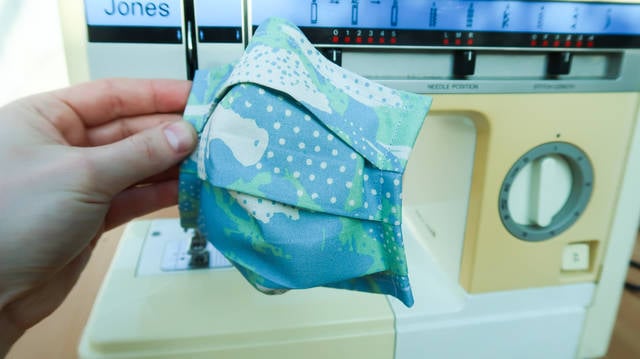
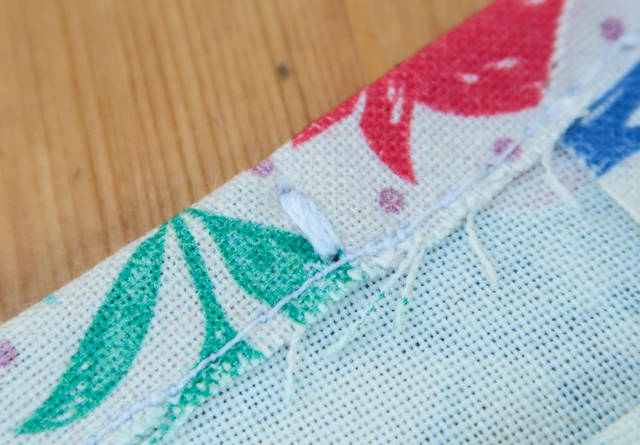
If your wire shows signs of moving around a lot, you can just tack it in place with a small bar tack.
7) Elastic
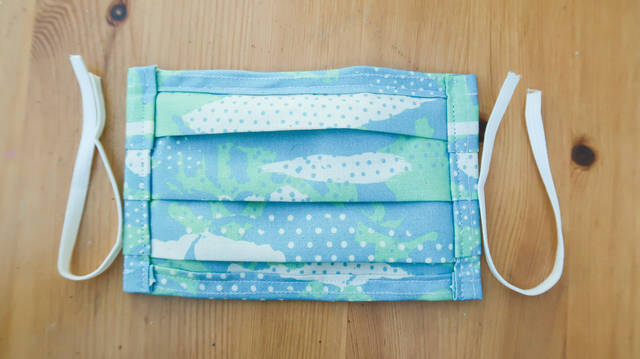
Cut two pieces of elastic to serve as the ear loops.
The elastic should be as long as two times the height of the masks. It may take a bit of trial and error, depending on the stretchiness and size of your elastic.
If you hold the mask up to your face and get a family member to hold some elastic around your ears, then take 1cm away from that length, that should be perfect.
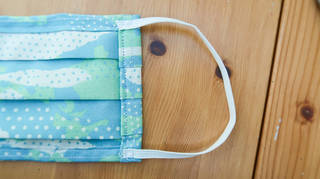
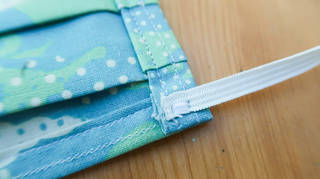
Tack your elastic in place in all 4 corners with a bar tack, making sure that the elastic isn’t twisted in any way.
8) Check it out and Try it on
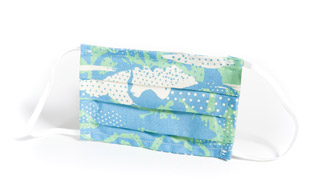
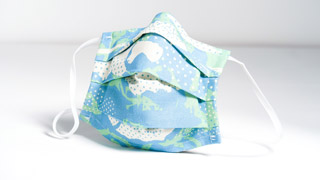
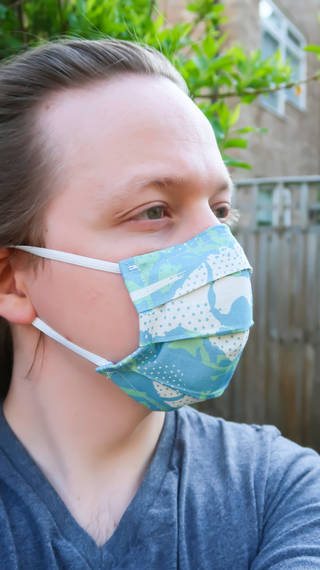
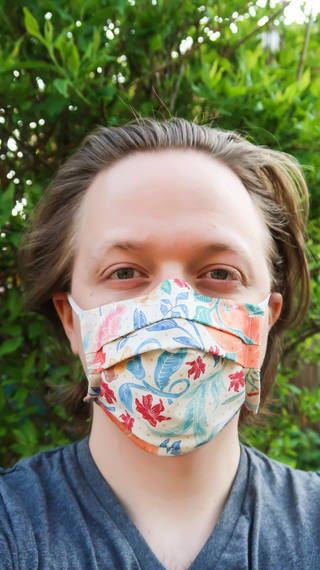
Your mask is finished!
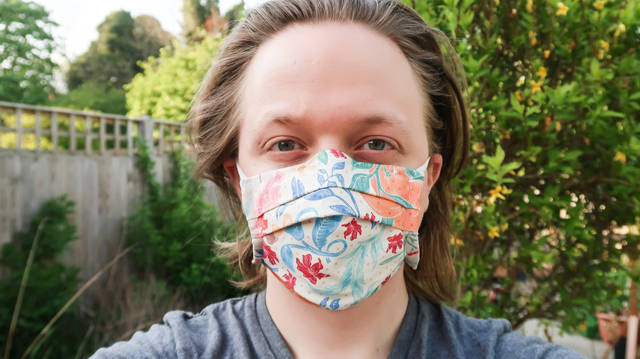
Check it out, try it on for size, make sure it has a good seal around your face.
Enhancements
Removable Non-Woven Lining
If you hem the right hand edge of the front panel and the left hand edge of the back panel separately, you can leave that edge open for a removable non-woven insert.
This allows you to put in an extra filter layer that is disposable, meaning you can wash and re-use the outer mask, and only have to replace an inner layer.
No elastic? No problem
You can take the elastic from some old clothes if you don’t have any fresh elastic - just make sure to give it a good wash beforehand.
You can also use fabric scraps to create some tie backs to go around the back of your head.
Cut 4 pieces of fabric, 25cm long and 3cm wide. Fold in half, reverse side facing out, and sew all the way down the open edge, as close to the edge as possible.
Now, turn this inside out and you have some nice fabric ties that you can use instead of elastic.
More Comfortable Fitting
Getting the folds exactly straight helps a lot for a comfortable fitting.
You can also substitute the elastic for a soft jersey fabric that wraps around the back of your head, instead of around your ears.
Two loops, an upper and lower loop, will help to create a tight fit.
Save your Ears
Sew two buttons onto a headband, roughly where your ears are, to tie the elastic to, instead of hooking it around your ears.
Other Mask Designs
The mask above is easy to cut, make and sew - but it can be a bit uncomfortable because of how it presses on the nose.
If you find the flat, pleated mask uncomfortable, you can try an alternative design.
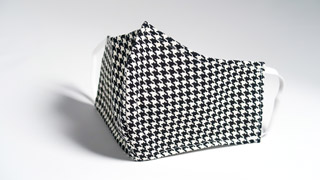
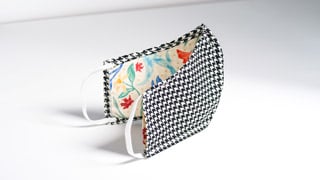
This mask relieves pressure on the nose and creates a nice area around the mouth and nostrils for comfortable breathing.
Tips
Practice
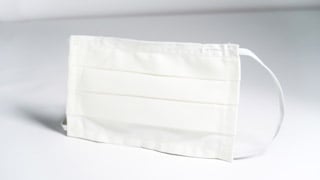
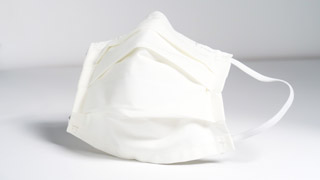
Because of the small amount of fabric that these masks use, it’s easy to practice using offcuts or plain fabric.
Laying out your pattern
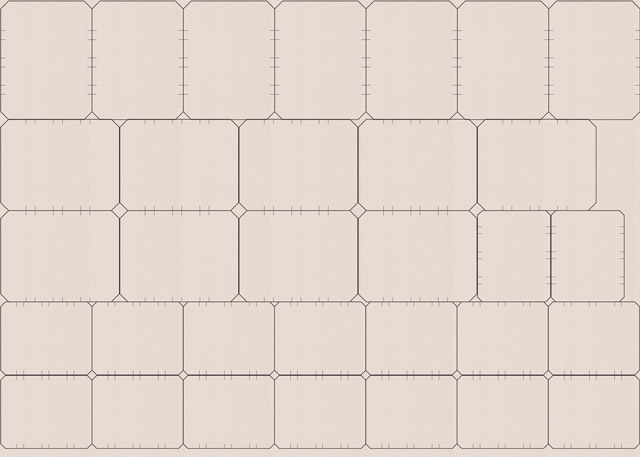
You should be able to get quite a lot of masks out of your fabric. You can butt the masks right up against each other on the fabric.
The larger the piece of fabric you have, the more efficiently you will be able to use it.
It can really help to print lines on the fabric to help guide your cutting where possible.
How many can I get per fat quarter?
You should be able to get 3 whole masks per 70cm wide fat quarter.
How many can I get per metre?
You should be able to get 16 whole masks per 140cm wide linear metre.
This is obviously way more than 4 fat quarters - so where possible, order larger pieces of fabric!

 Loading...