
One of the hardest things about designing fabric is creating seamless repeats. Once you get your head around it, however, creating a seamless repeat is actually fairly easy.
One of the hardest things about designing fabric is creating seamless repeats.
Once you get your head around it, however, creating a seamless repeat is actually fairly easy.
Contents
Thinking About Edges
Creating a seamless repeat pattern is all about edges.
For a pattern to repeat seamlessly, the top edge has to match up with the bottom edge, and the left edge has to match up with the right edge.
And that’s it.
This can be accomplished in a number of ways. The easiest way is to have nothing on the edges:
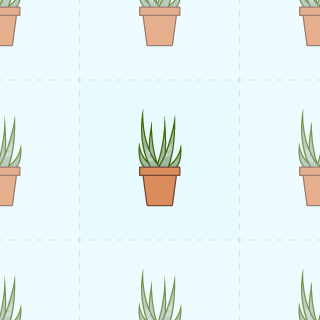
If there’s nothing on the edges, then your pattern is guaranteed to repeat seamlessly. If you want some design elements around the edge, you’ll have to do some more thinking:
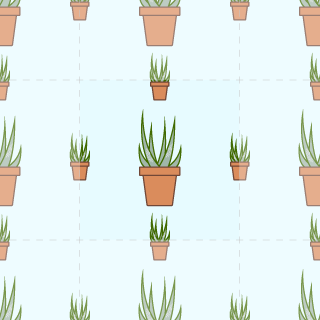
If you don’t have any artwork on the edges, you may end up with some weird negative space in your repeated patterns if it’s not planned out carefully. For example, this tile:

Creates this repeat, with the dodgy negative space highlighted:
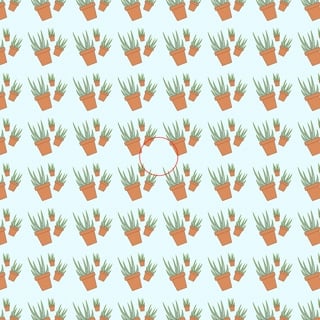
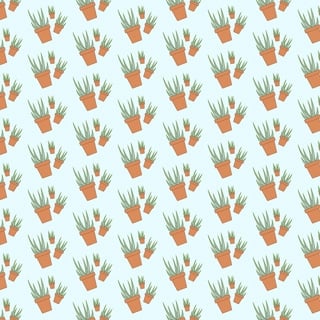
This can sometimes be fixed with Half Drop or Half Brick repeats:
The Cut ‘n’ Stick Method
This method allows you to have patterns around the edges of your image, as well as in the center.
The best thing about this method is it can be done just as easily on paper as it can on the computer!
Start by arranging your design in the center of your paper/image, like this:
Then, divide/cut your image into equal quarters, and place each corner on the opposite side from where it started:
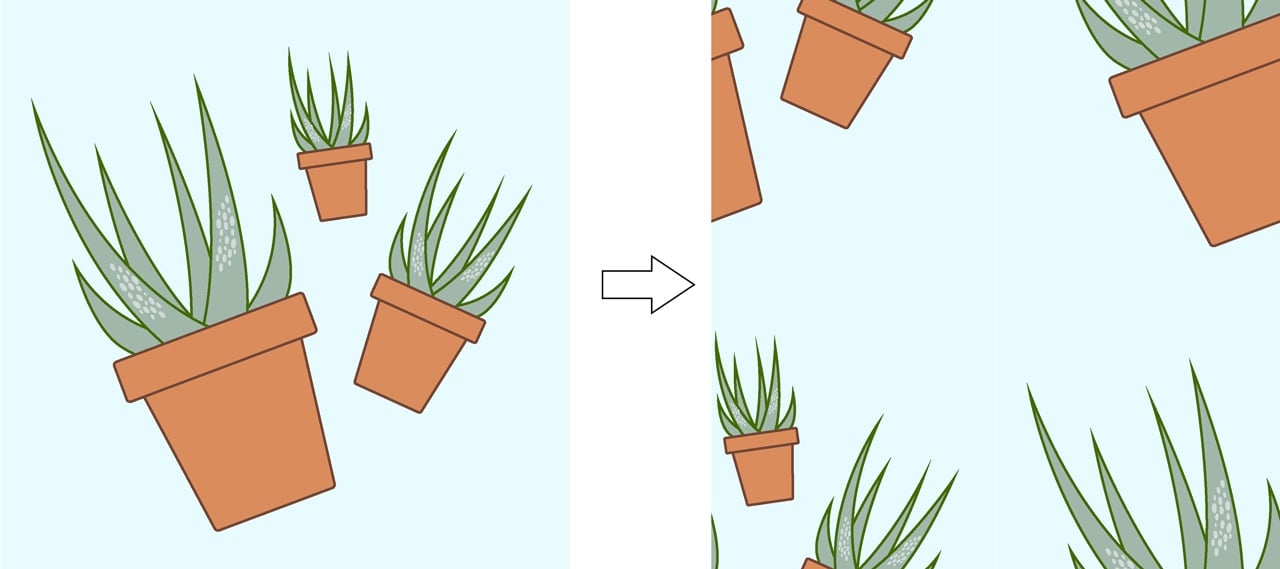
If you’re using photoshop, the easy way to do this is to go to Filters > Other > Offset and set the horizontal offset to half the width of the image and the vertical offset to half the height. Make sure that ‘Wrap Around’ is checked.
Here’s a labelled version in case you couldn’t get your head around that:

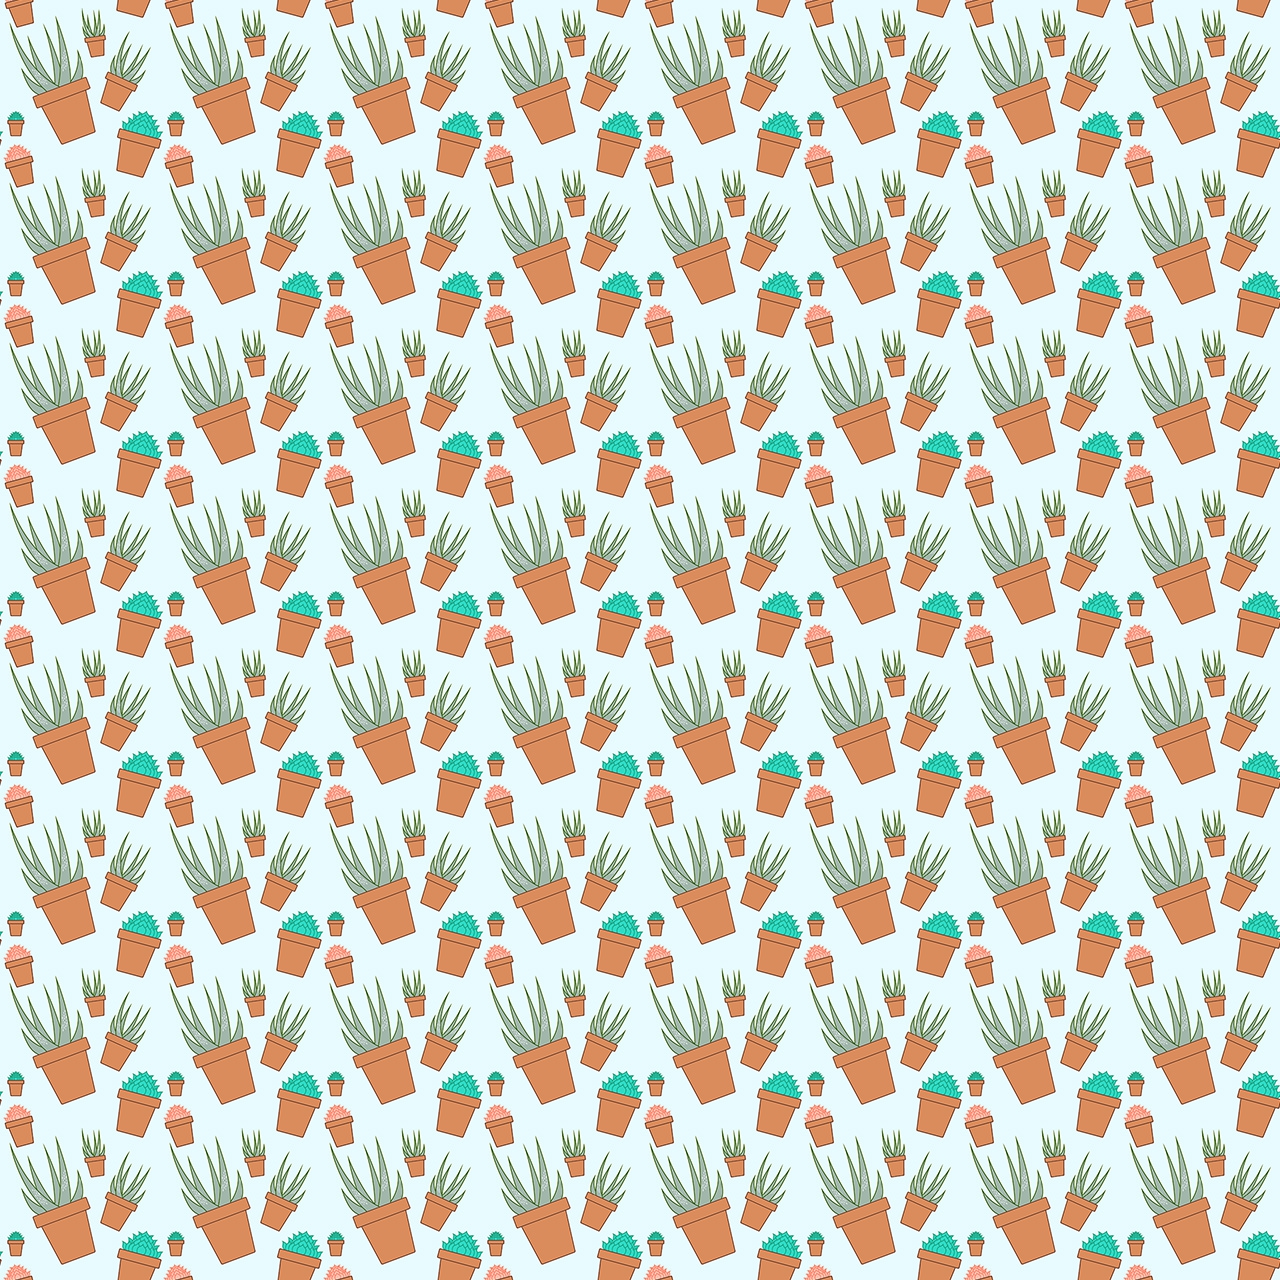
You can then go ahead and draw in the middle of your image:

This should result in a seamlessly repeating pattern!
Creating Seamless Patterns From Existing Images
It may not always be possible to create your design from scratch, in which case you’ll need to use image editing software to make your repeats seamless.
To demonstrate this, I’m going to use a copy of The Great Wave off Kanagawa by Hokusai. Here’s the original image:
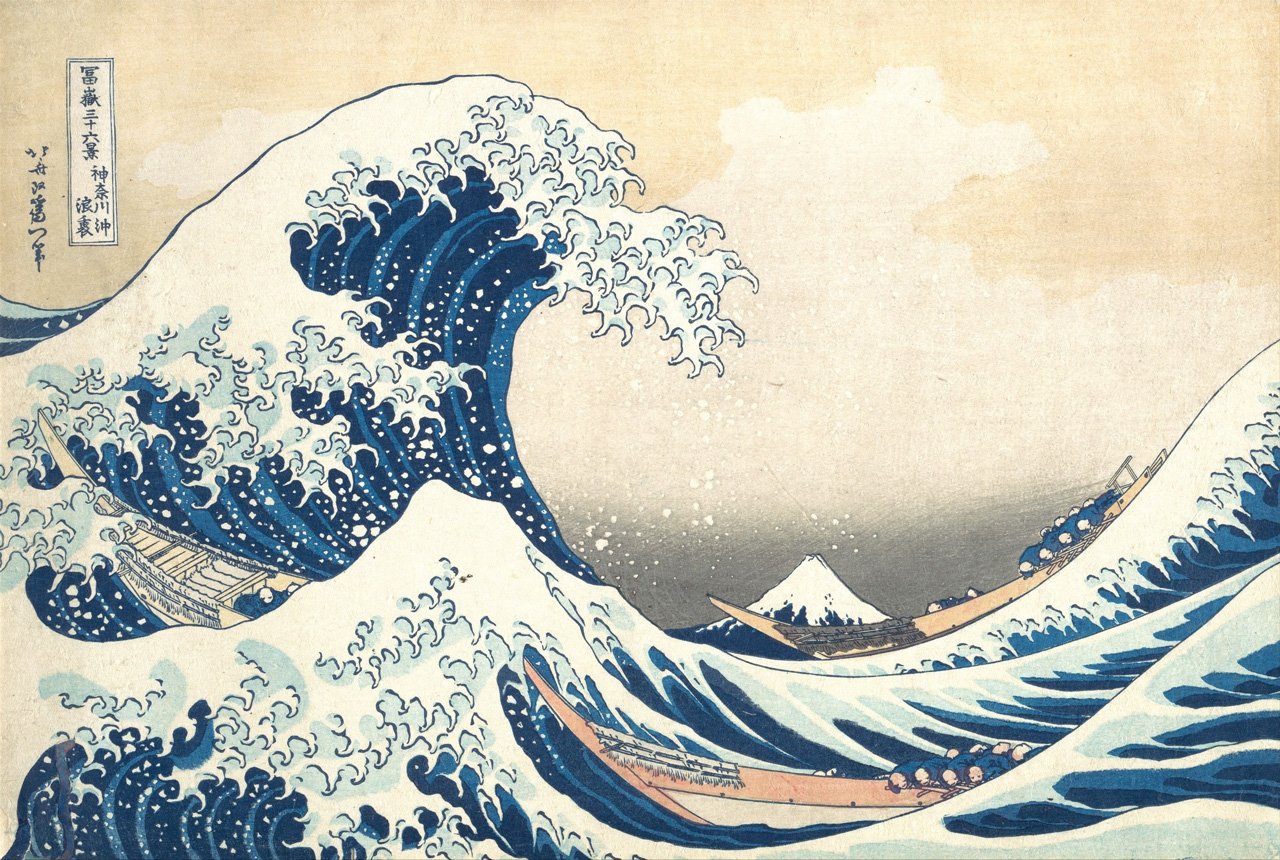
I’ll start by cleaning up the image, and doing our ‘offset’ trick. In this case, the image is 3859 x 2594px, so our offset needs to be 1929 x 1279px:
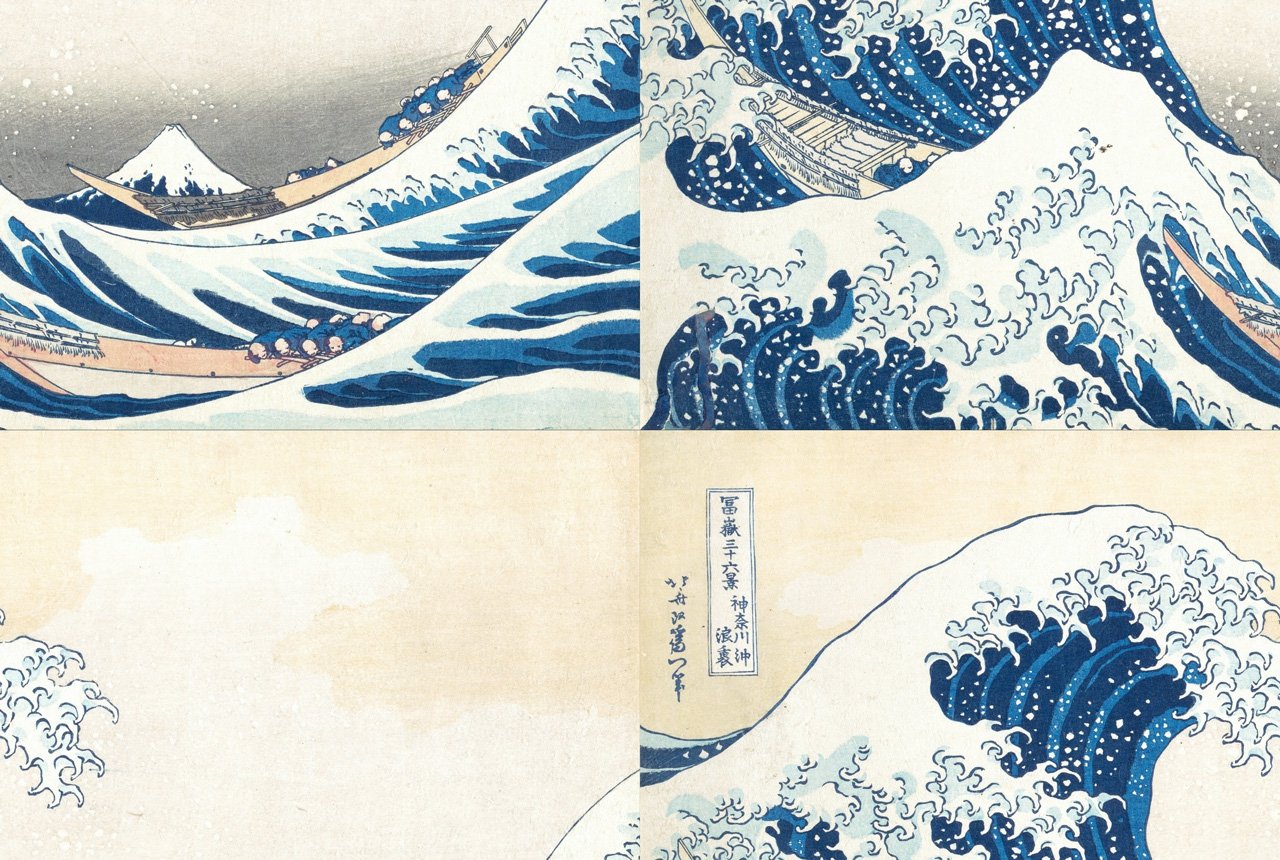
As you can see, the edges do not match up at all.
This is quite a complex task, but with a bit of cloning, patching and brushing, we can ‘blend the seams’ so that the edges flow into one another:
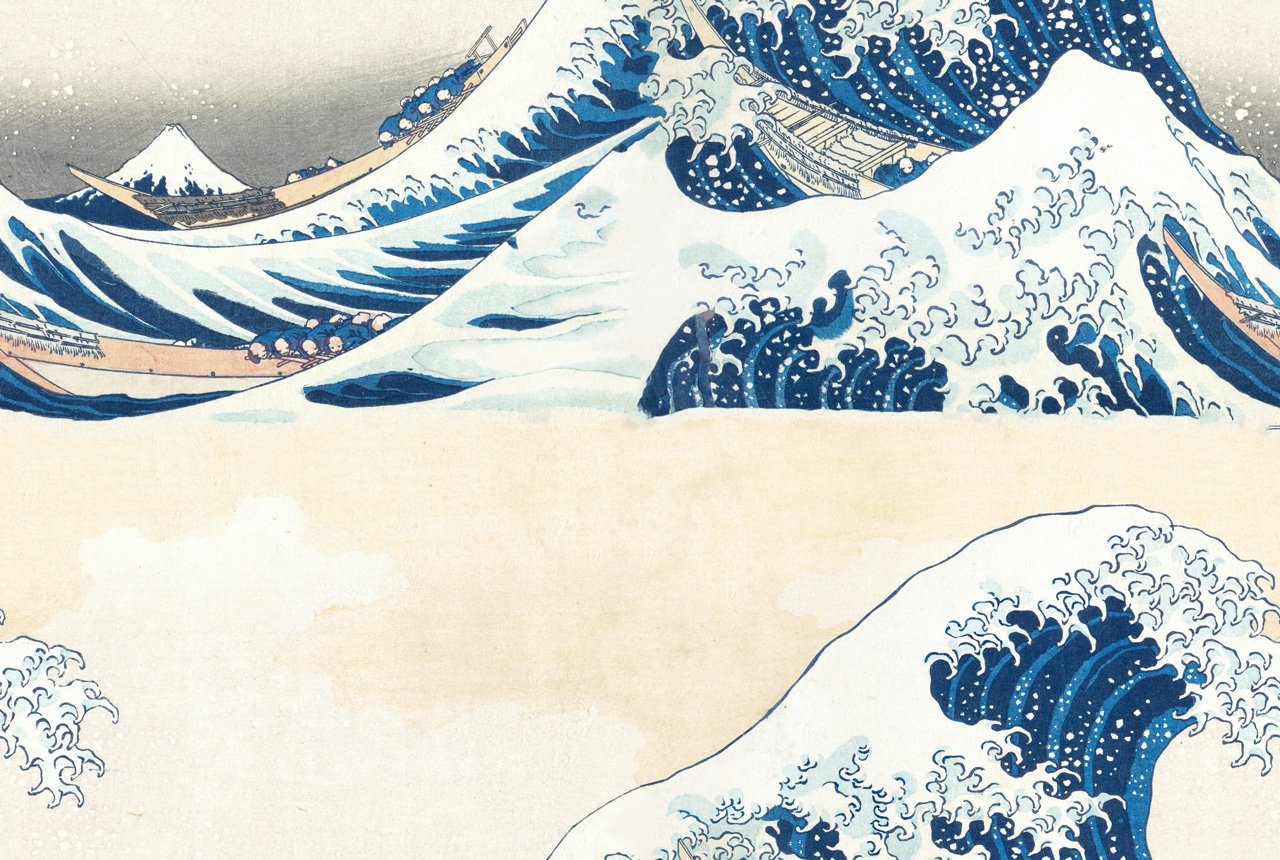
Now, we do the reverse of the offset, using -1929 x -1279px:
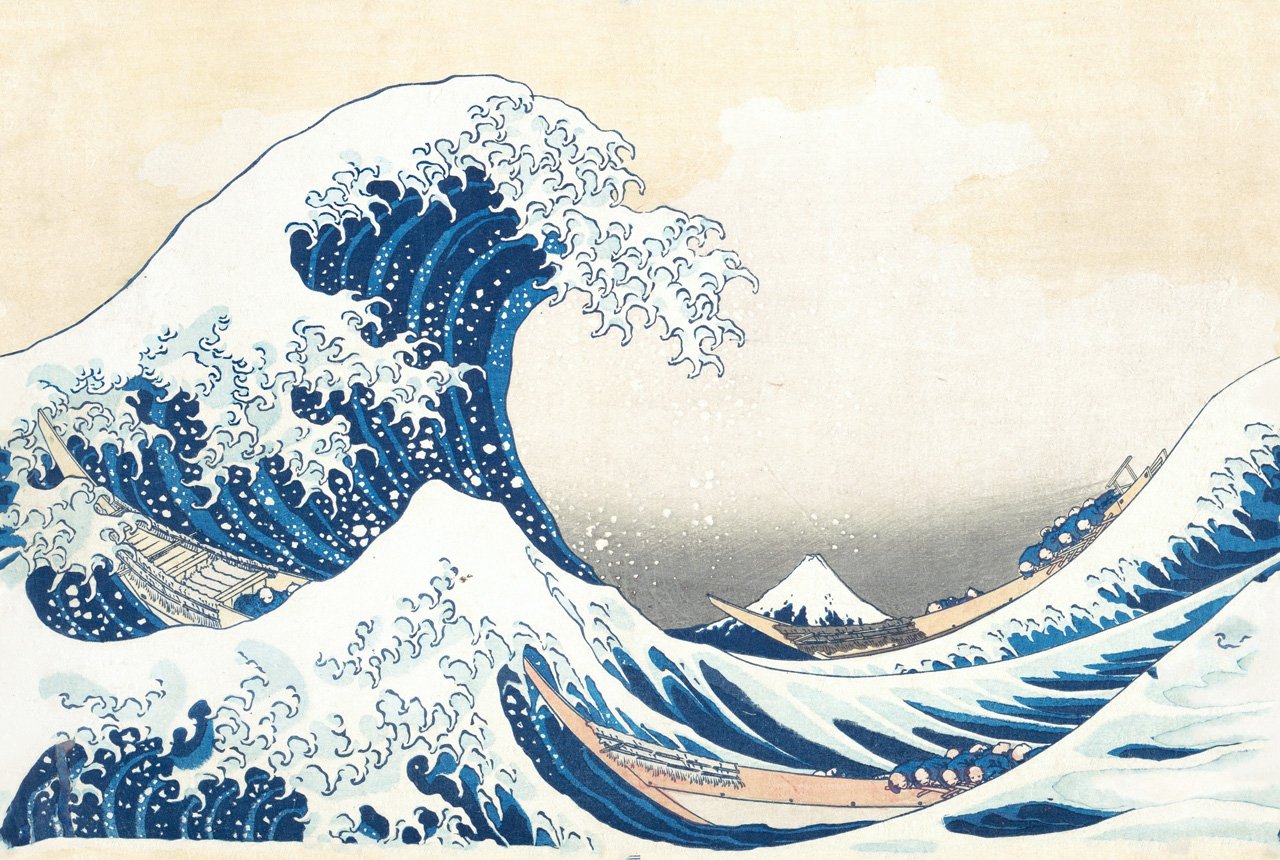
Great, that doesn’t look too bad, and retains the effect of the original image! Now, all we need to do is tile it:
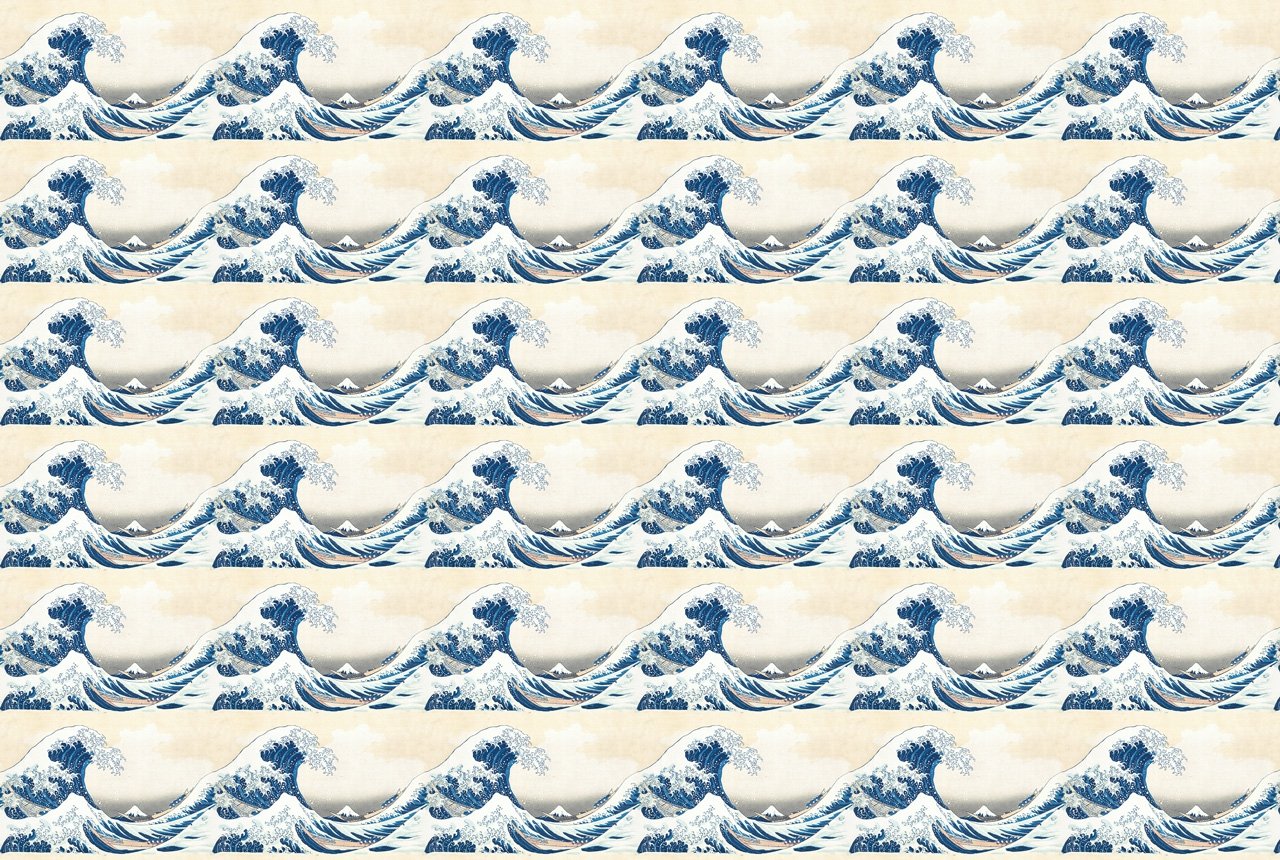
Here’s a quick comparison of the original vs the seamless version:

Finally…
There’s one other method to creating seamless repeats - mirroring.
Mirroring is by far the easiest way of creating a seamless repeat, and it works great for a lot of designs.
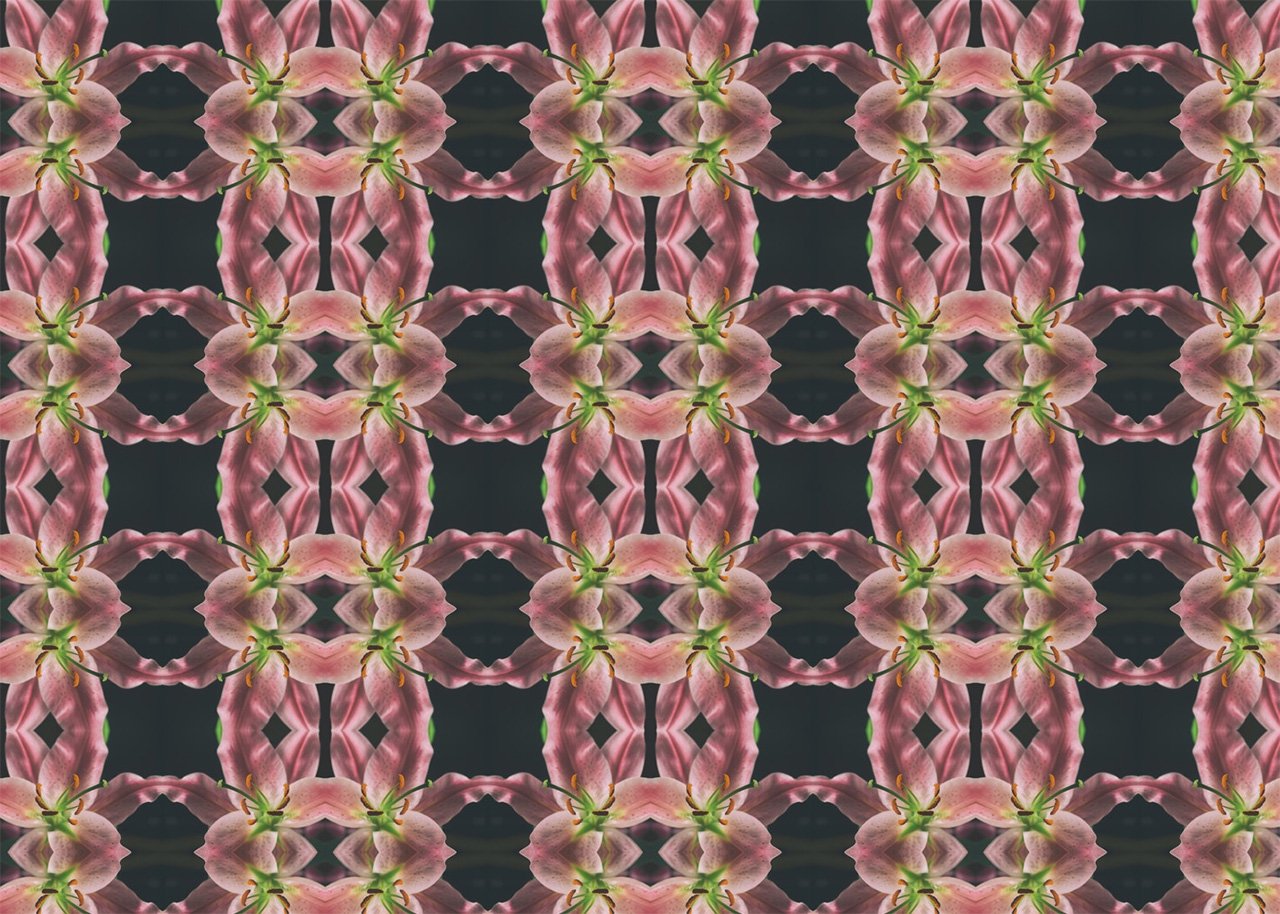
It’s not so suitable for anything that has an orientation, e.g. text, which will appear upside down and backwards in parts.
 Loading...