
A guide to getting your analogue artwork into the digital world.
It’s a wonderful thing to be able to turn your hand drawn artworks into finished produts such as bags, quilts and pillows.
This guide will help you to take your paper or canvas artwork and get it onto the computer in a printable form.
Contents
Preparation
First you’ll need to prepare your artwork. All the work you do in preparation is work you don’t have to do later on in the editing stage.
Get rid of as much dust, debris and other marks from the surface of the artwork.
If it’s a pencil drawing, consider erasing any stray pencil marks now.
Capturing the Image
Using a scanner
If your artwork is relatively small, around A4 or smaller, the absolute best way to capture the image is using one of these:
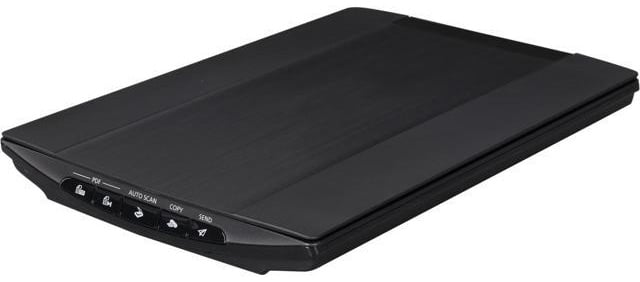
A flatbed scanner is the absolute best way to capture your images.
Scanners do a great job of evenly lighting the image, being in perfect focus and providing great details and popping colours.
Scanners will also get the scale exactly right and embed the correct DPI in your image for faithful reproduction at 100% of the original size.
If you do not own a scanner, many office supply stores or photographic stores have scanning facilities that are very reasonably priced.
Using a scanner is by far the best way of capturing your artwork, if possible.
Settings
You should set the scanner to Colour Photo mode (or Artwork mode if your scanner has it).
The resolution to use depends on what scale you hope to print the image at. You should aim for 180 DPI × Scale Factor.
So, for example, if you want to blow your image up 4× larger, you’ll need to scan at 180 × 4 = 720 DPI.
Using a camera
If your artwork is not flat, too large or there is some other reason you cannot use a scanner, then you’ll need to use a camera to capture its likeness.

Use the best camera you can find. Try and steer clear of phone cameras. A digital SLR camera will work great.
The key to photographing your artwork is even lighting.
Any difference in lighting across the image will show when it comes to printing. Any source of shadows should be eliminated, and a large, strong light source should be used.
Luckily, we all have access to the largest, strongest light source in the solar system - the sun!
Try photographing your artwork by a large glass door or window, out of direct sunlight, or outdoors on a cloudy day.
Place the image as square as you can inside the viewfinder.
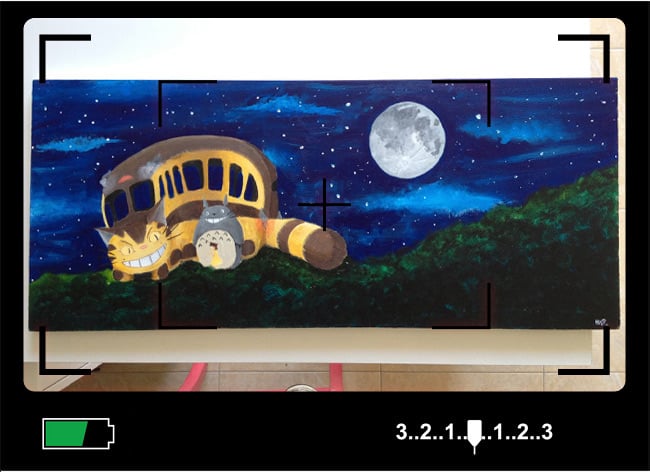
The more square you get your image now, the less we’ll have to straighten and distort it later on.
If you have a fancy tripod, you can try laying your artwork on the floor and photographing it from above. Some tripods allow you to mount the head on the bottom of the column, or have an extending arm specifically for this purpose. If the head has a spirit level built in, even better - make sure it’s perfectly level!
Settings
In general, you’ll want to slightly underexpose, as we don’t want any blown out highlights. It’s easier to lighten dark areas afterwards than darken highlights.
Use as low an ISO as possible while still allowing you to get sharp images.
Manual focus combined with live view can help, if you have a tripod.
Shoot in high quality JPEG or RAW if your processing workflow allows it.
Processing
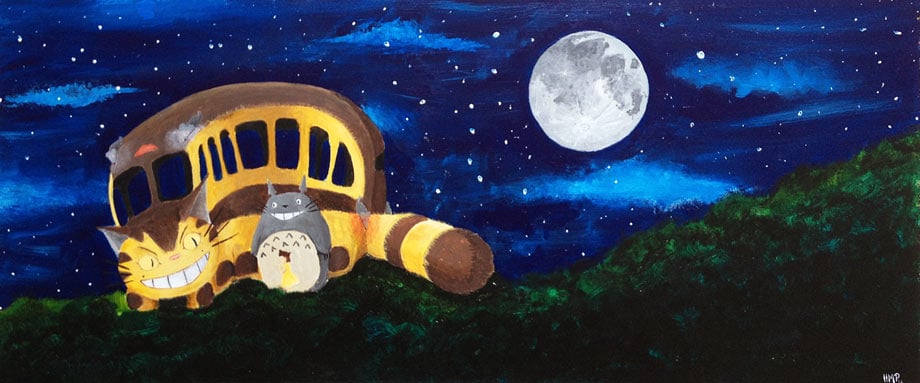
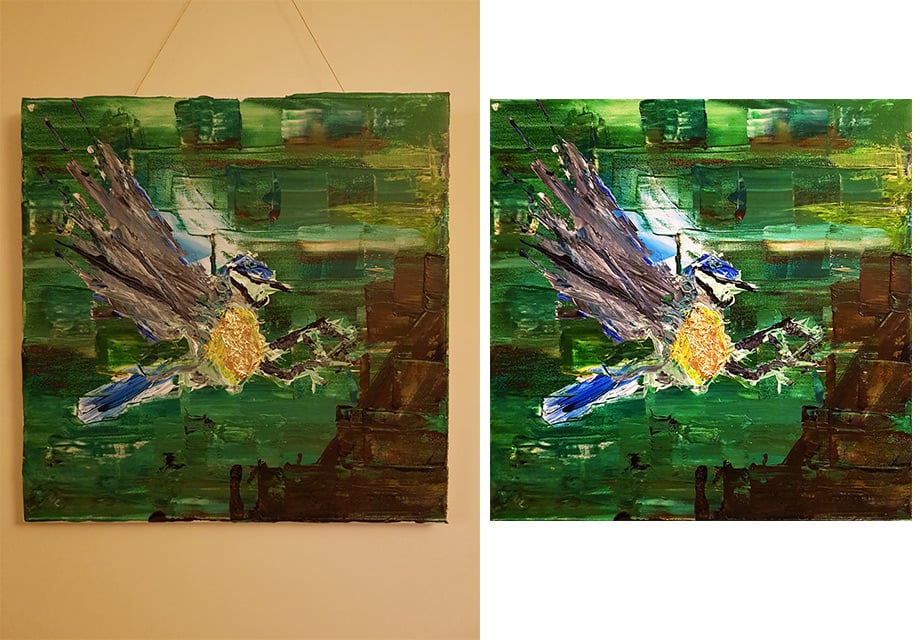
Once you have your image, it will probably look something like this if you photographed it:
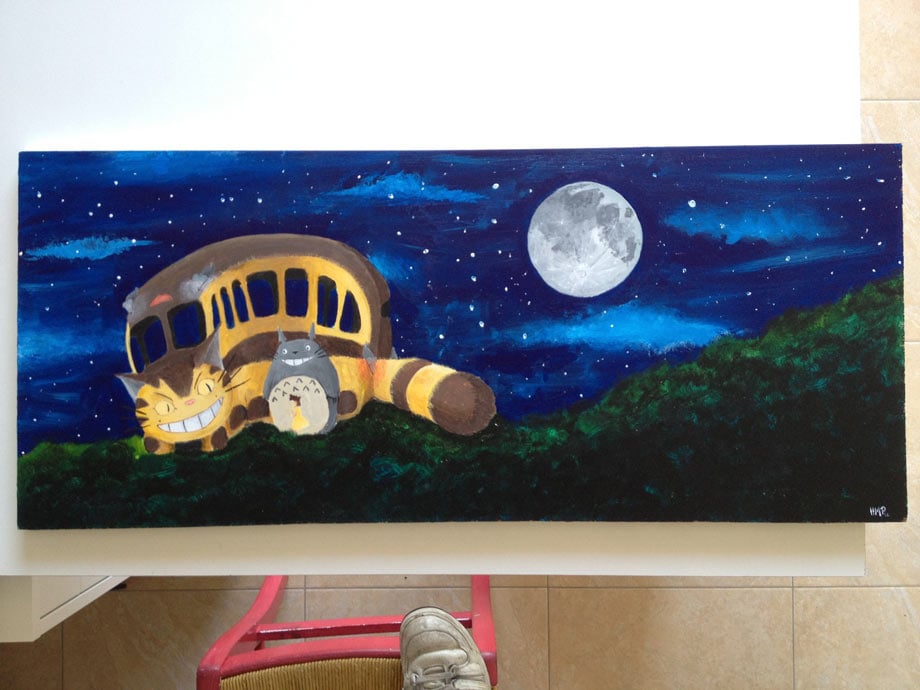
Or something similar if you scanned your image in, just without a foot poking into the image along the bottom.
The first step is to crop  our image down and straighten
  it up, getting rid of any non-artwork elements in the image:
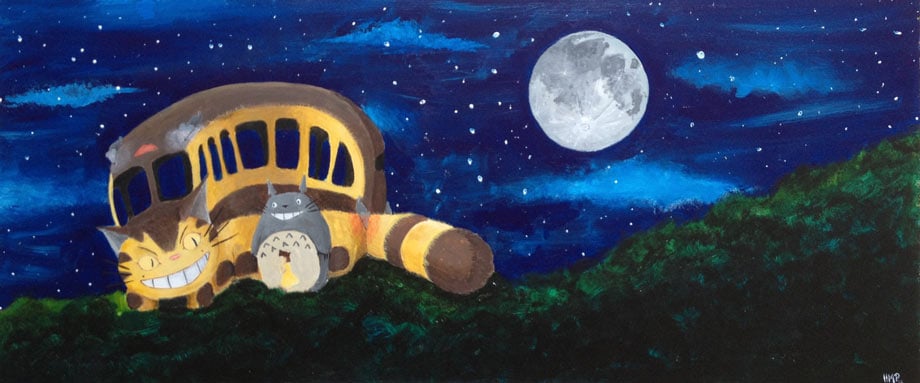
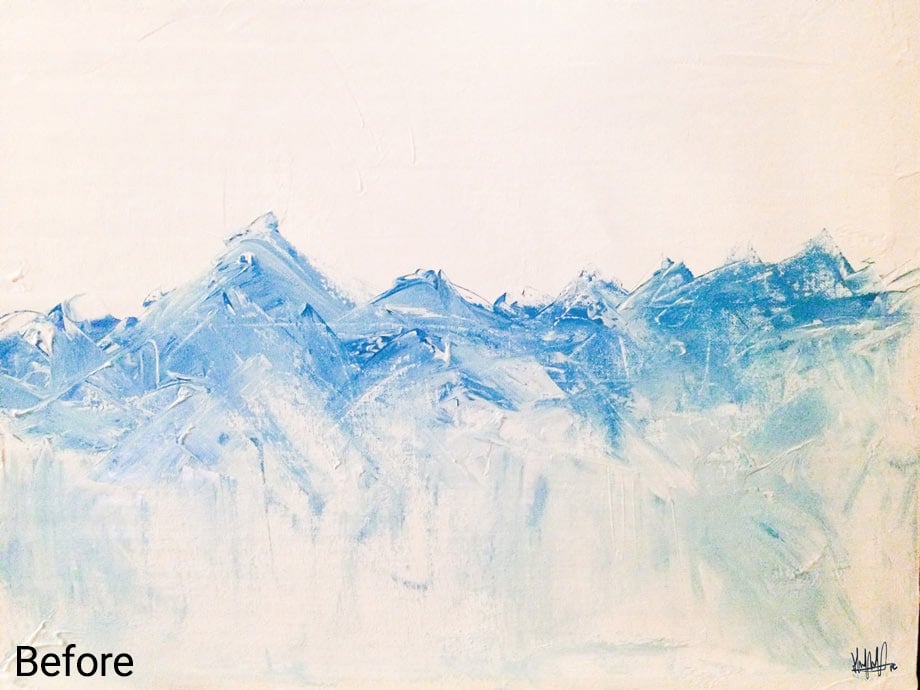
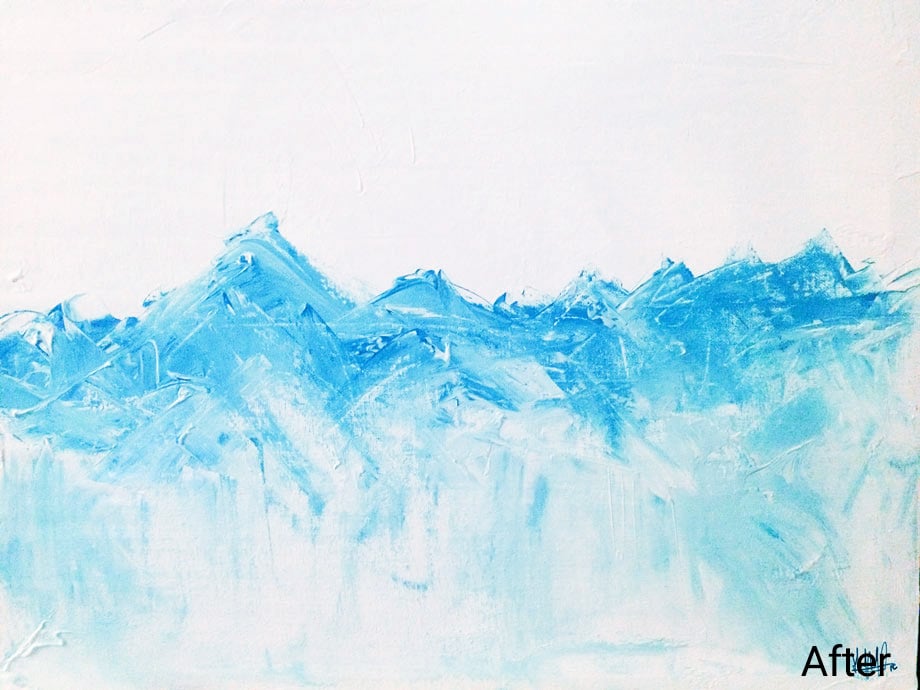
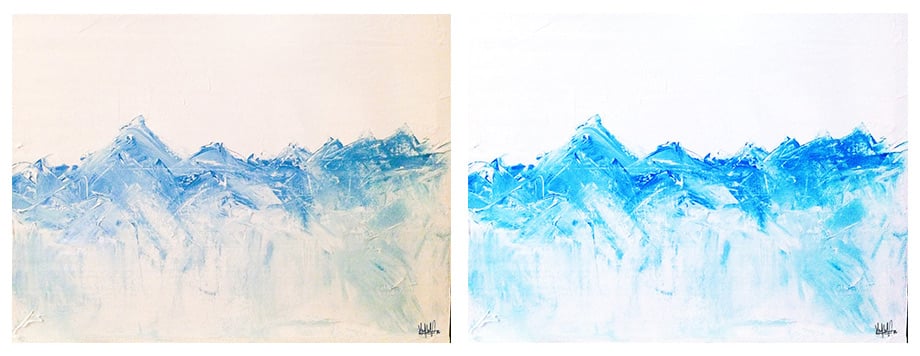
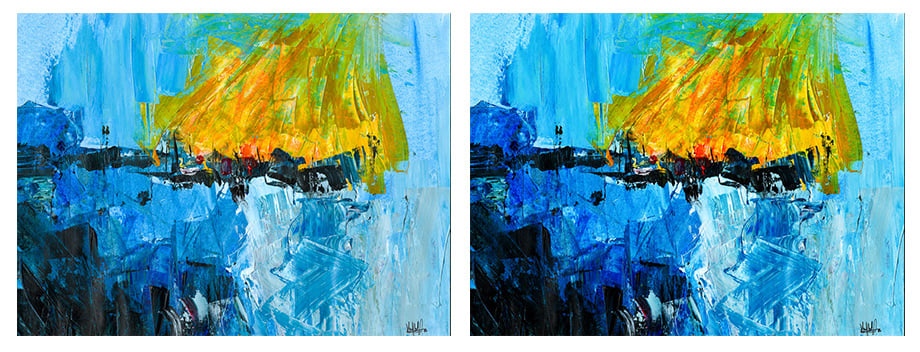
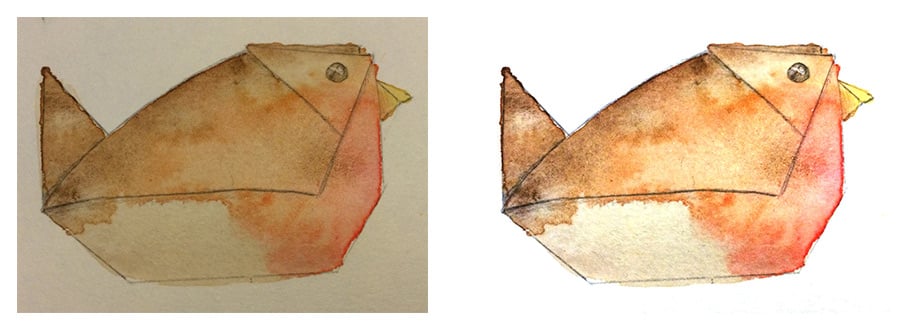
Next, we can use a curves adjustment layer to brighten up the image and improve the colours a bit:
And that’s it, we’re good to go!
Correcting Colour Casts
Because our cameras assume everything is neutral gray and light by the sun, any deviation from that can cause a colour cast in our image. Cameras are not as smart as our eyes at correcting for different subjects or different types of lighting, so well probably need to do some colour correction.
For this reason, it’s a great idea to photograph your subject next to a gray card, which will let you alter the image afterwards to get perfect colours, faithful to the original.
In Photoshop, go to Layer > New Adjustment Layer > Curves, and you’ll have a new curves adjustment layer on top of your image, and the following window will pop open:
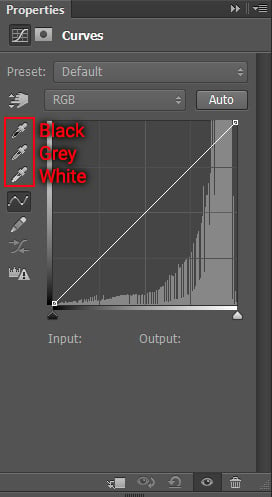
We’ll use the black, grey and white droppers on the left.
- Click on the black dropper, and click on a part of your image that should be neutral black.
- Click on the grey dropper, and click on a part of your image that should be neutral grey.
- Click on the white dropper, and click on a part of your image that should be neutral white.
These three steps should remove any colour cast from your image, and also help to restore some of the brightness and contrast in the image.
Examples
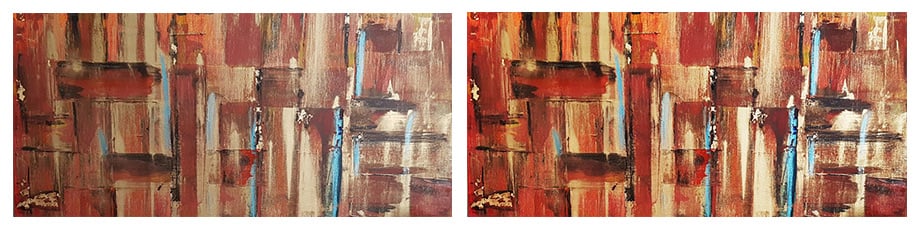
Printed Results
On Luxury Cotton Linen:


On Natural Luxury Cotton Linen:

 Loading...