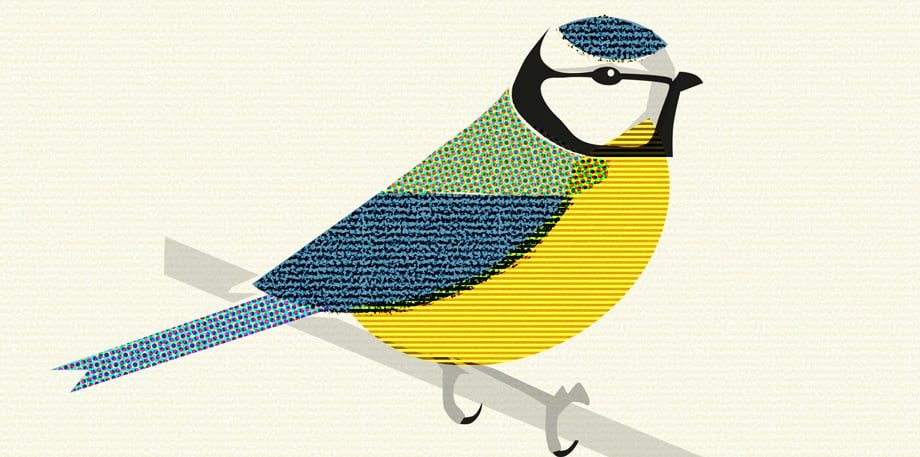
How to imitate the works of old in a modern way.
Screen printing has a very attractive quality to it, but unfortunately the set up costs of screen printing are prohibitive for anything except large print runs. It is in our interest, then, to be able to recreate the effect digitally.
Throughout this guide, I’ll be using Adobe Photoshop, but the effect can be recreated in any good image editing software.
Contents
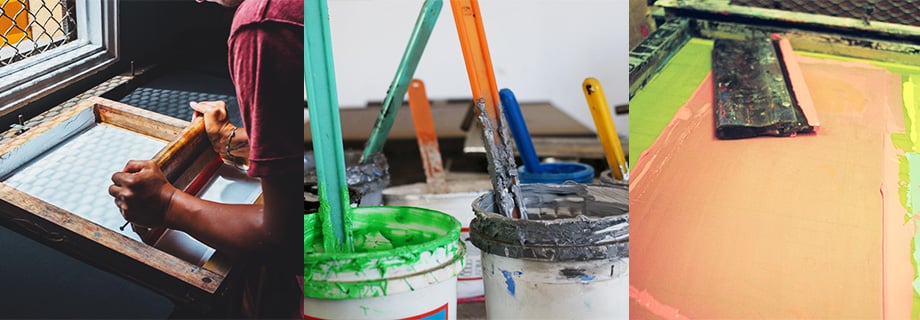
How does screen printing work?
Screen printing is all about layers. Layers of colour.
If you imagine taking an image, it can be broken down into it’s component colours. For example, with a picture of a landscape, you could have the blue sky, the green grass and the brown trees (and maybe a grey cat?). These would make up your individual screens.
As an example, we can take this image of a feather:
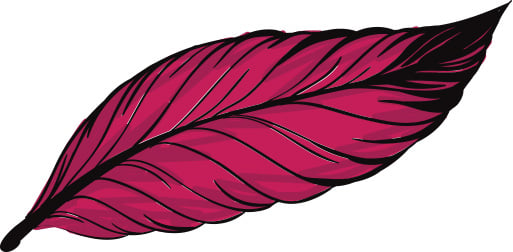
And break it down into its component colours:

We can then use these components to create screens (or masks) of three different colours that would be printed one on top of the other to create the final image.
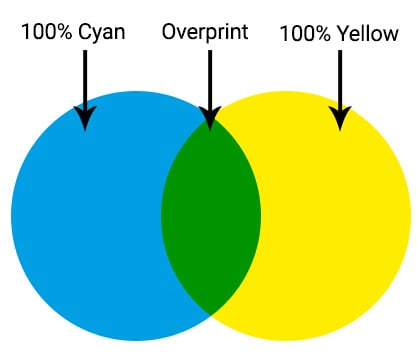
Depending on the type of paint/ink you are using, when certain colours are printed on top of one another, you will get a mix of those colours.
Part of the art of screen printing is managing this mixing (called overprint) to produce the desired results.
Here’s an example of colour mixing:
So with the feather example, the third screen with the shading might be better to print using a grey colour as opposed to a dark purple, to get the resulting shading. Alternatively, a half tone pattern of black could be used for the shading, giving us just two screens instead of three.
Okay, so how do I recreate this digitally?
Our trick is going to be to use layers in Photoshop set to the multiply blend mode to recreate this effect.
There are many ways to do this, but the following, I have found, is the easiest, most flexible way to recreate a screen print.
First, you want to create your background layer. A simple, plain colour will do for the moment.
Now, for each colour in your artwork, you will need to create a group. I’m going to start with red, so I’ll create a group and name it Red.
Inside this group, create a white layer, above that a group called ‘Artwork’ and above that a Color Fill adjustment layer. Set the colour of the Color Fill to red (or whatever colour you choose.).
Now, we need to set the Red group to Multiply blend mode and the Colour Fill layer to Screen blend mode.
Finally, we can start creating our image inside the Artwork group. For the artwork, it needs to be all black - the Color Fill layer will pick up any black and make it Red.
We then repeat this process for each colour we’d like to simulate in our screen print.
As always, a picture speaks a thousand words - here’s a diagram showing my image and my layers palette:
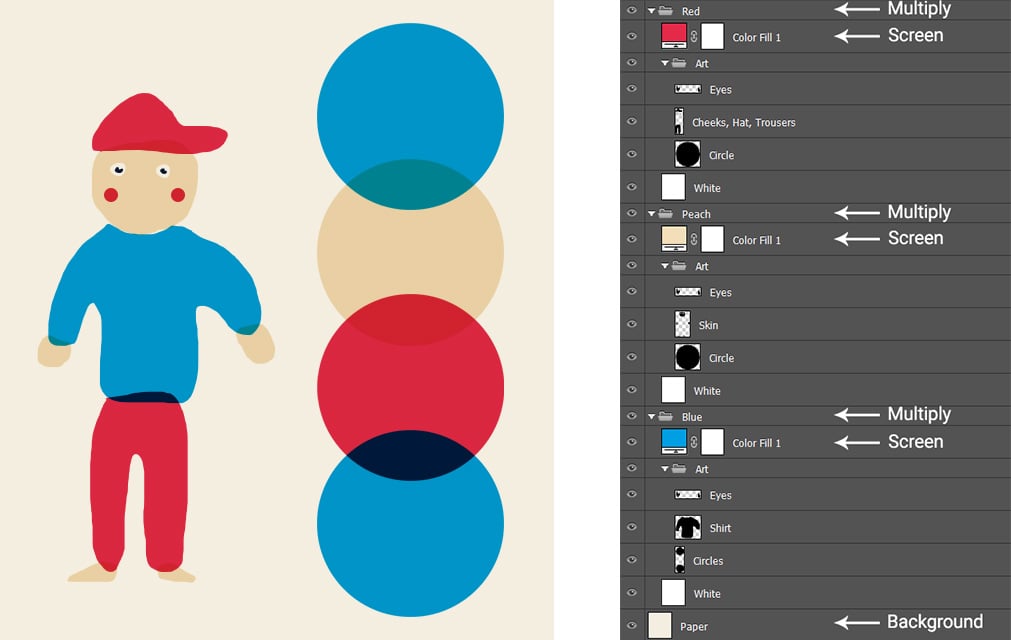
An Example Image
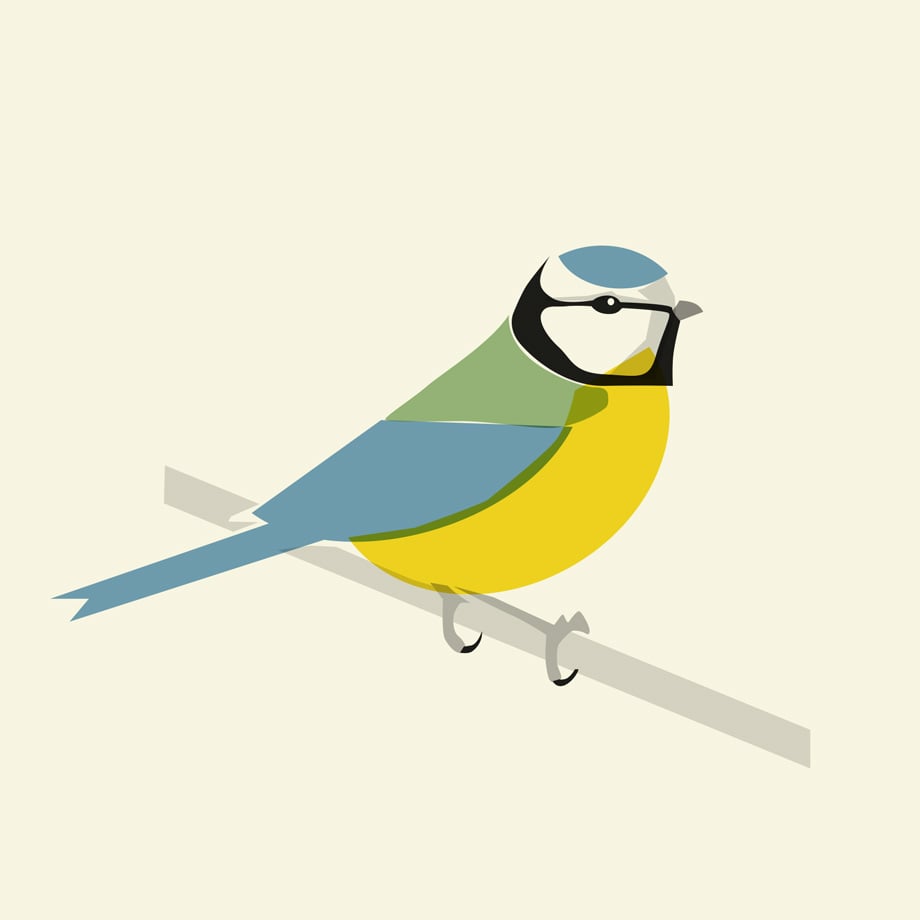
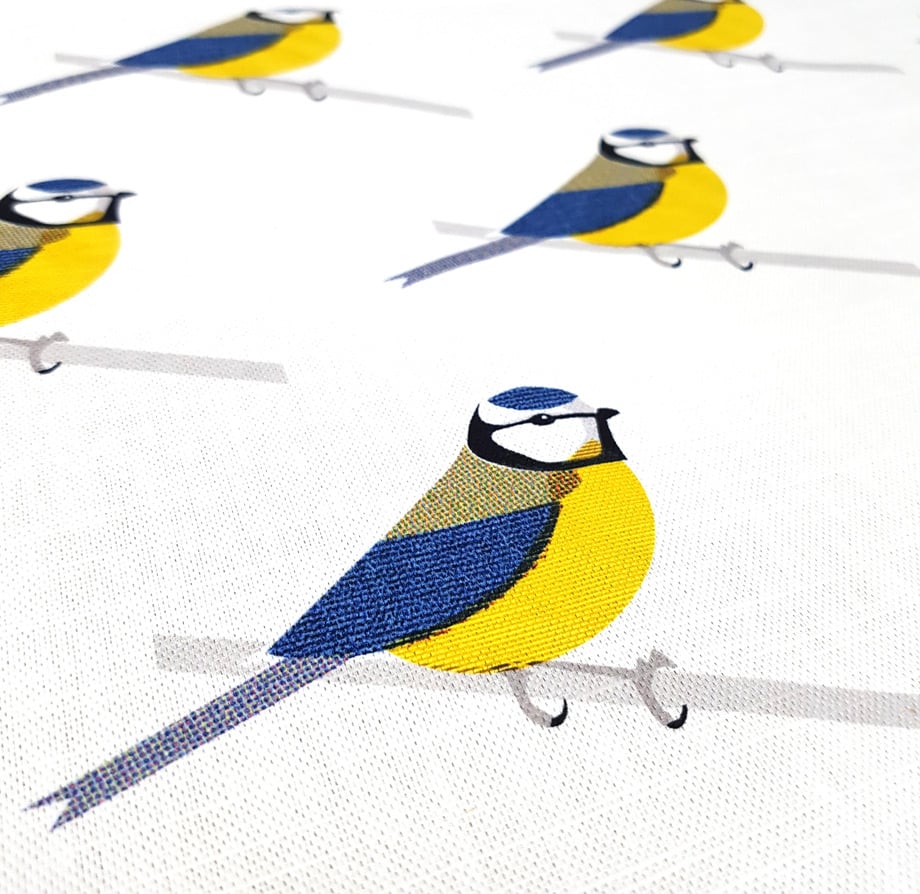
I’m going to create an image of a Blue Tit using a screen print style. I start by creating all the elements I want to put together:

Once combined, it produces something like this:
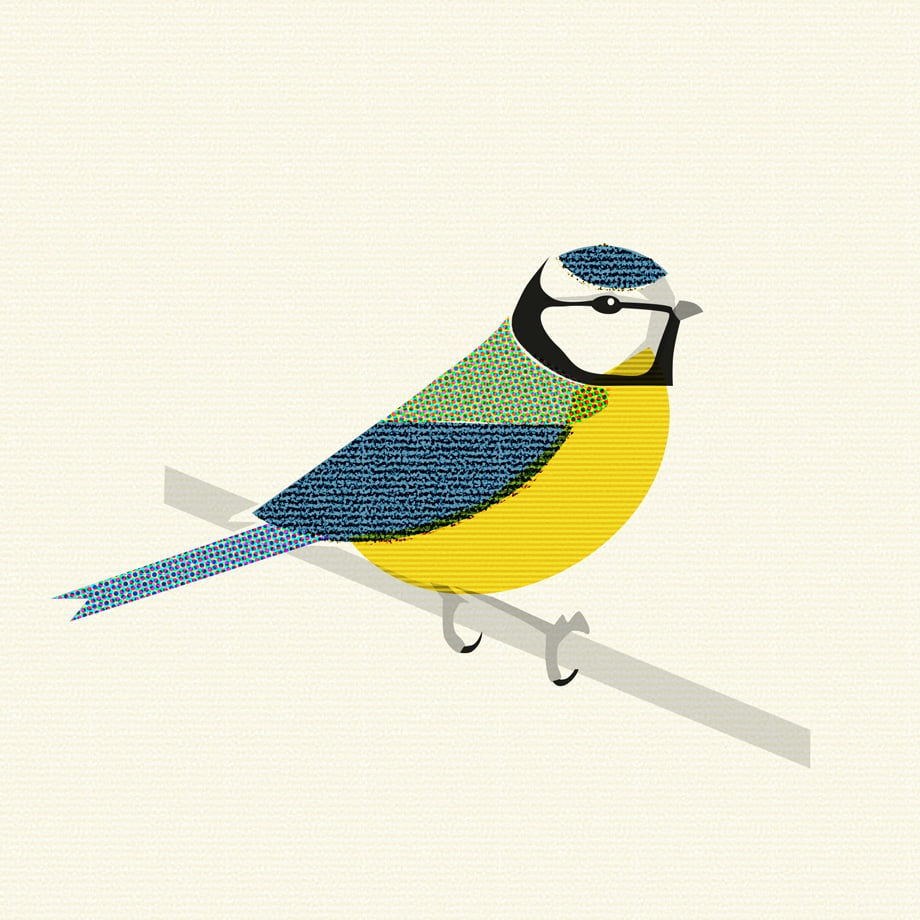
And I’ll add a bit of extra visual interest to the picture:
Here’s the layers being stacked on one another:
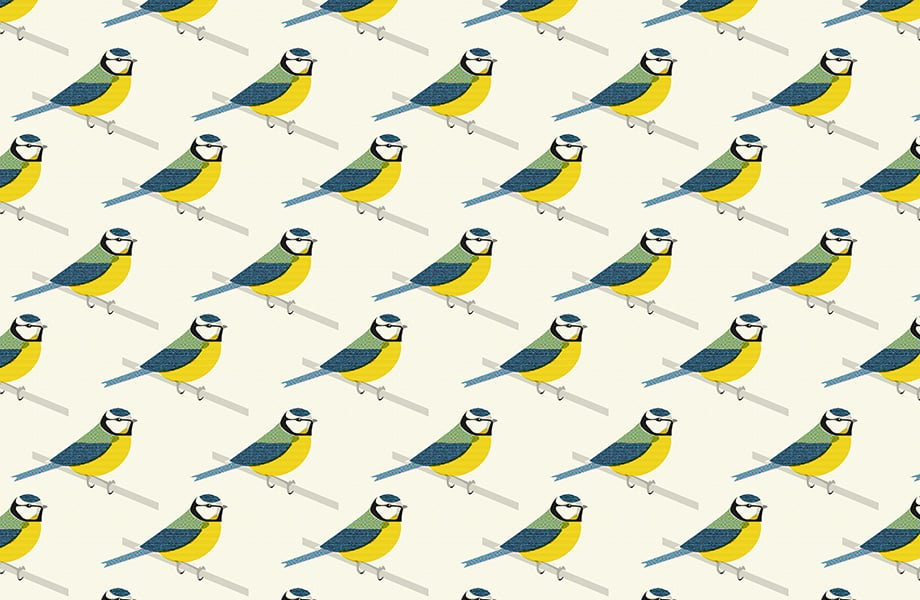
And here’s a tiled result:
And here it is printed:
 Loading...