Create an anti-microbial snood suitable for all day wear.
Contents
Introduction
If you’re going to be wearing a mask all day, you want to try and make sure it is going to stay clean and germ free.
Using our Anti-Microbial Stretch Lycra, you can create a double layer snood to protect you and those around you while looking stylish.
Our anti-microbial stretch lycra is an innovative stretch fabric that uses a Silverplus® anti-microbial finish that can help maintain freshness with prolonged use. It can also be washed at 60 degrees for deep sterlization.
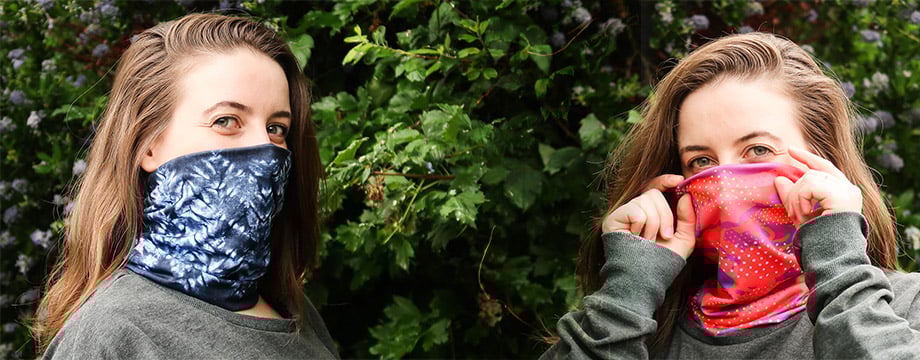
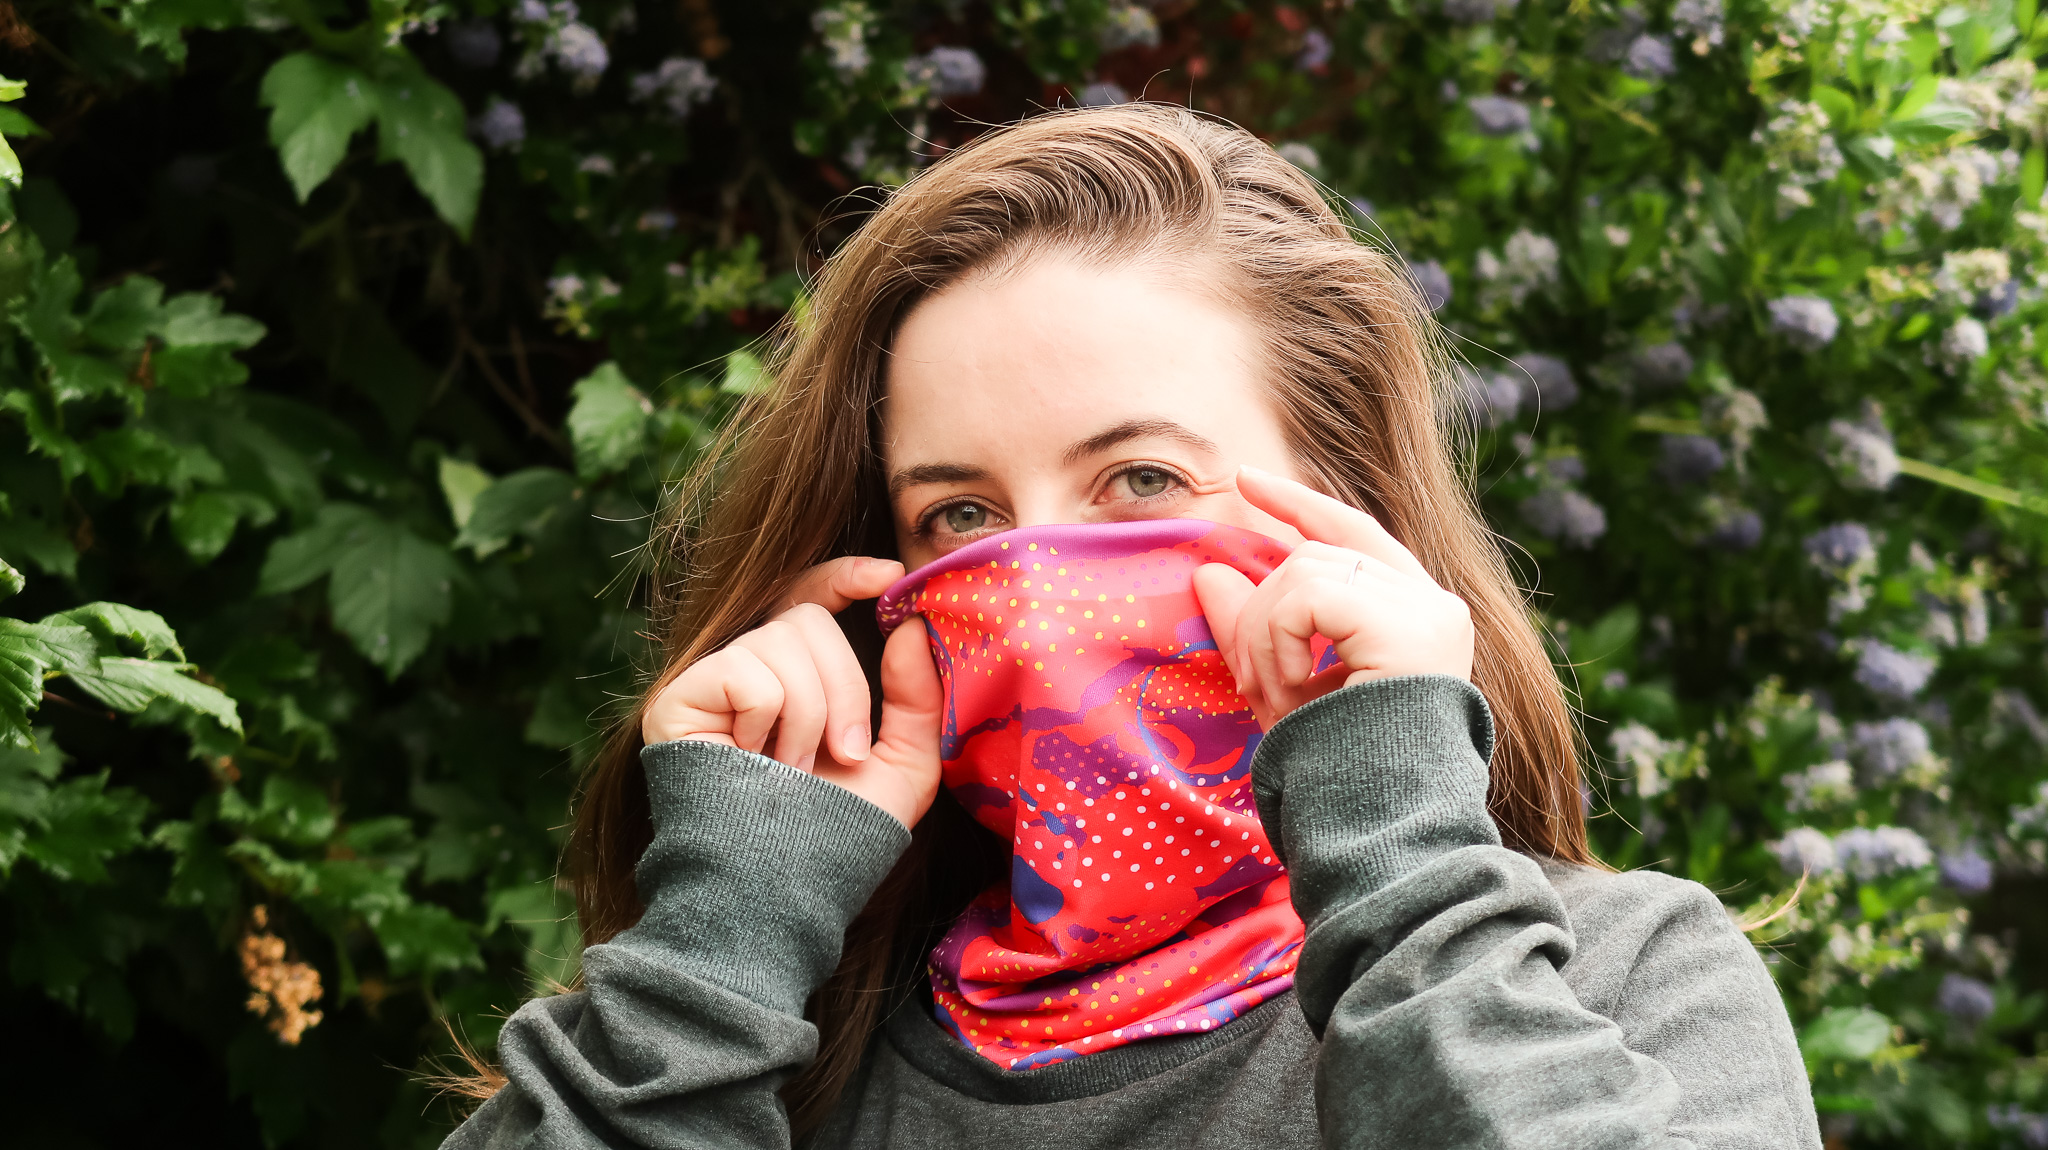
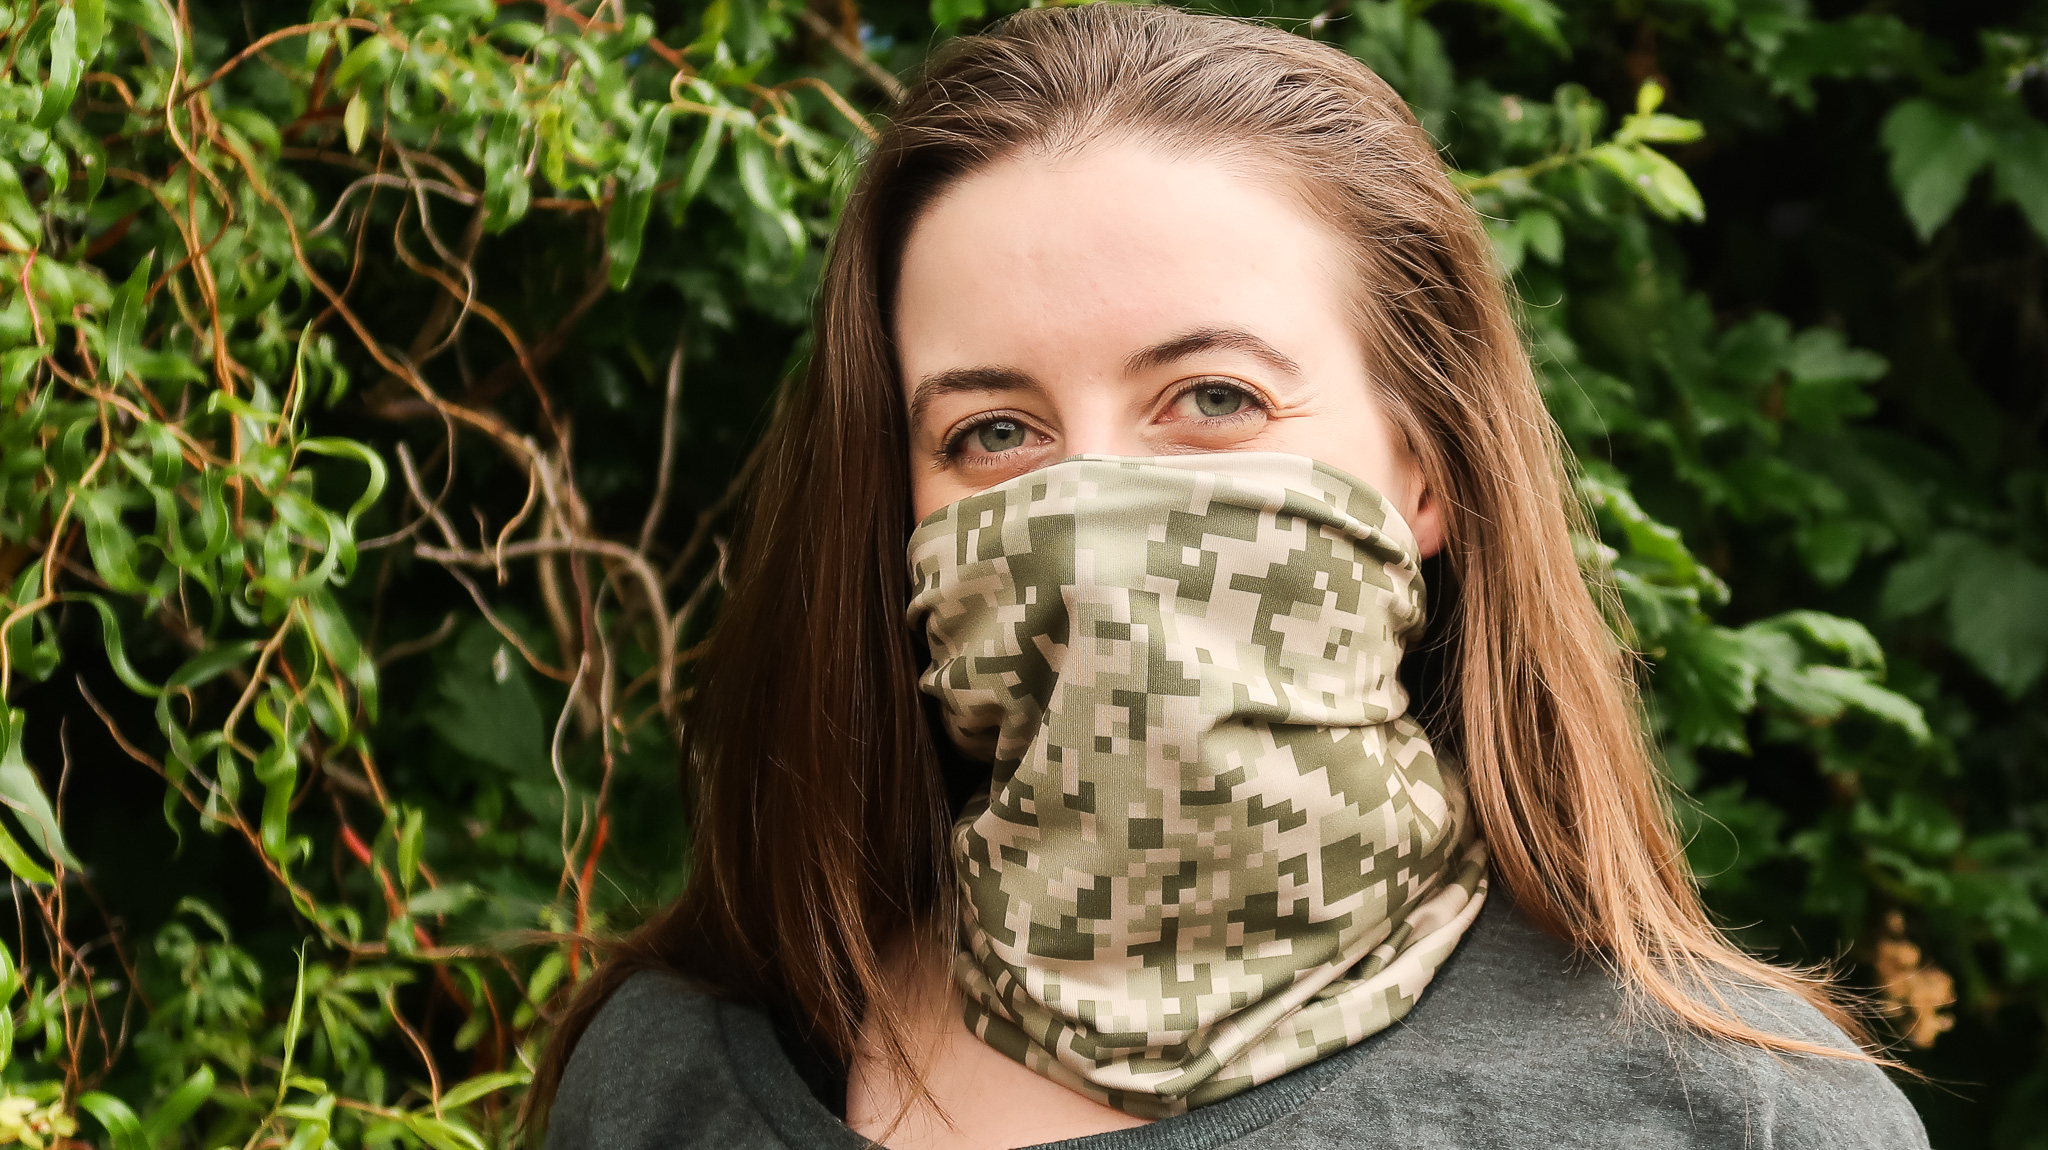
A snood, also known as a gaiter mask, neck tube or buff, can provide a first line of defense for your body and help protect others.
They are comfortable for all day use and only take 20 minutes to make. They are double layered for added protection.
Disclaimer
The face masks described in this blog post have not been tested or approved for medical use. The instructions have been provided for information only and recommend you conduct your own tests to ensure they are suitable for use. We accept no responsibility for use.
What you’ll need
Sewing Machine

It would be very difficult to hand sew these anti-microbial neck tubes, but still possible. We highly recommend using a sewing machine with a good stretch stitch.
If you have an overlocker, you’ll get great results using that in place of the stretch stitch used for the main part of the sewing.
Fabric

You’ll need a piece of our anti-microbial stretch lycra. A fat quarter will make one snood and a metre should make four.
You can make it from a single piece of fabric with a single pattern, or you can make it with an inner and outer layer.
For a single pattern / piece of fabric, we recommend the following:
| Size | Width | Length |
|---|---|---|
| Small/Ladies | 46cm / 18in | 50cm / 20in |
| Medium/Universal | 48cm / 19in | 50cm / 20in |
| Large/Mens | 51cm / 20in | 50cm / 20in |
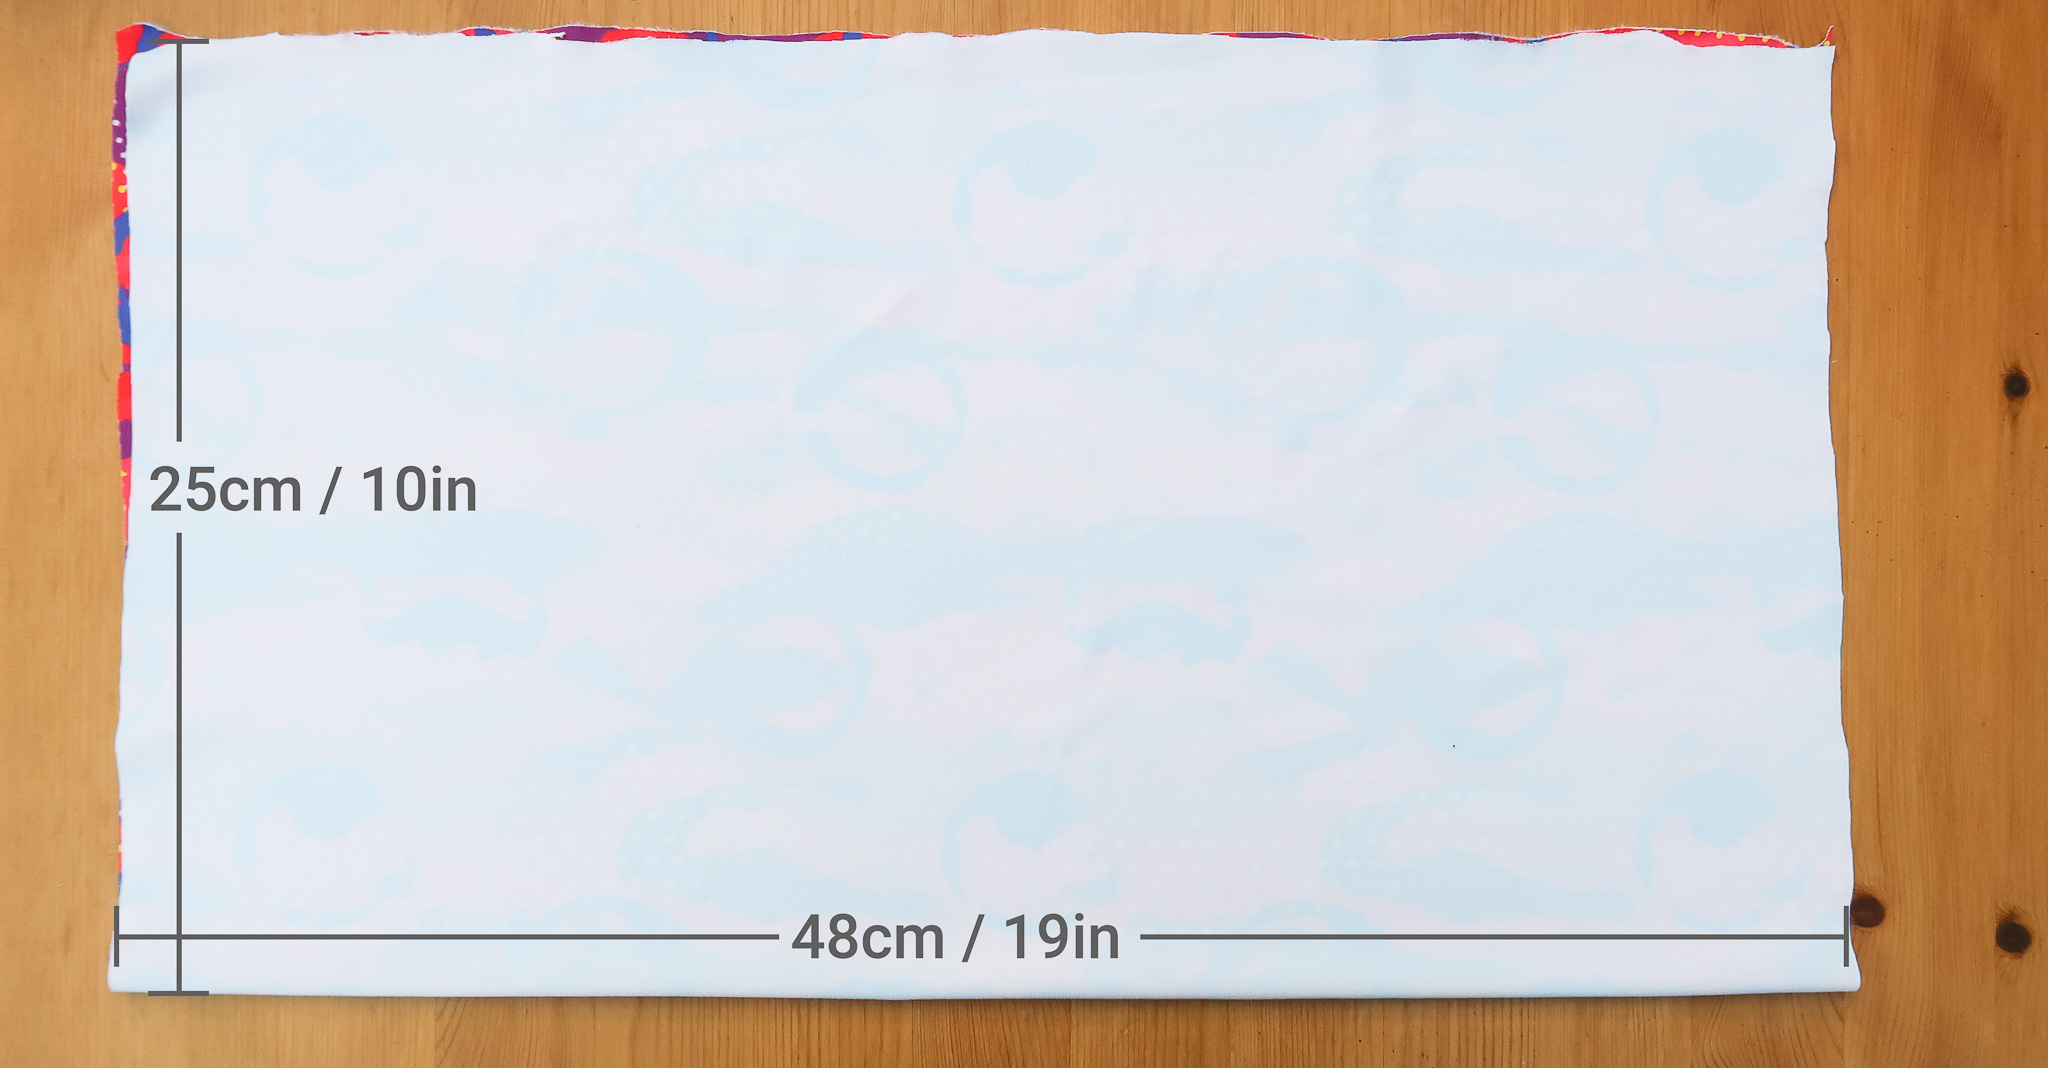
For a dual pattern / reversible design, you’ll need two pieces of fabric measuring the following:
| Size | Width | Length |
|---|---|---|
| Small/Ladies | 46cm / 18in | 25cm / 10in |
| Medium/Universal | 48cm / 19in | 25cm / 10in |
| Large/Mens | 51cm / 20in | 25cm / 10in |
Make sure that the width is across the weft of the fabric. This is the stretchiest direction and will make the snood much easier to take on and off. If in doubt, hold the fabric in your hands and pull to the sides - the lines should run up and down, not side to side.
You should err on the side of making it wider than you think, because at step 7 you can always make it a bit smaller.
Choosing your Stitch
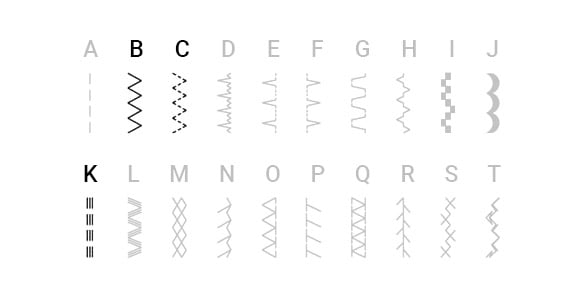
For the main part of this project, you’ll need a strong, stretchy stitch. Do not use a straight stitch, it doesn’t offer much stretch at all and will just snap.
Your sewing machine may have a selection of suitable stitches for this project. If all else fails, your sewing machine will ceratinly have a zig-zag stitch which will work in a pinch.
If possible, use a triple stretch stitch if you feel comfortable using it, or a three step zig-zag for a bit of an easier sewing job.
A stretch overlock stitch will also work well, but can be difficult if your edges aren’t cut exactly straight and inline with eachother.
In this guide, we’re using a three step zig zag stitch.

Sewing Instructions
1) Lay your fabric
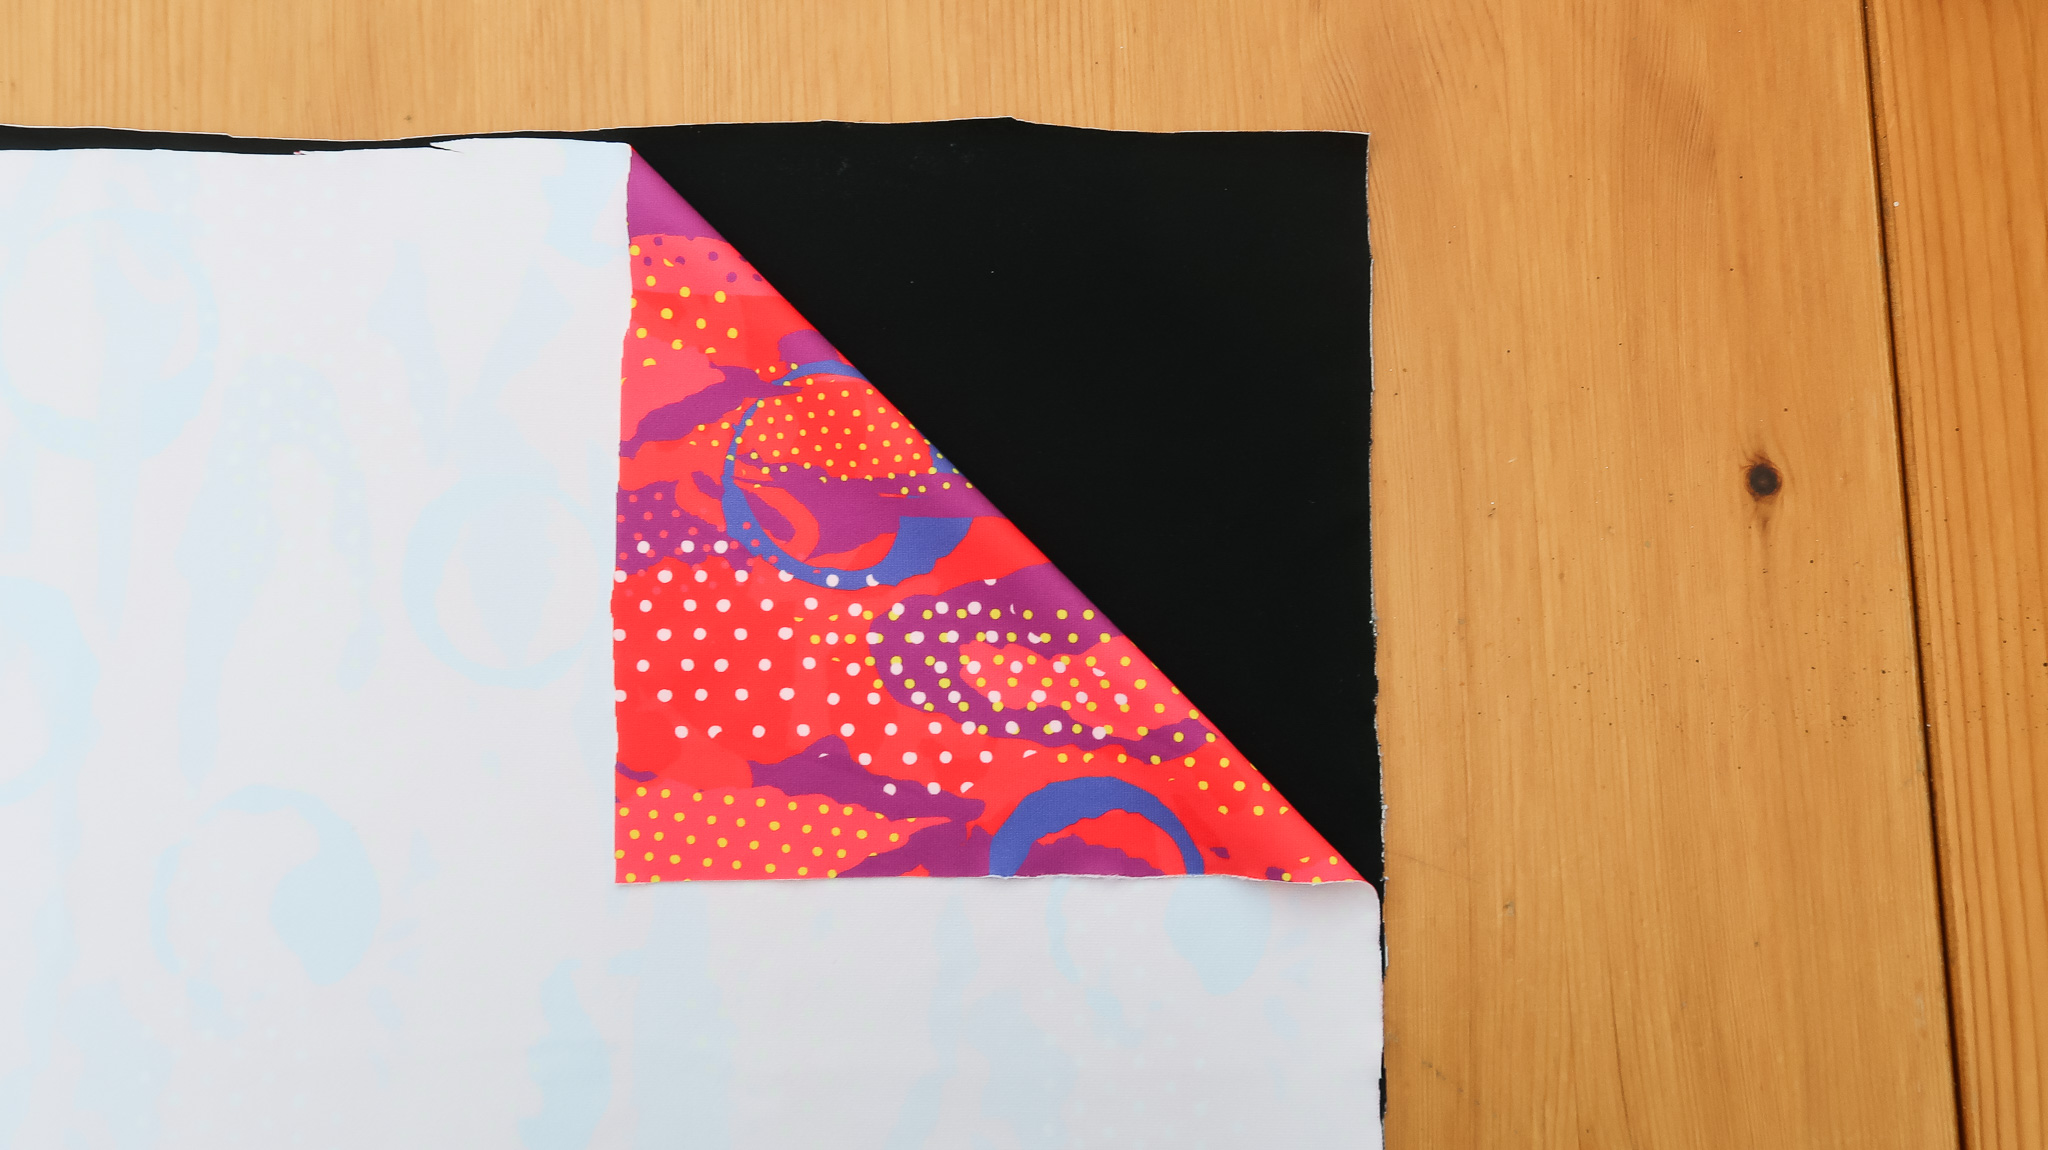
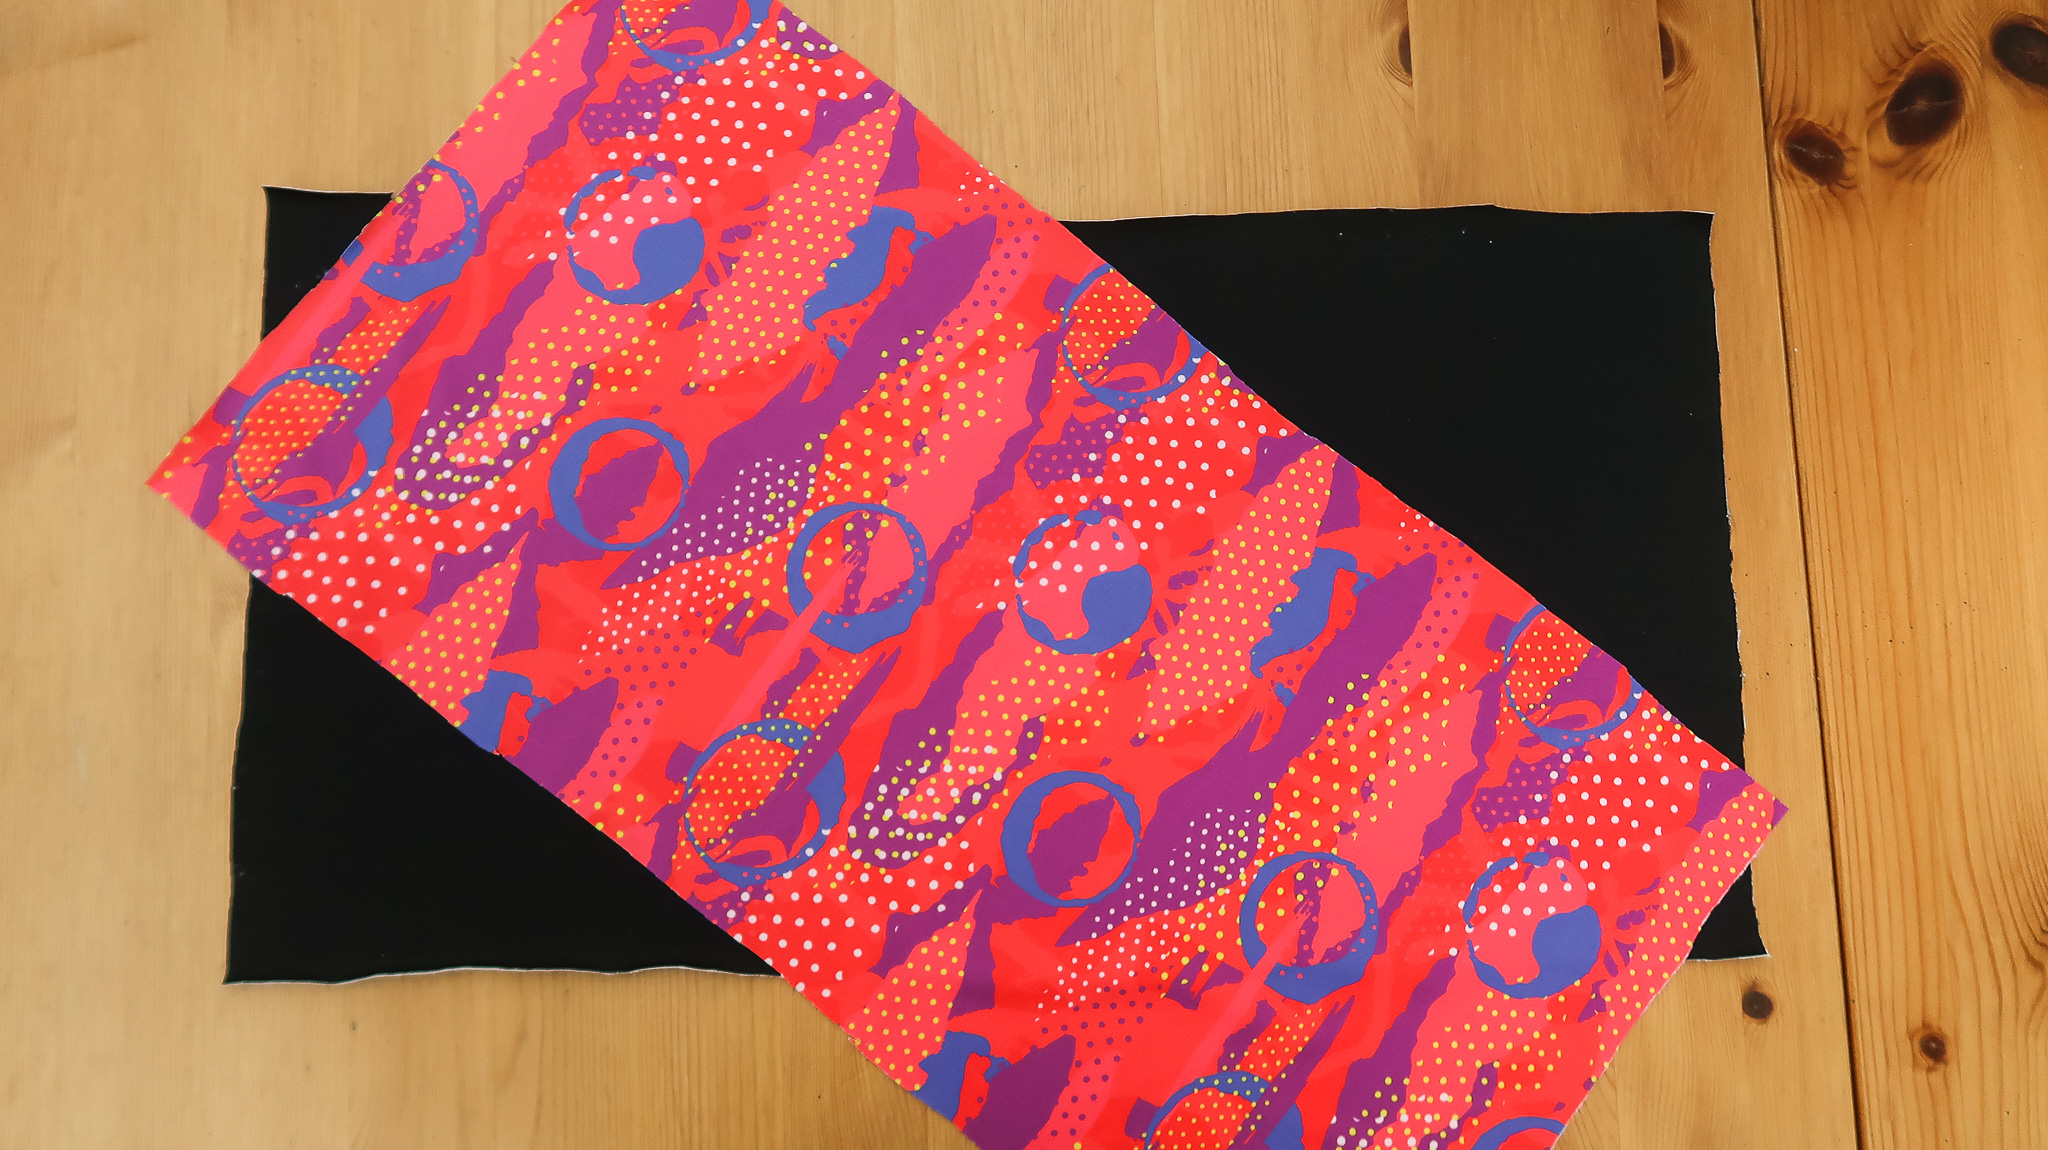
If using a single piece, fold your fabric in half along the 50cm / 20in edge, lining up the rough cut edges as precisely as you can, with print sides facing eachother.
If using two pieces, you’ll need to just lay them on top of eachother with the two printed sides facing eachother.
2) Mark the turning in point
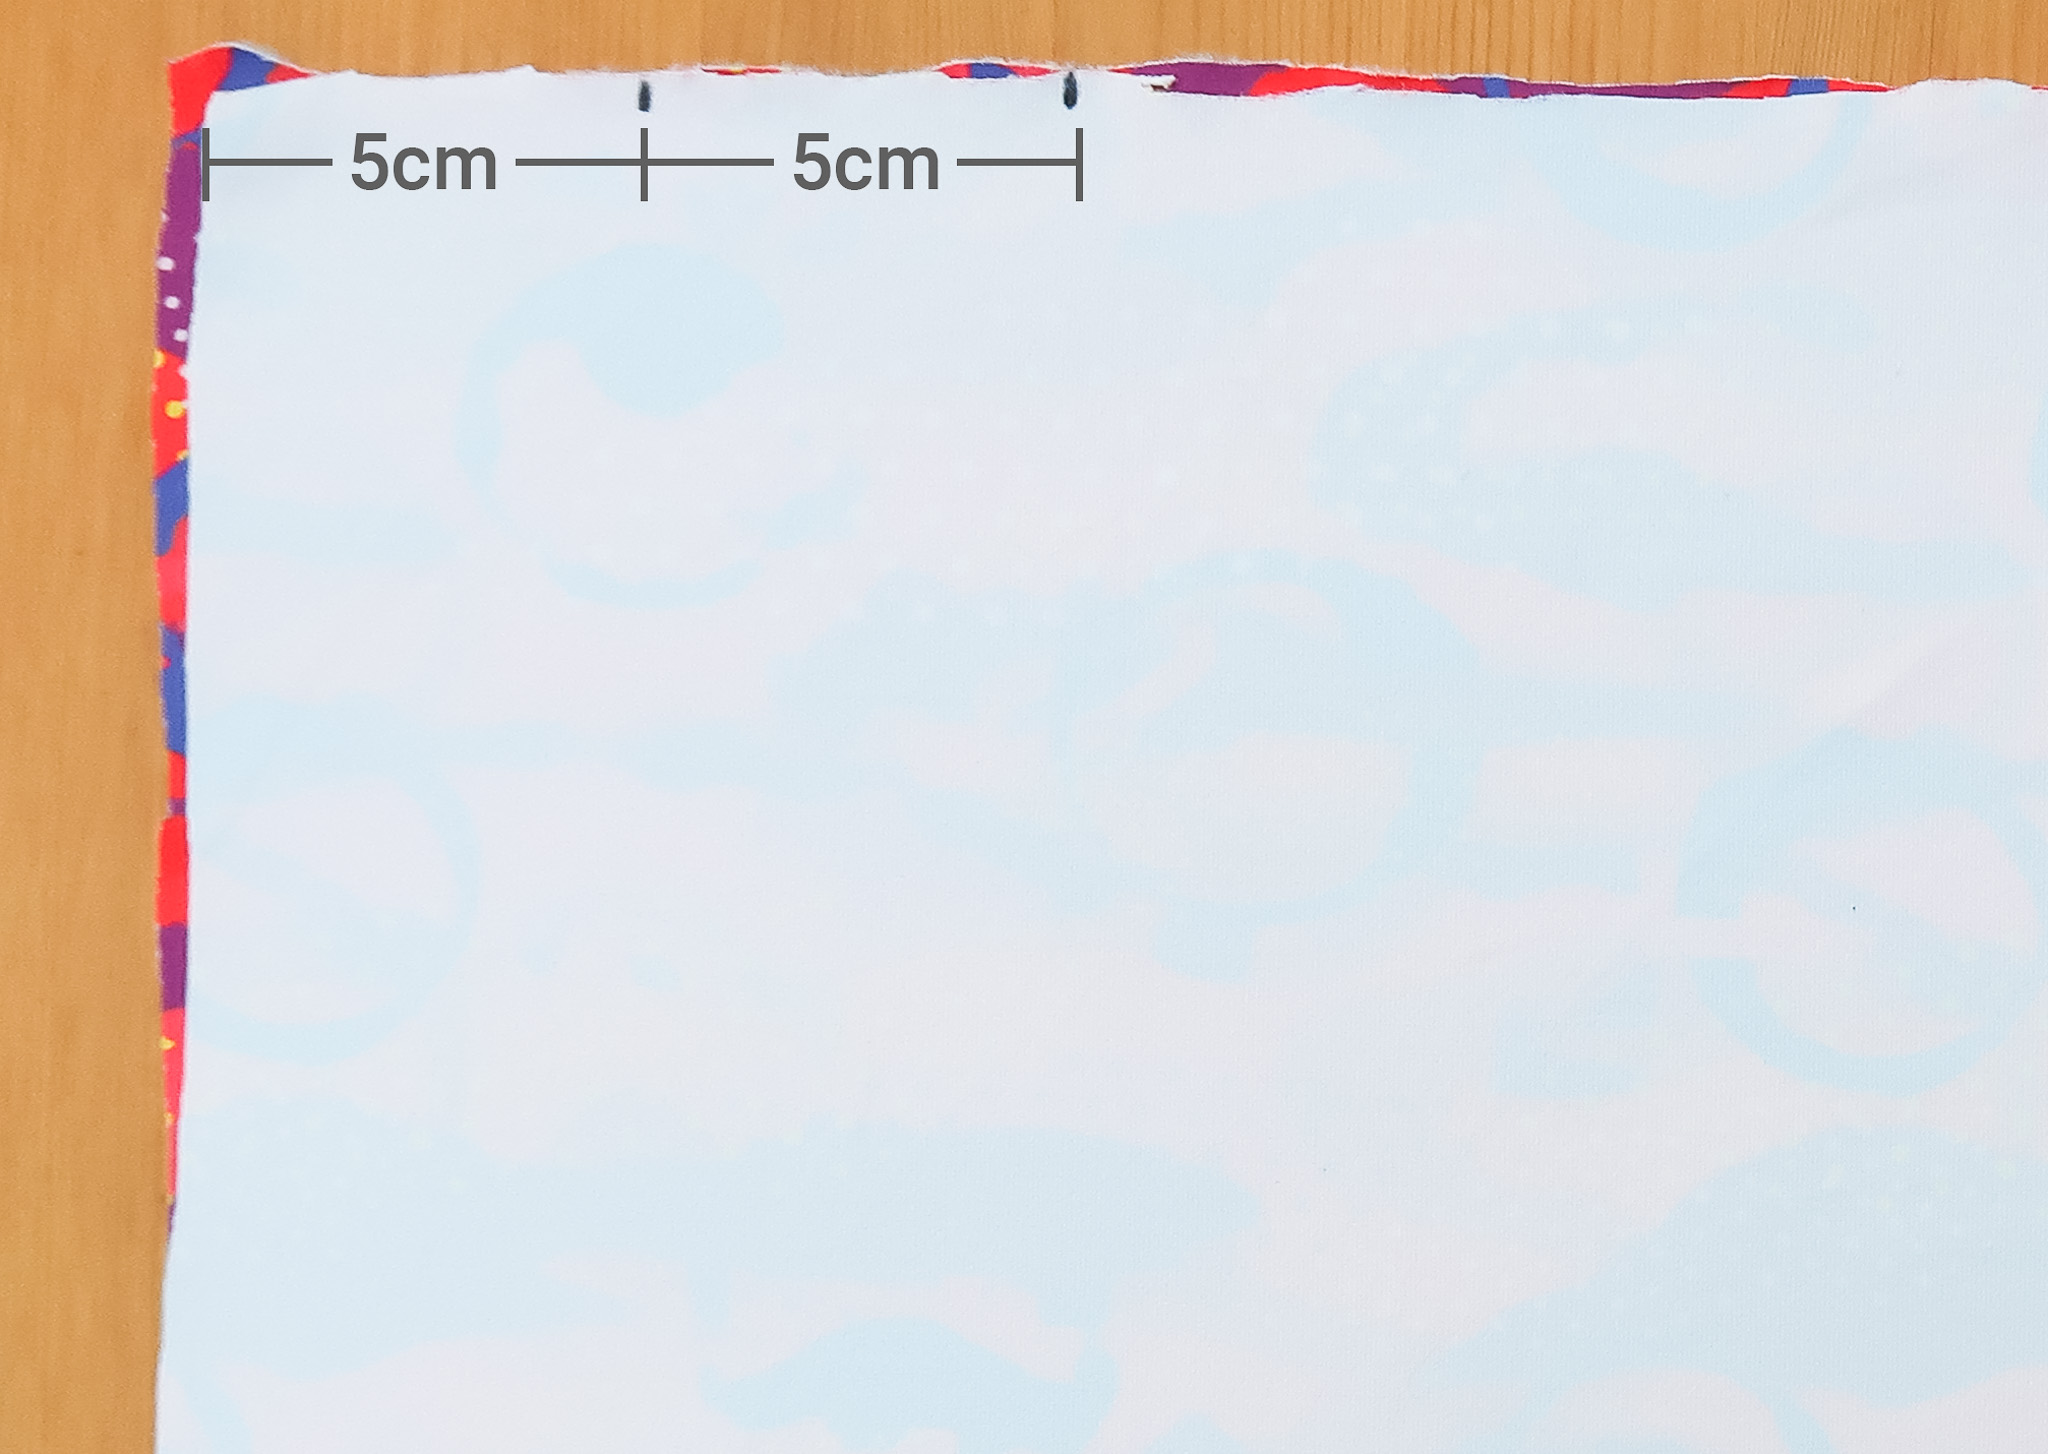
Place a small mark about 5cm / 1½½in from the corner on the long edge, and another mark 5cm / 1½½in from that.
This will serve as your small hole to turn the neck tube inside out, and will be sealed up with a small stitch at the end.
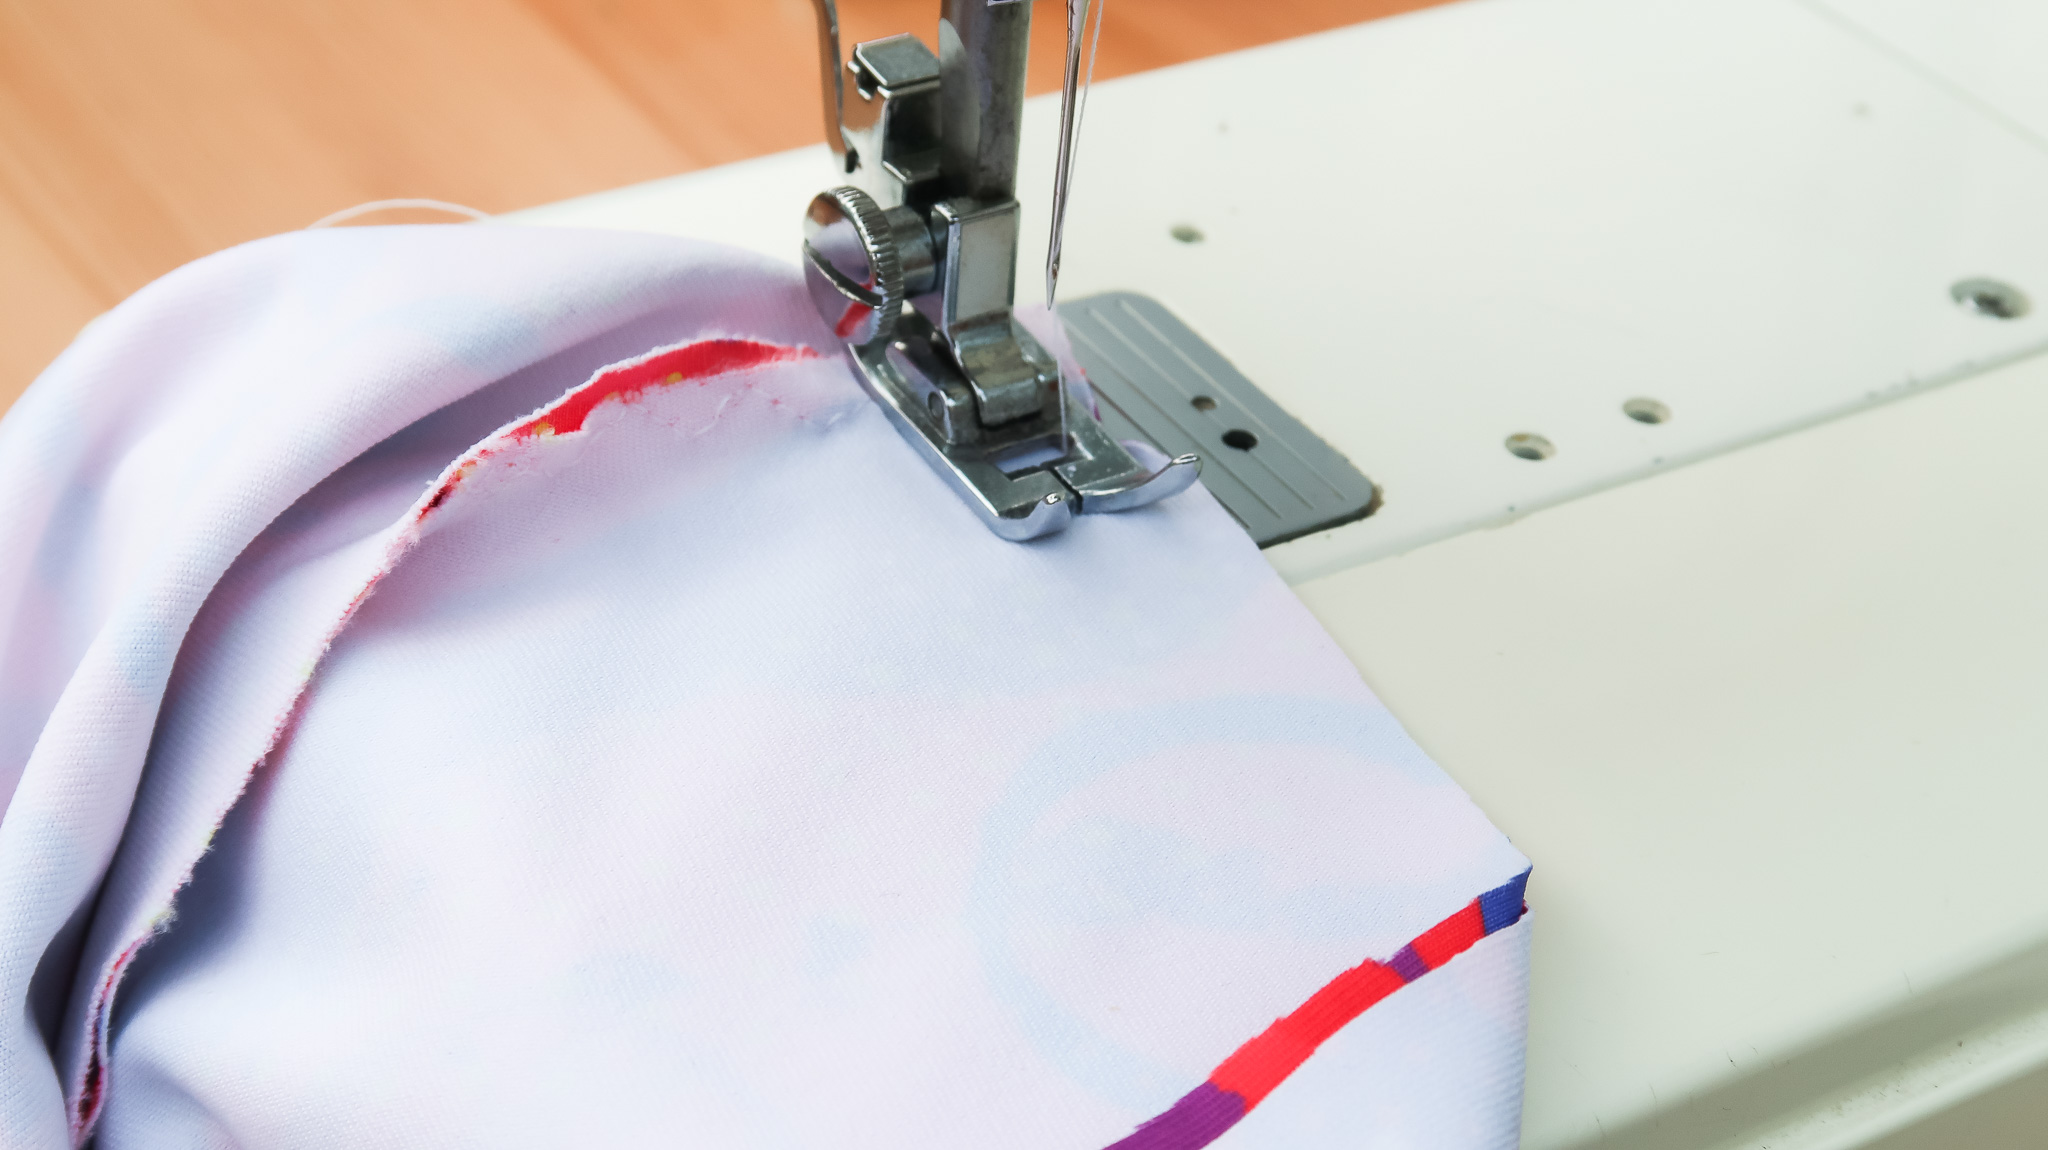
3) Sew the first 5cm hem

Set your sewing machine to a strong, stretchy stitch. You’ll need to refer to your sewing machine manual, but there should be either a triple stretch stitch or an elastic stitch.
If you have a 4 thread overlocker or a serger, you’re best off using that for the added stretch on these edges.
Stitch along the top edge to the first mark, with a short reverse section at the end, and then release your fabric and cut the threads.
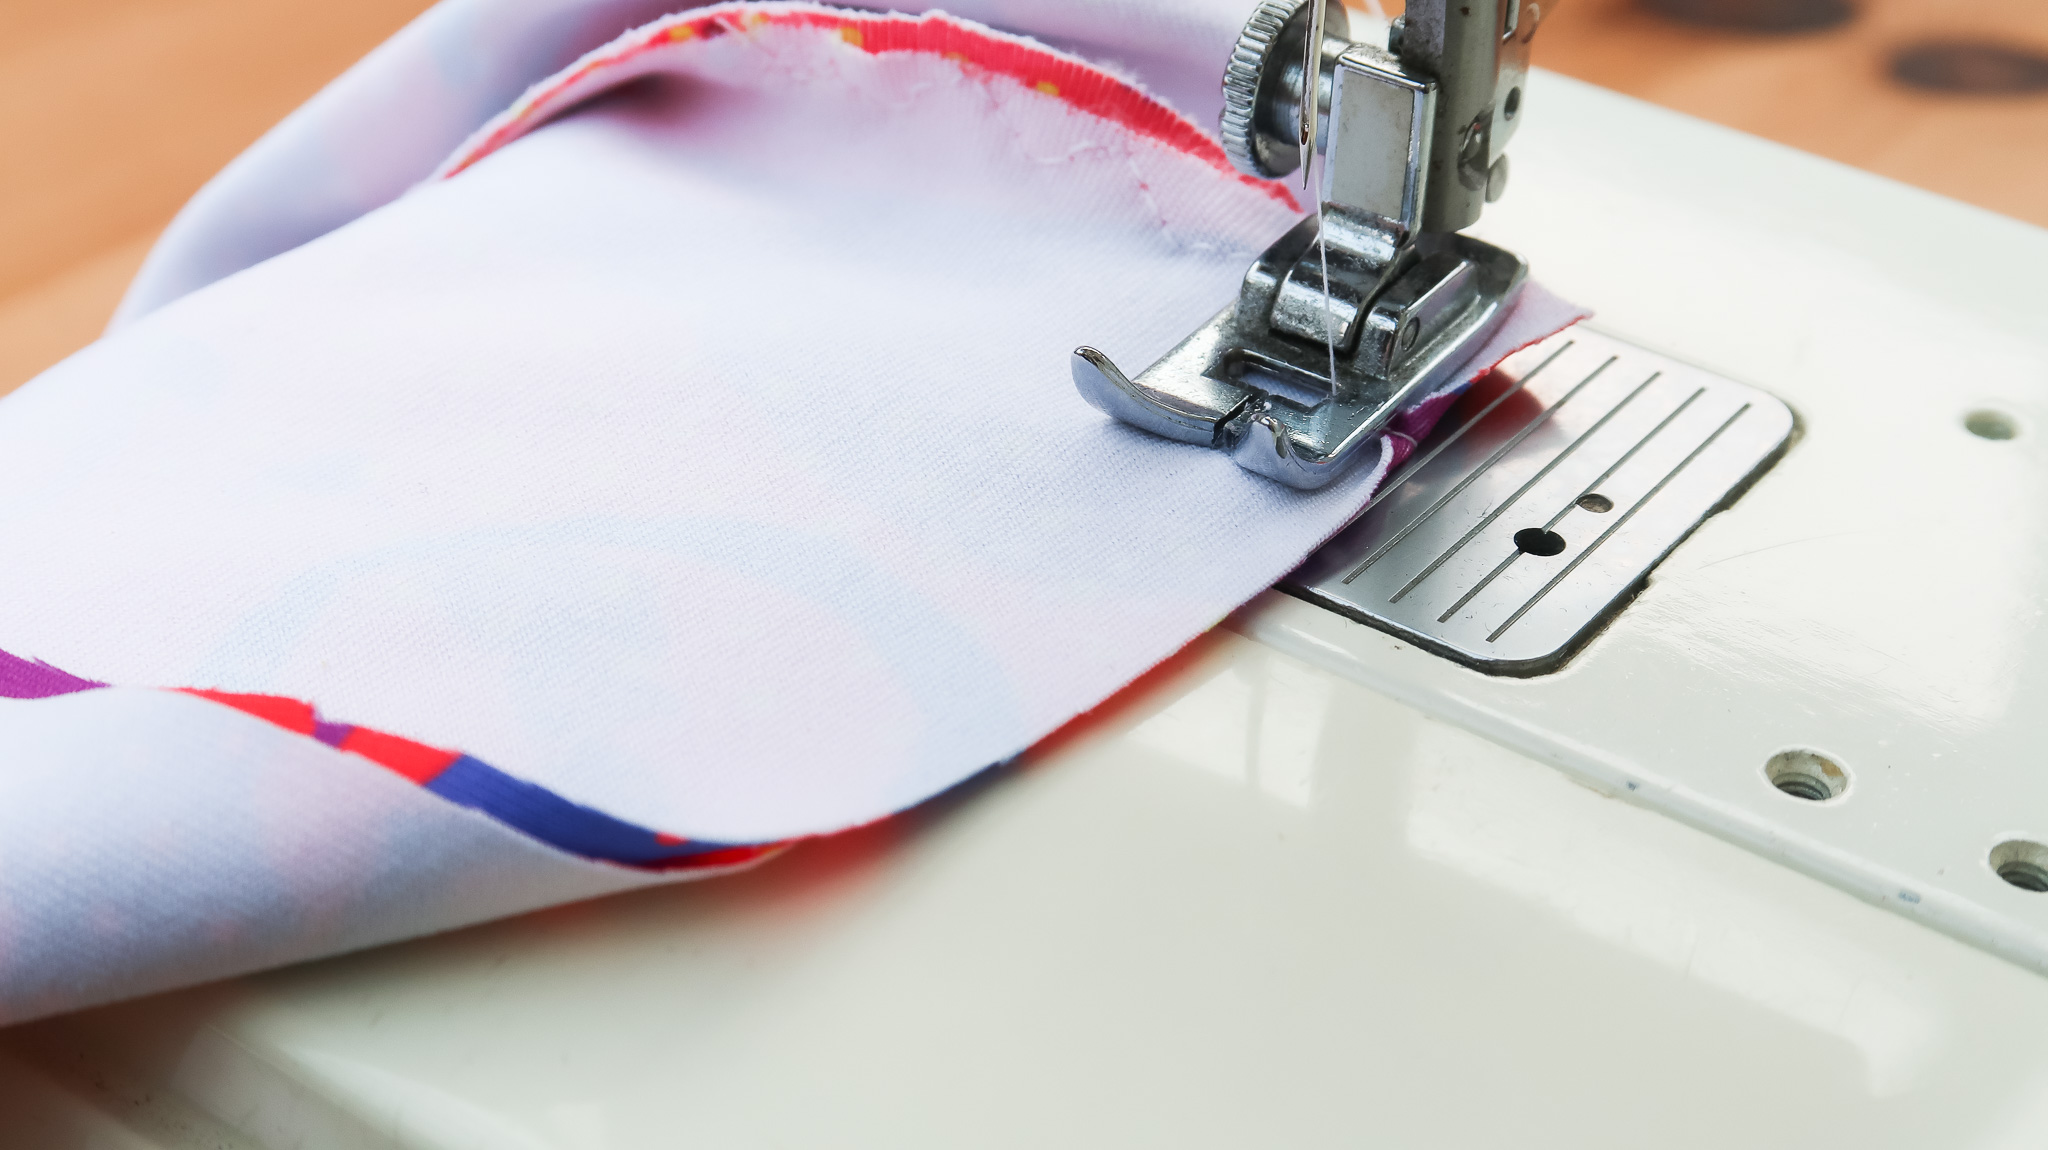
4) Sew the long edge(s)
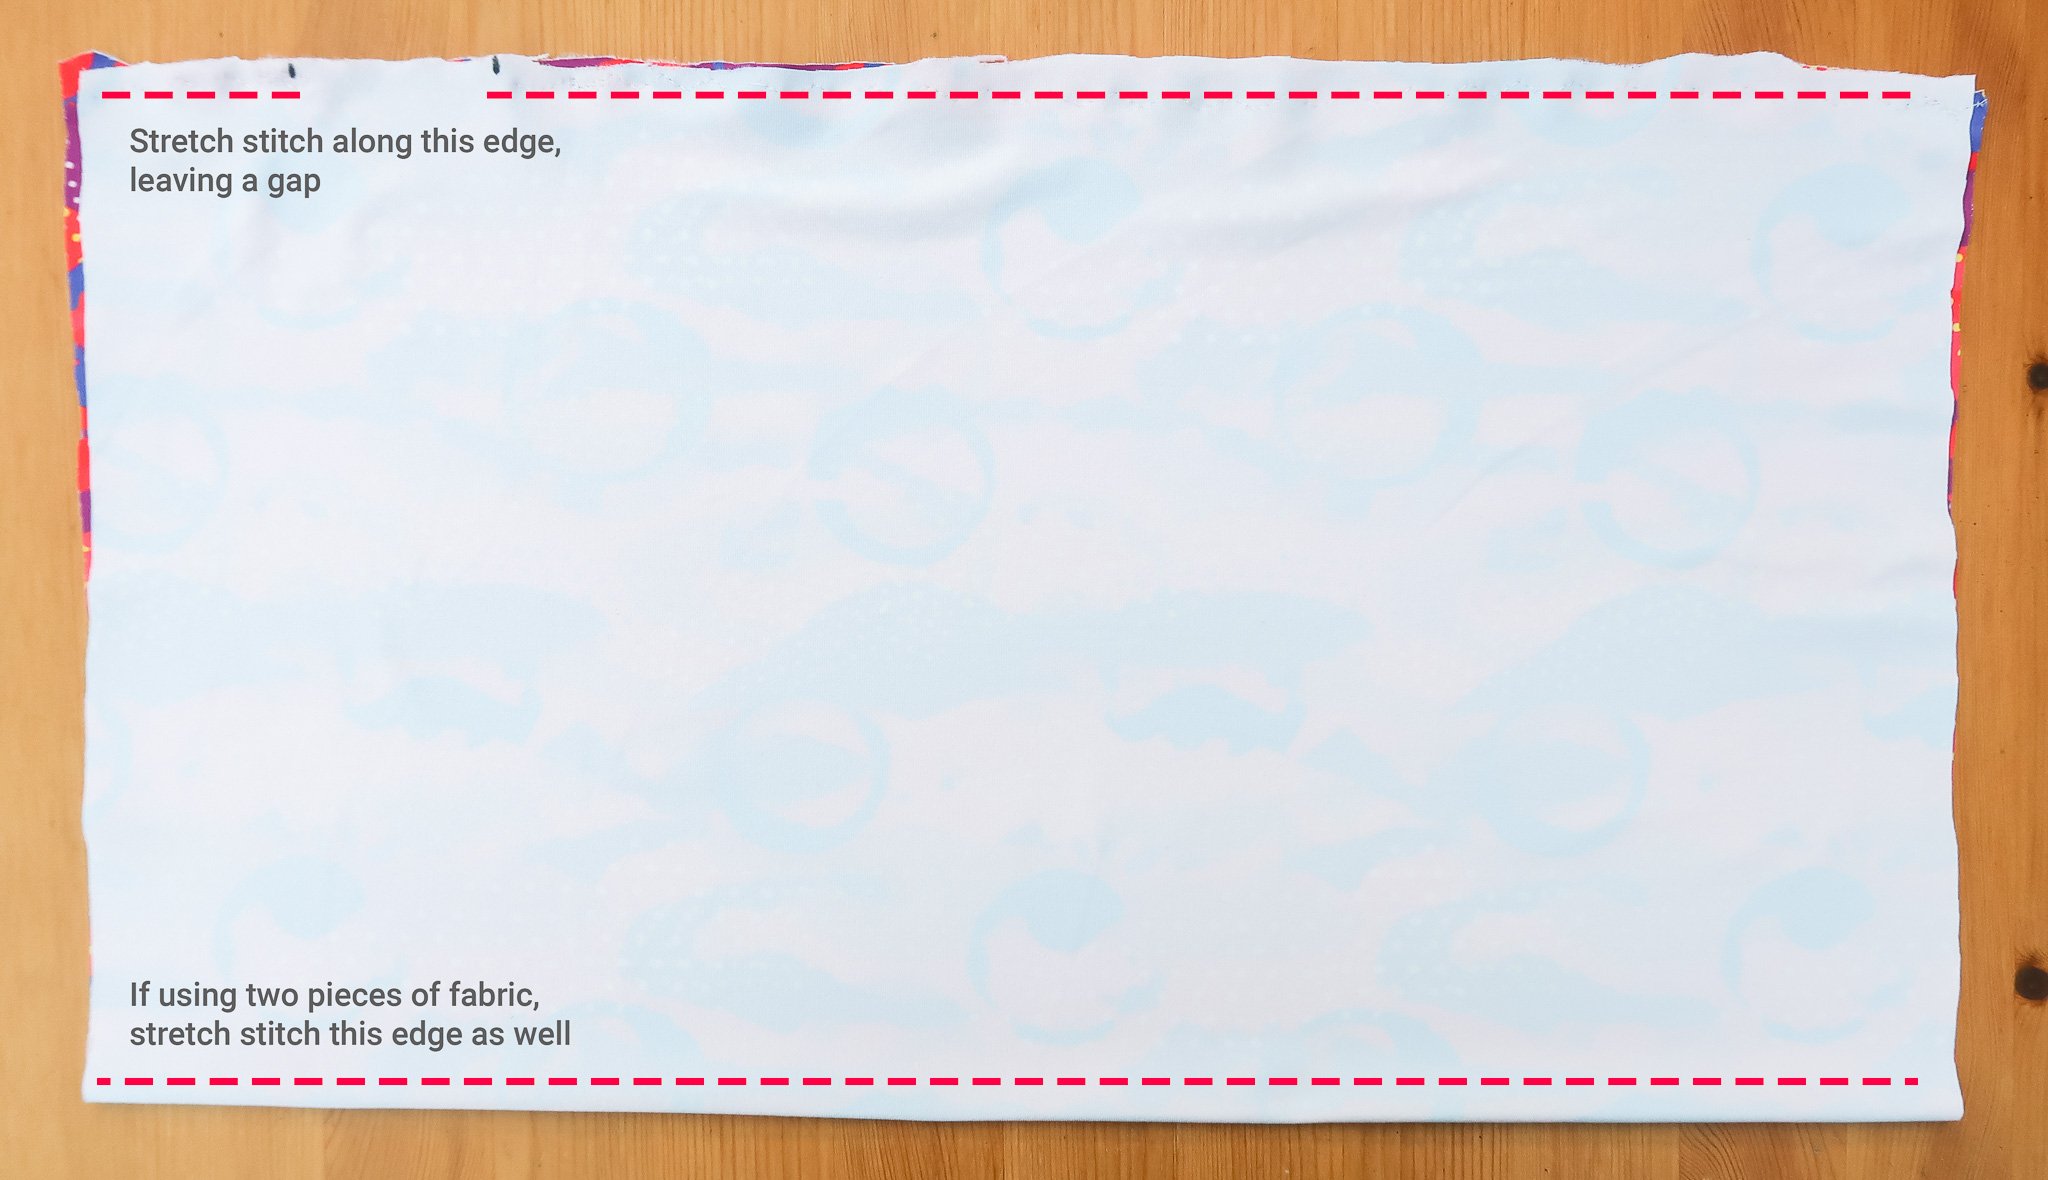
Restart your stitch at the second mark and sew the remaining hem.
If you are not using the folded method, but instead are using two pieces, you will need to stitch the other long edge entirely using the same elastic stitch.
Be sure to do a small reverse section at each end to keep the stitch in place.
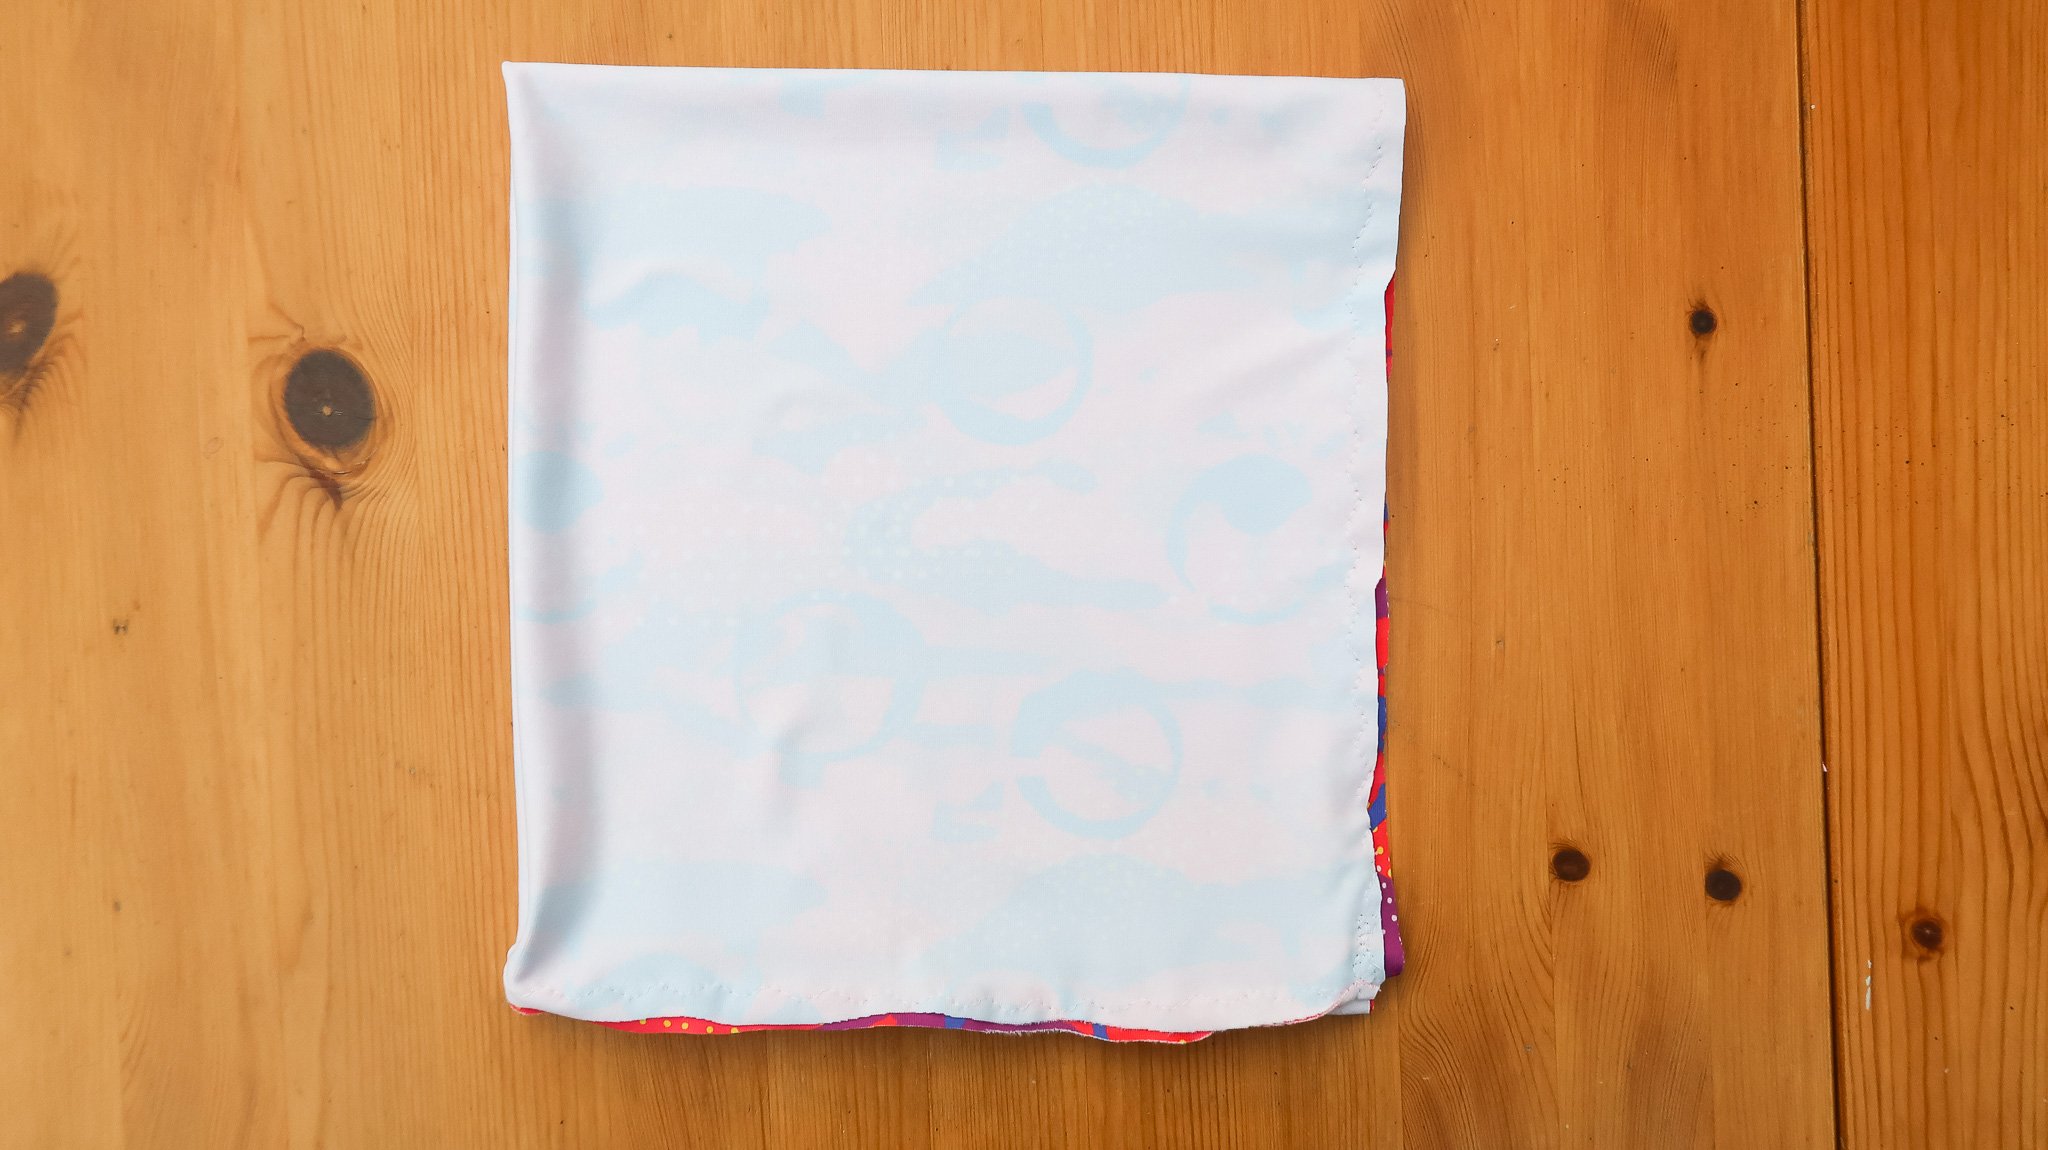
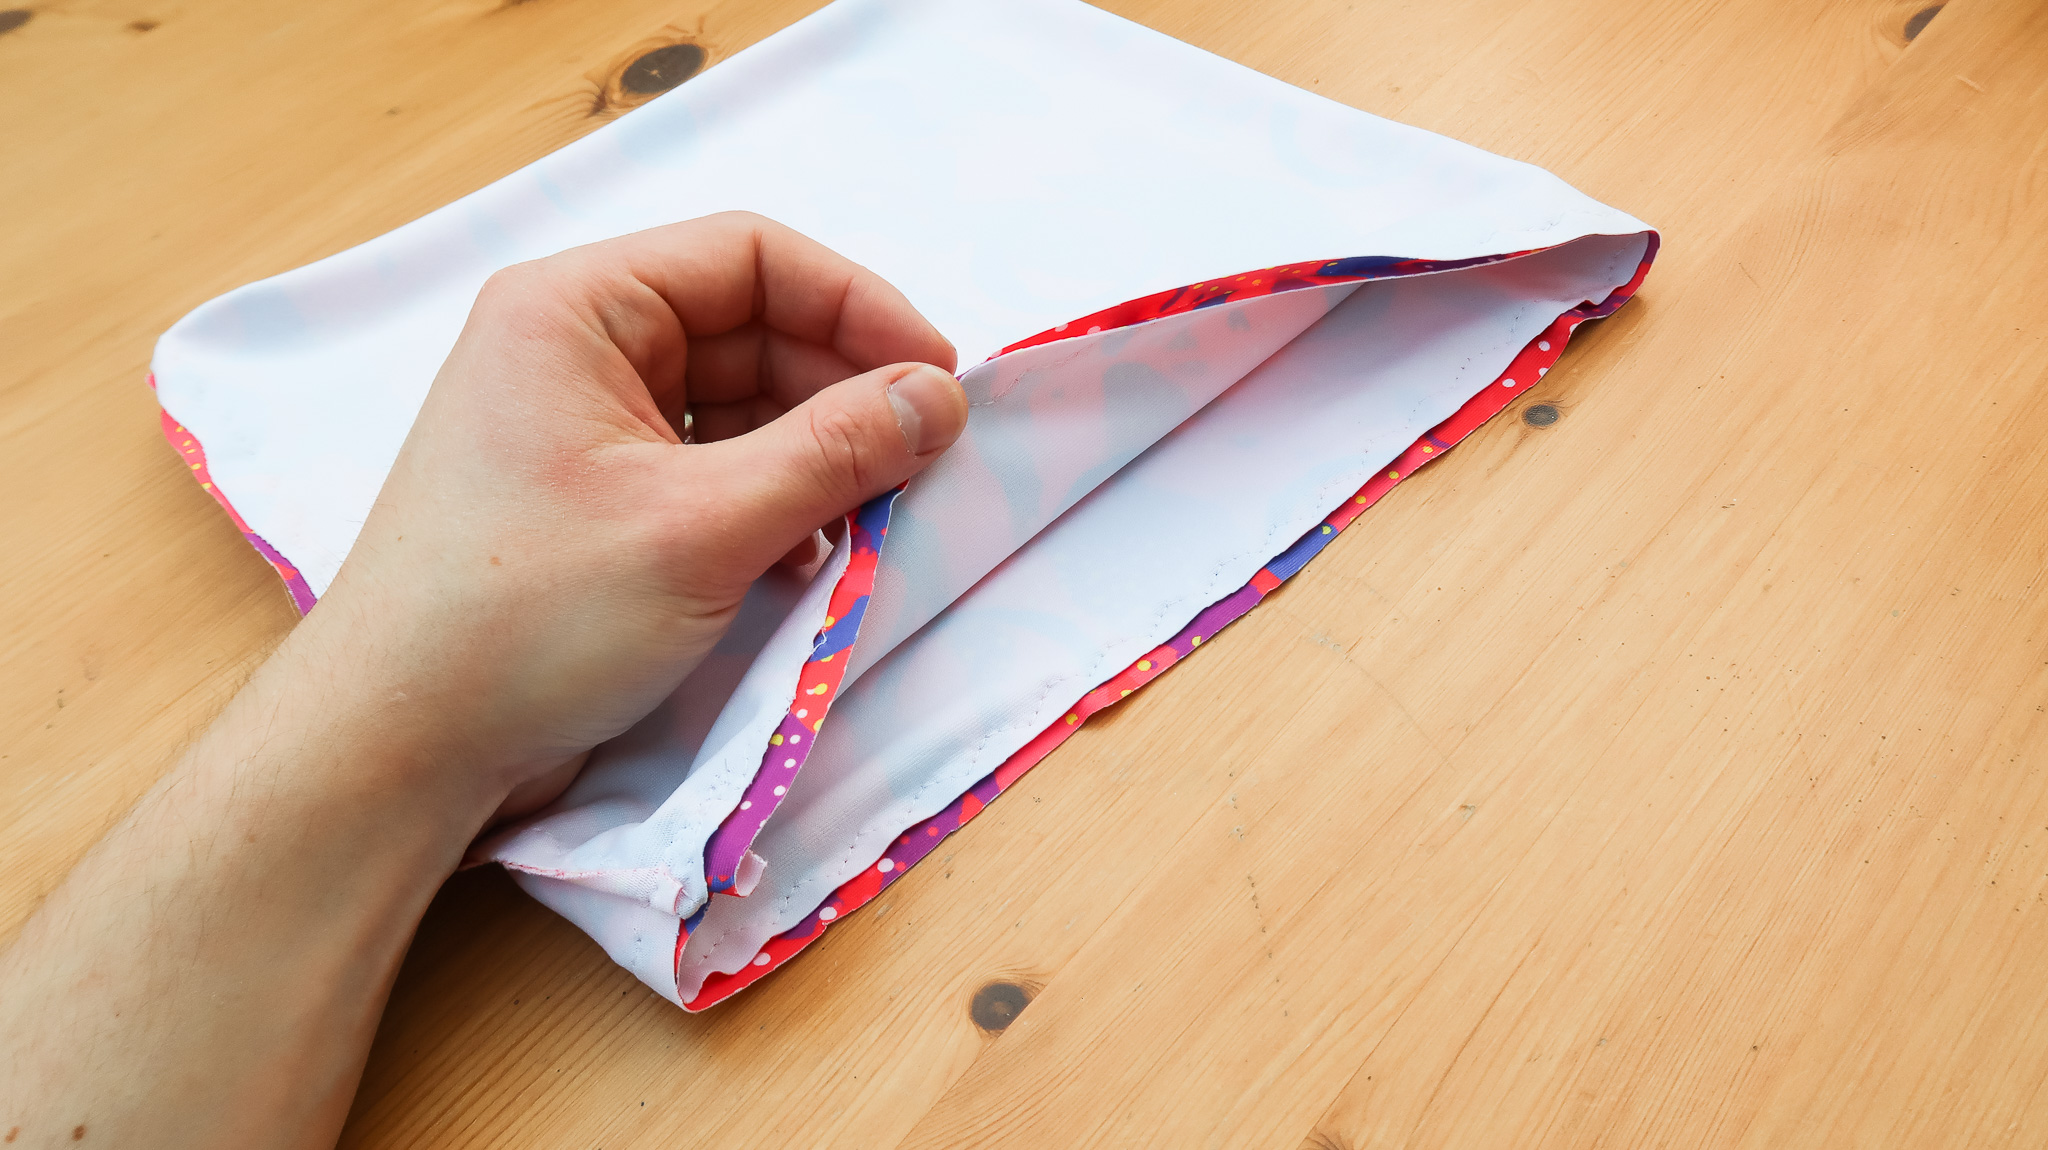
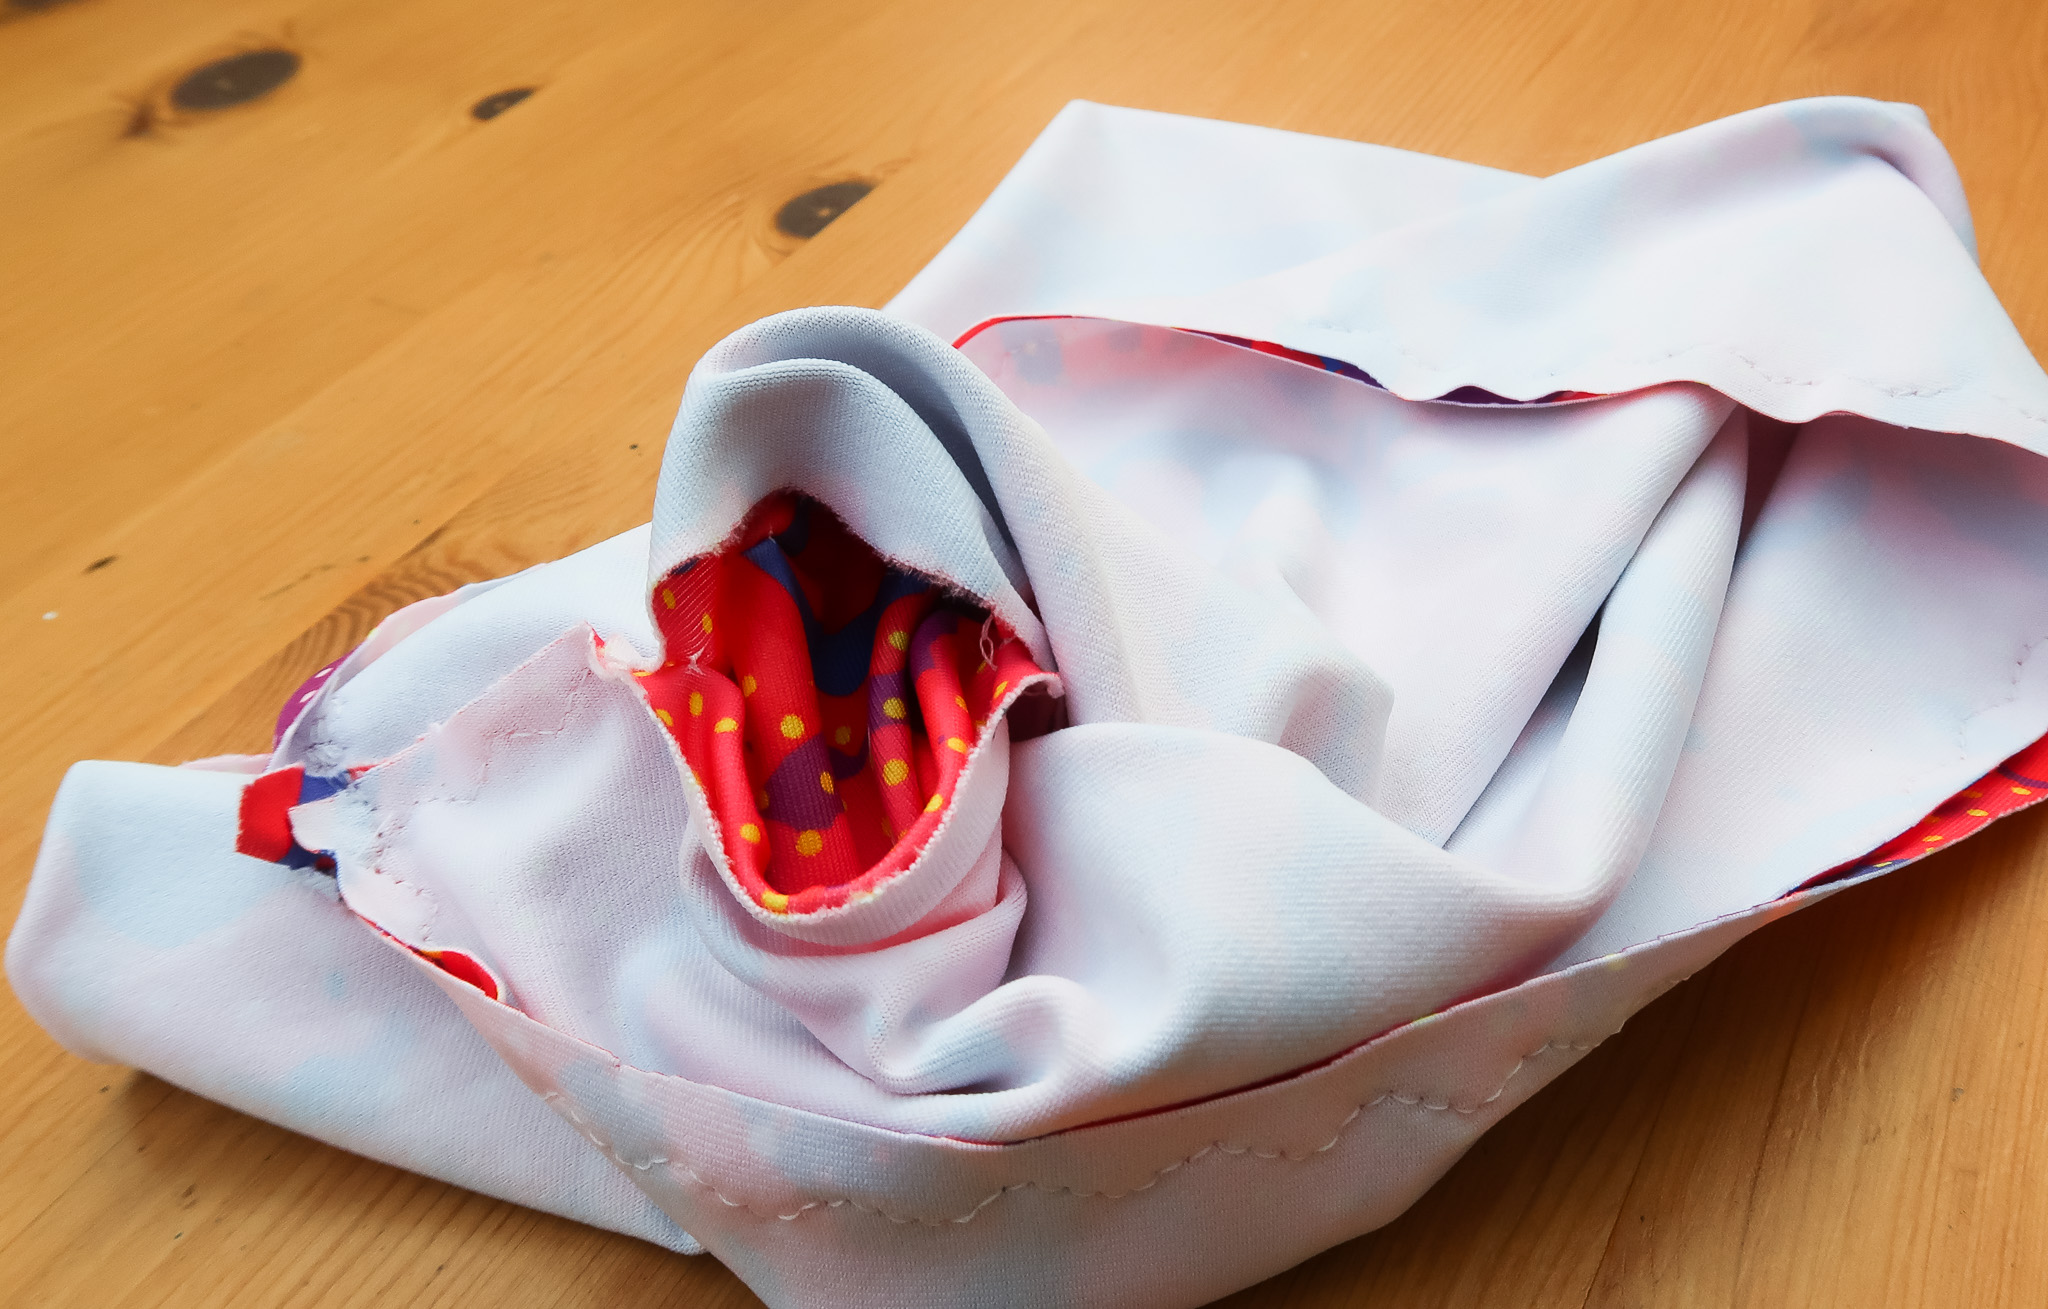
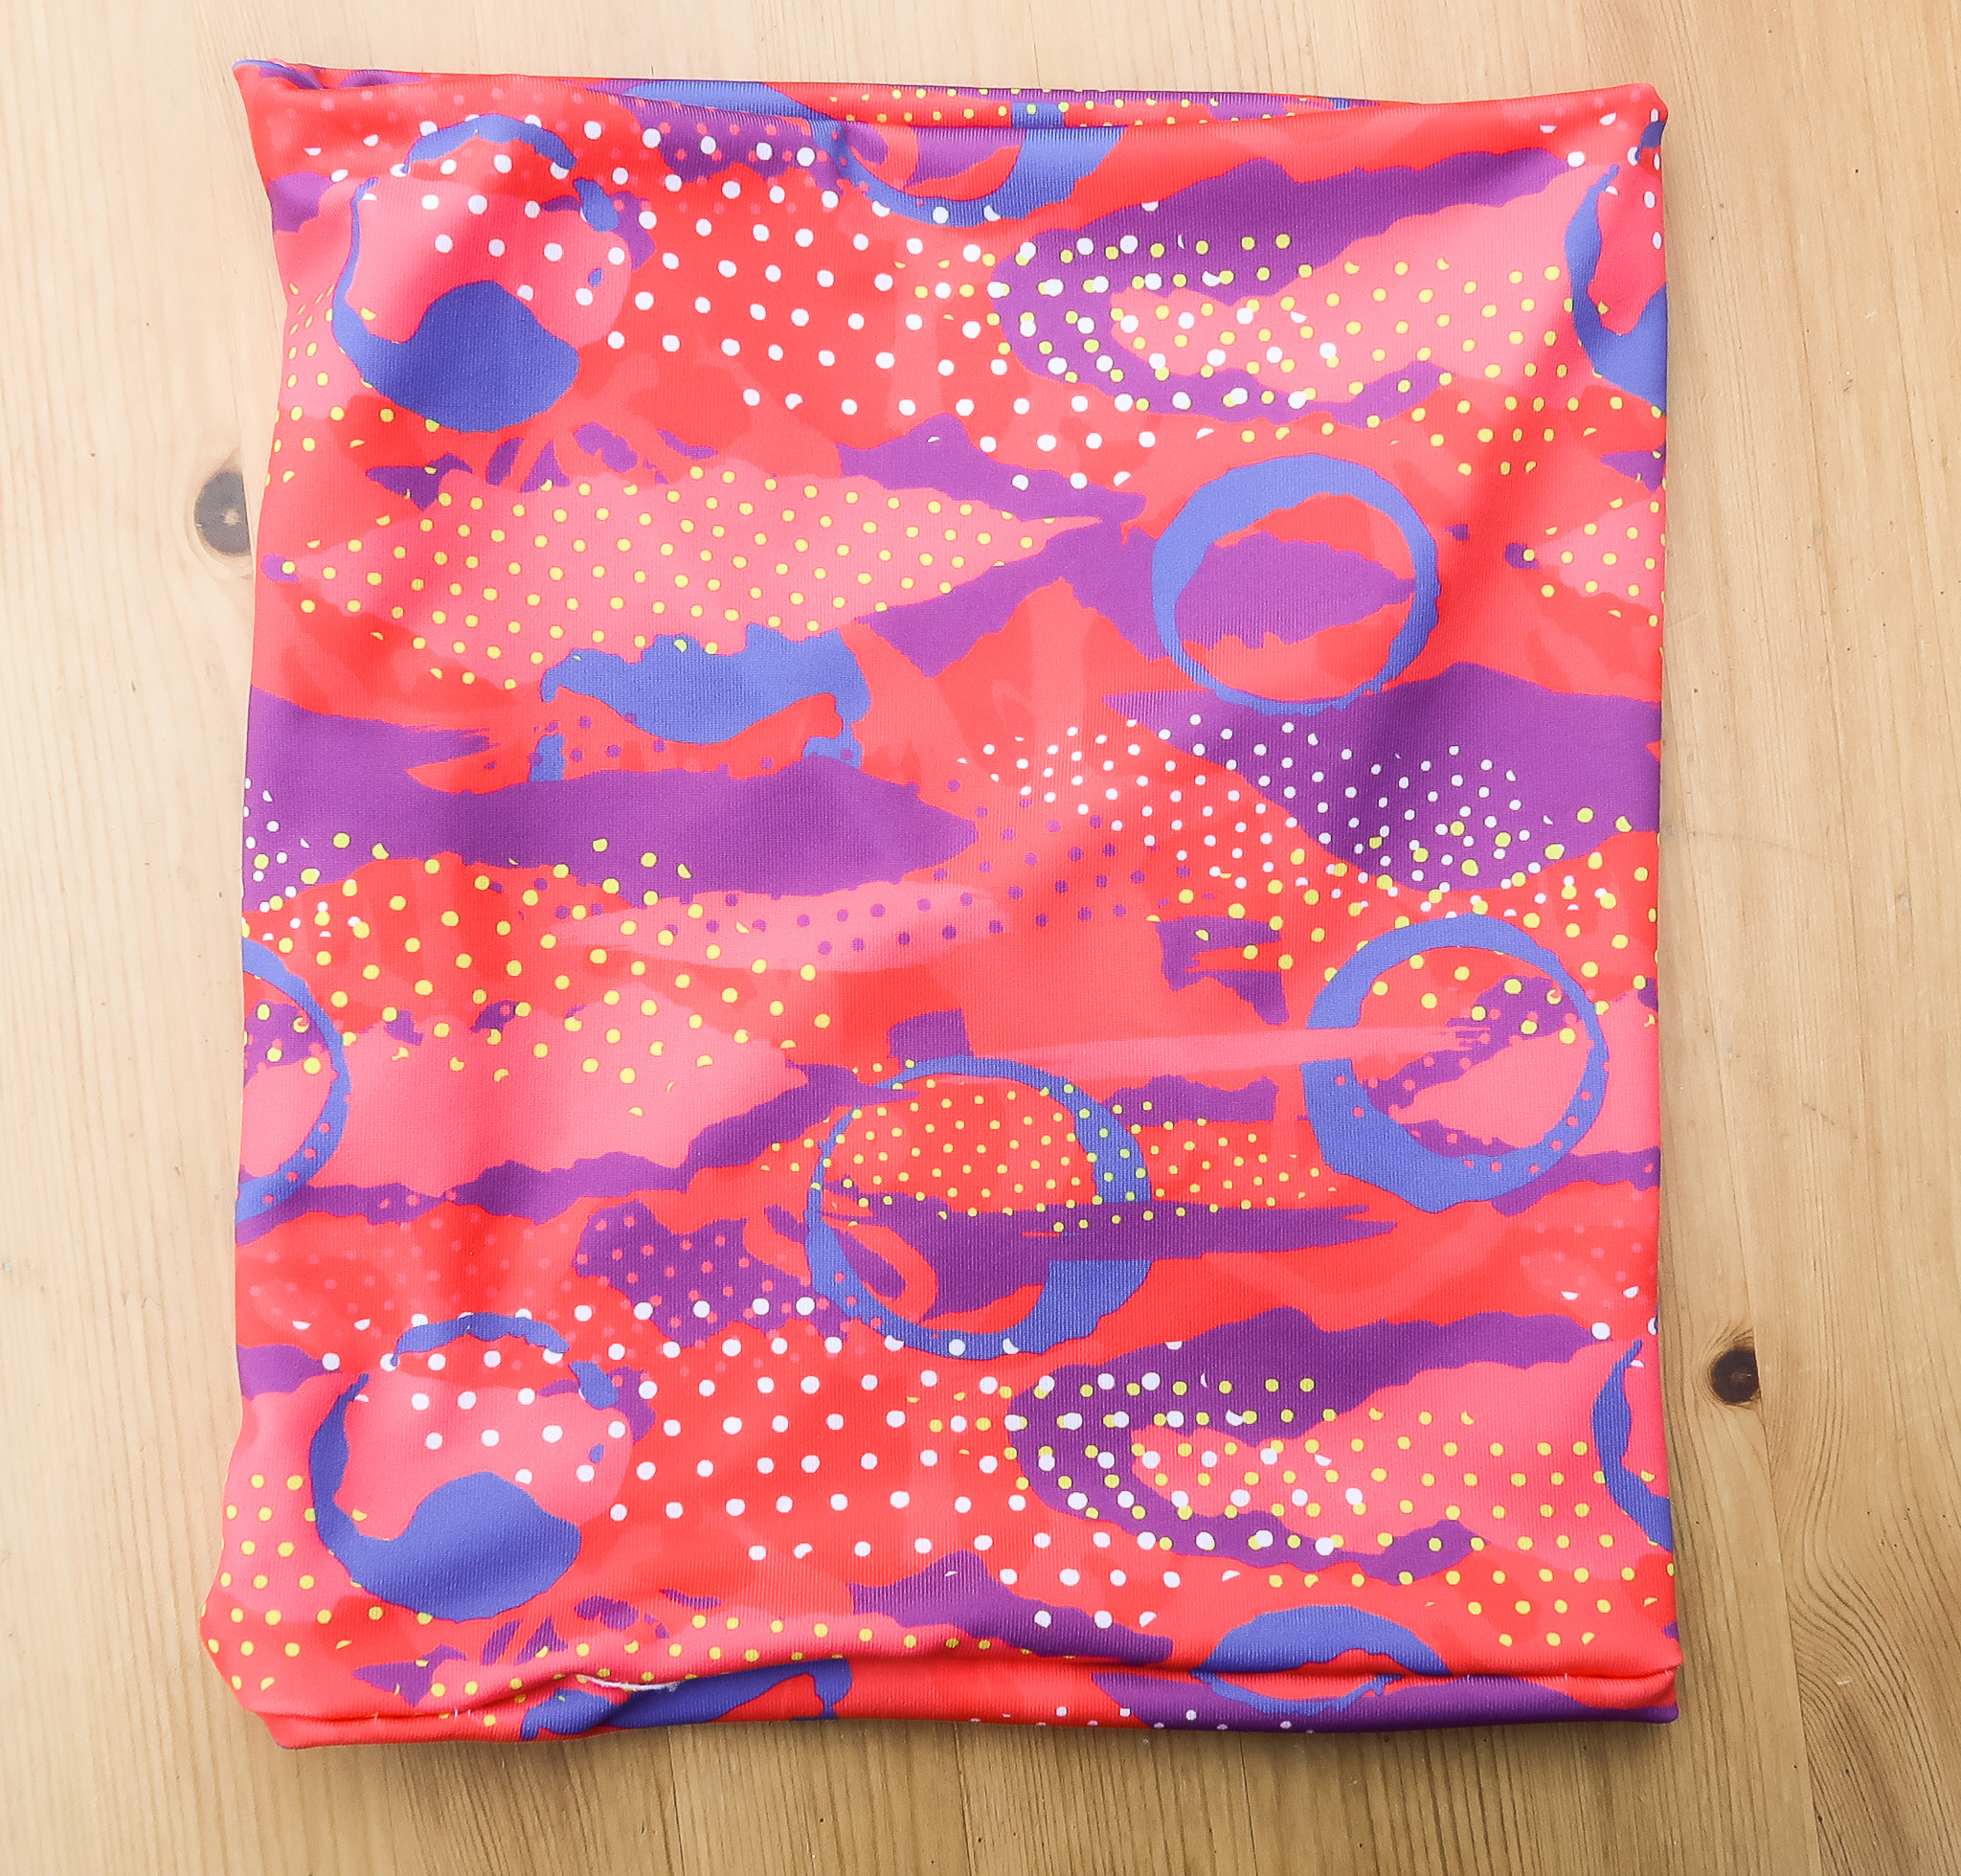
5) Turn your raw edges to meet eachother
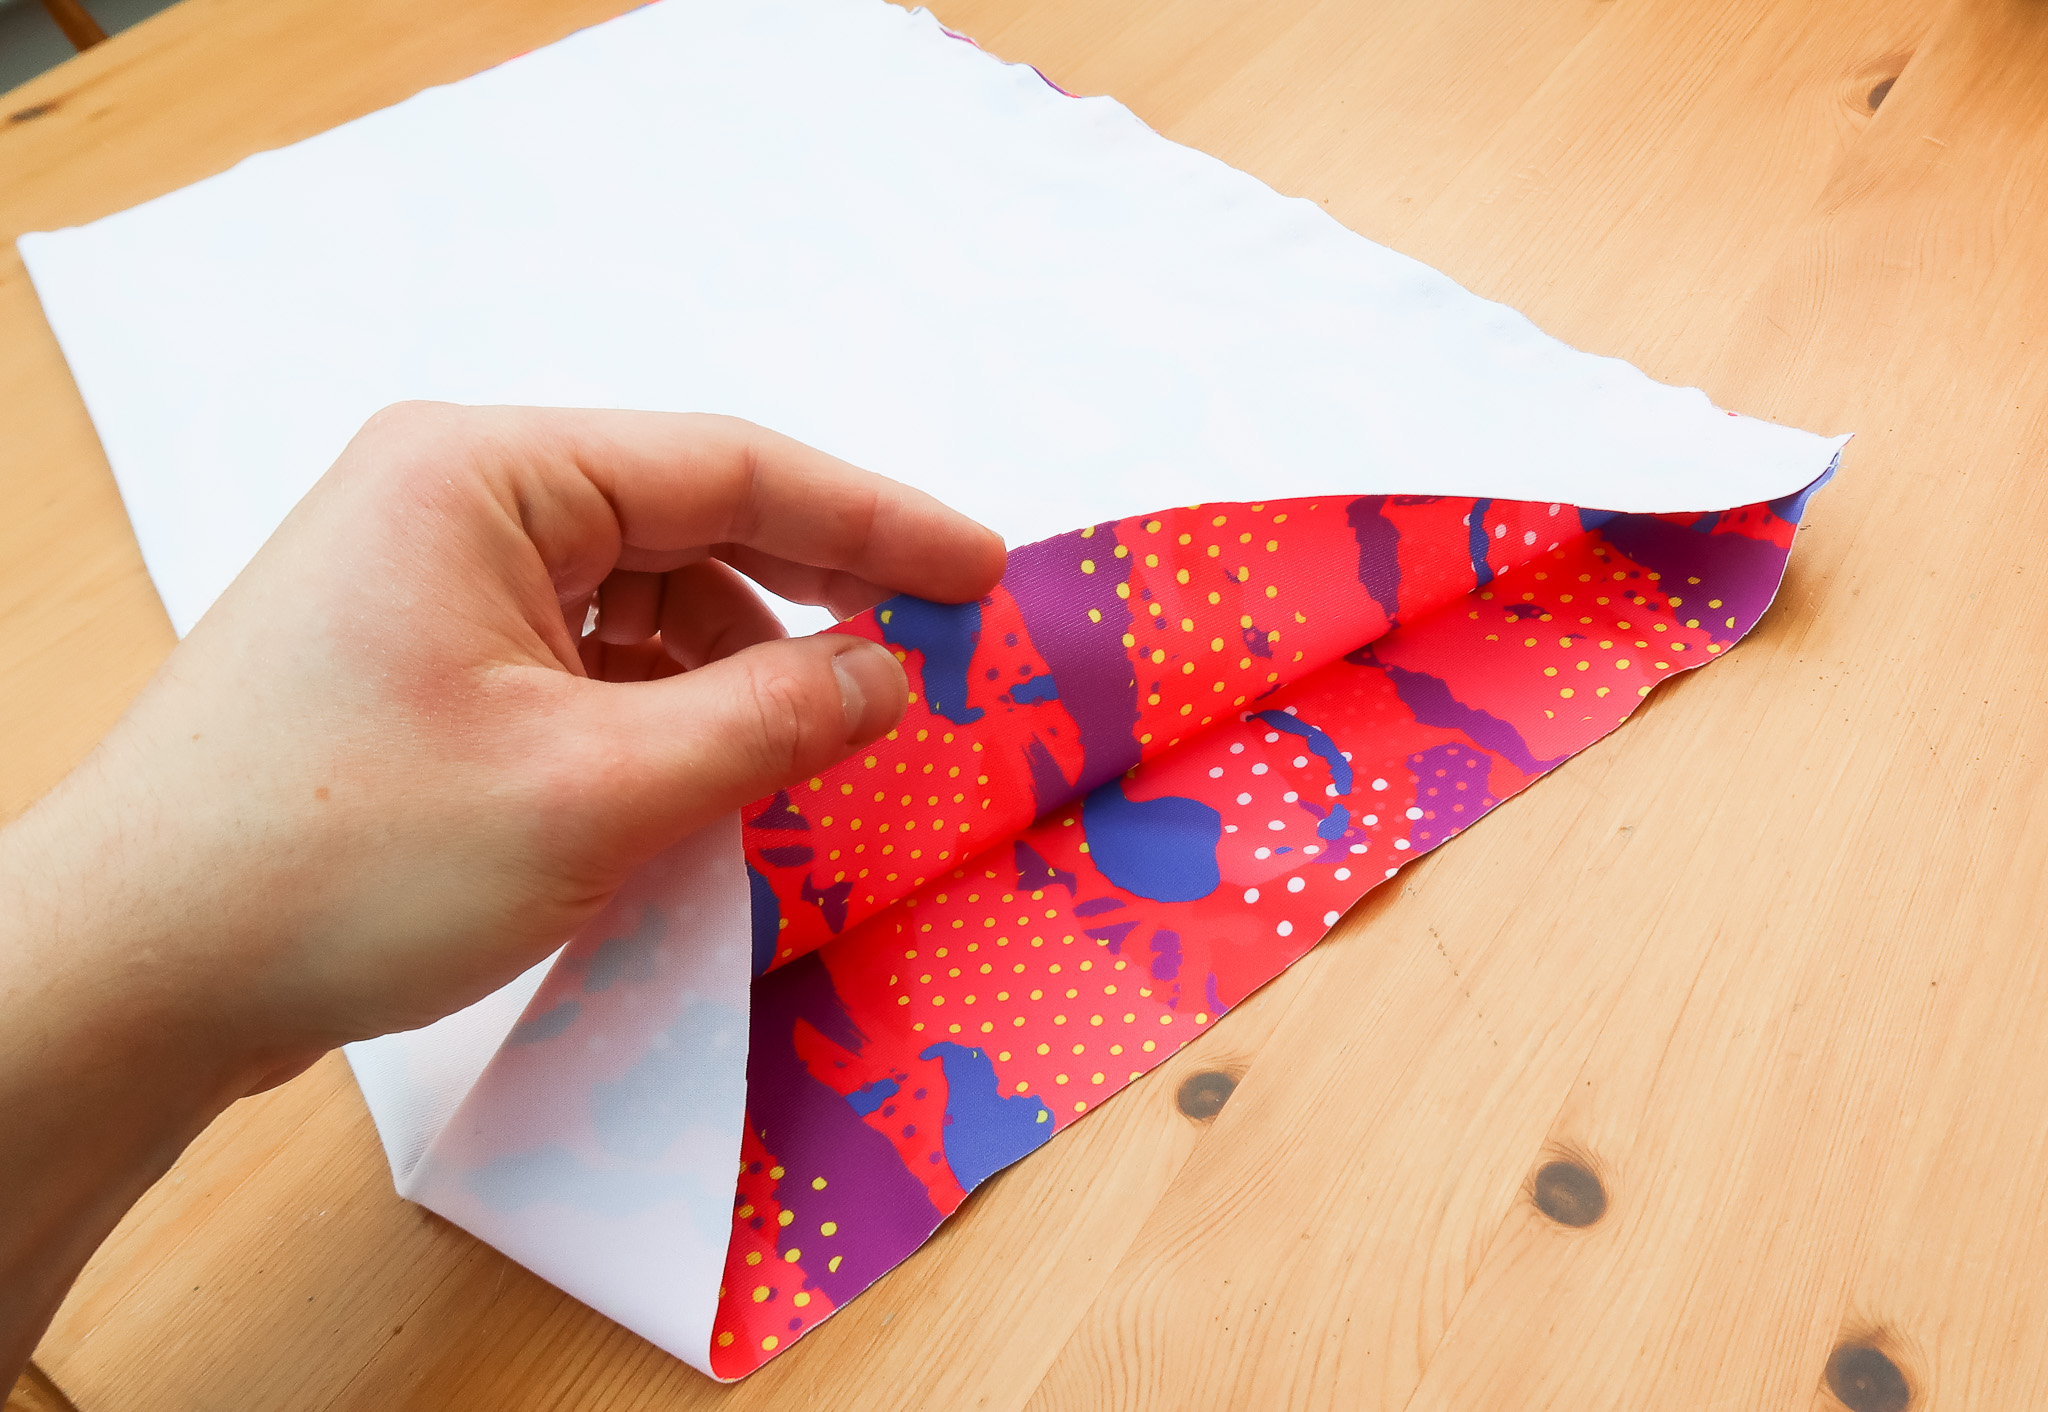

This is hard to describe, but the pictures should make this part clear. Bring the two remaining raw edges to eachother by reaching your arm in the tube and pulling one end through to meet the other.
You should end up with something like the second picture. Bring the edges together as neatly as possible and make sure the fabric isn’t twisted at all.
6) Sew the remaining raw edge
Using the same stretch stitch, sew around the remaining edge. The edge should make a complete circle around the entire neck tube.
Try and keep this edge as straight and neat as possible, and as close to the edge as you can.
7) Try it on for size
Try your snood on and see how it fits - if it’s a bit loose then you can repeat step 6 and place your stitch a bit further from the edge, cutting off the excess.
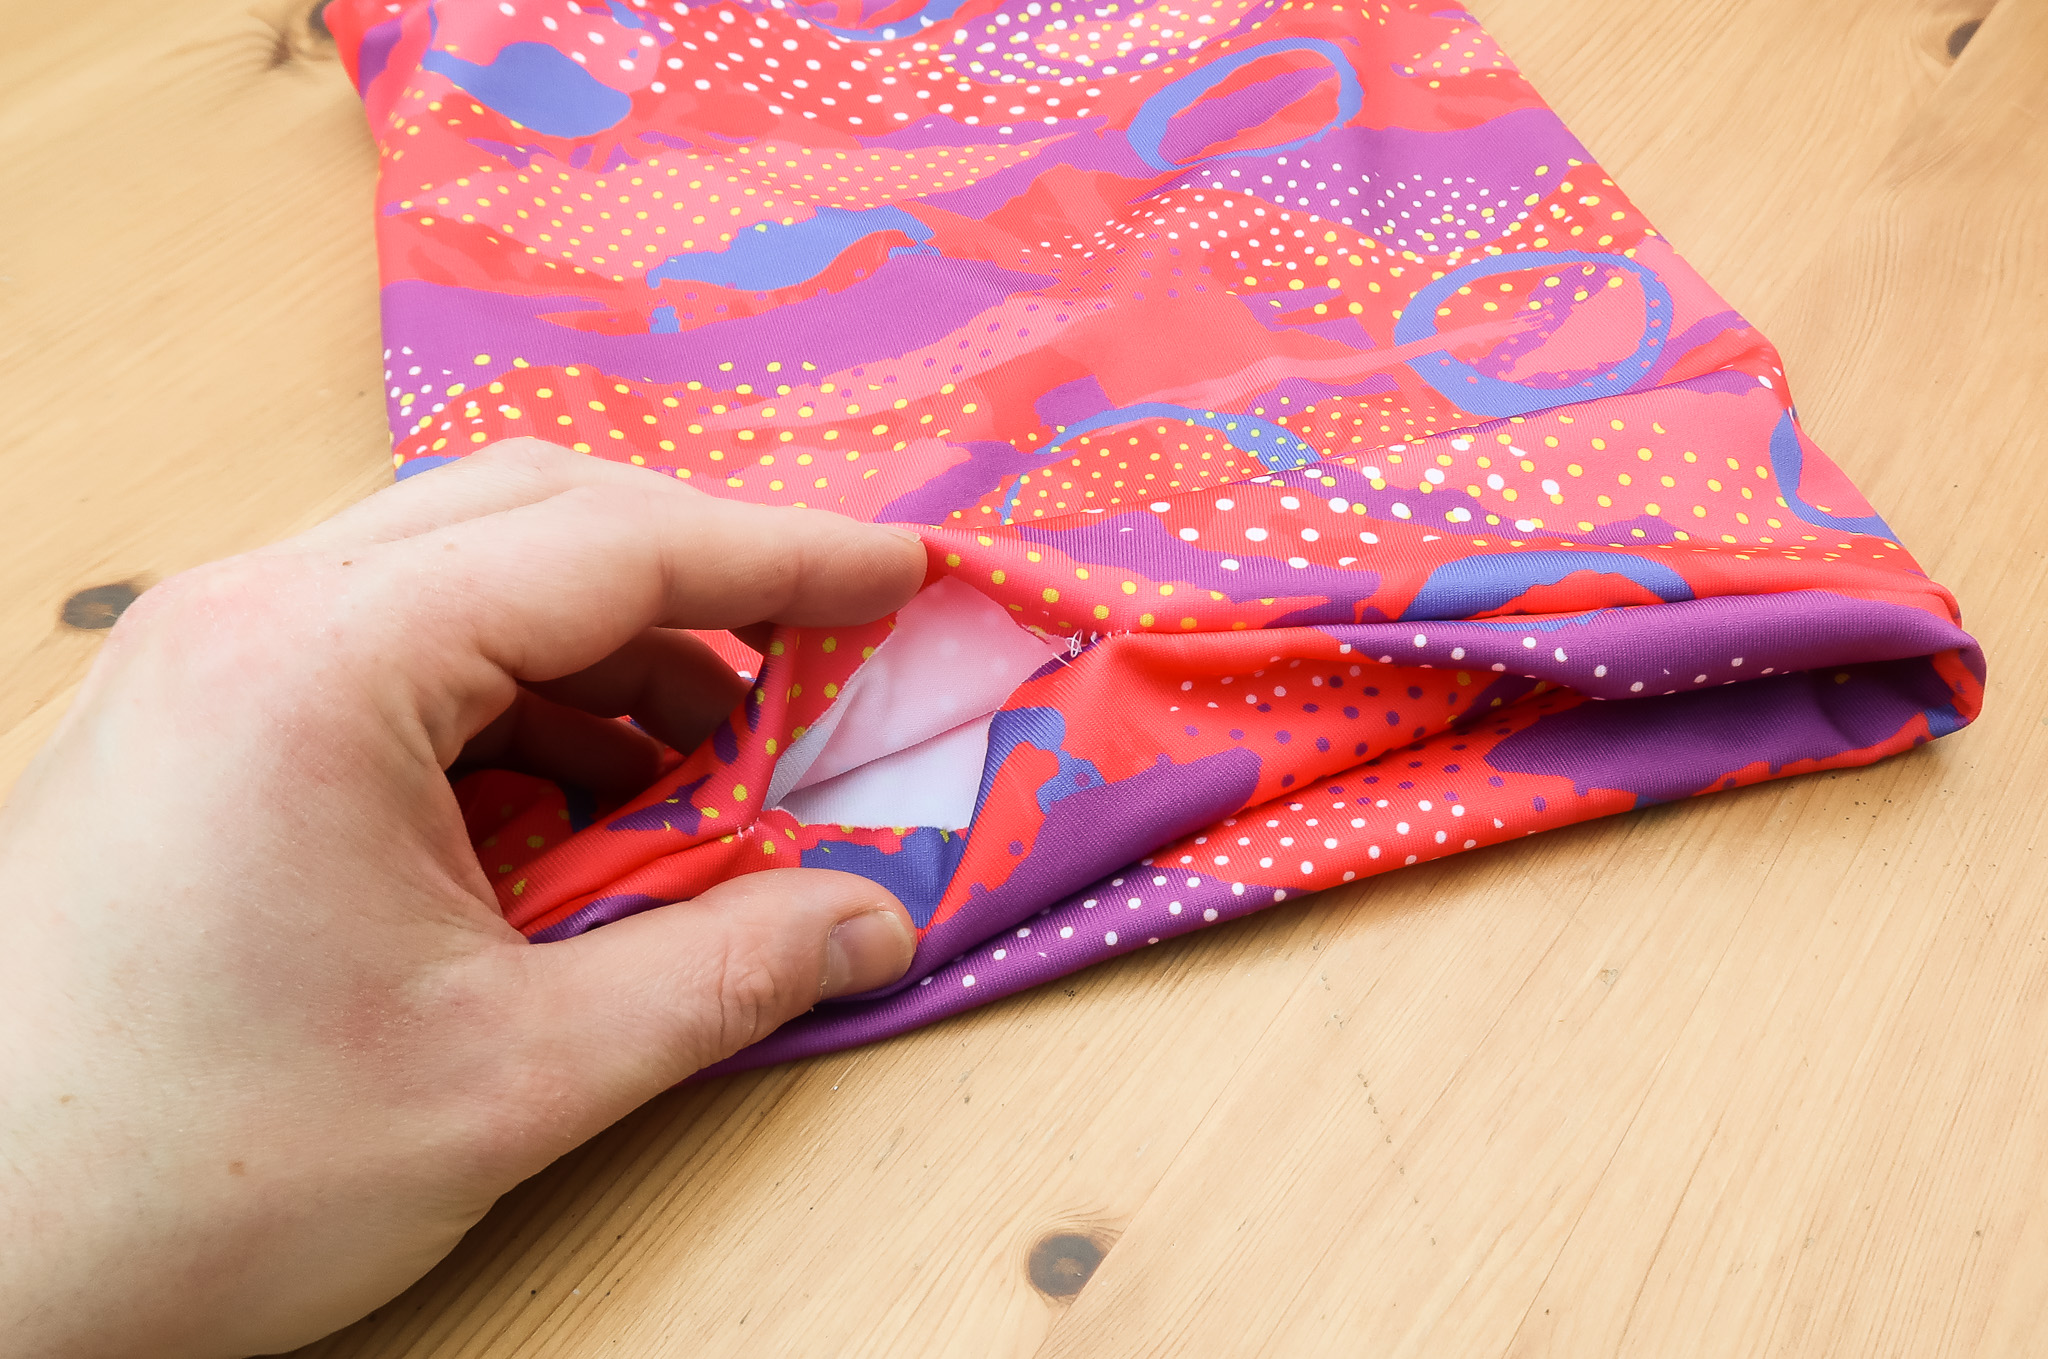
8) Turn your snood inside out

Using the hole we marked out originally, turn your snood inside out, being careful not to pop any stitches.
9) Topstitch the hole
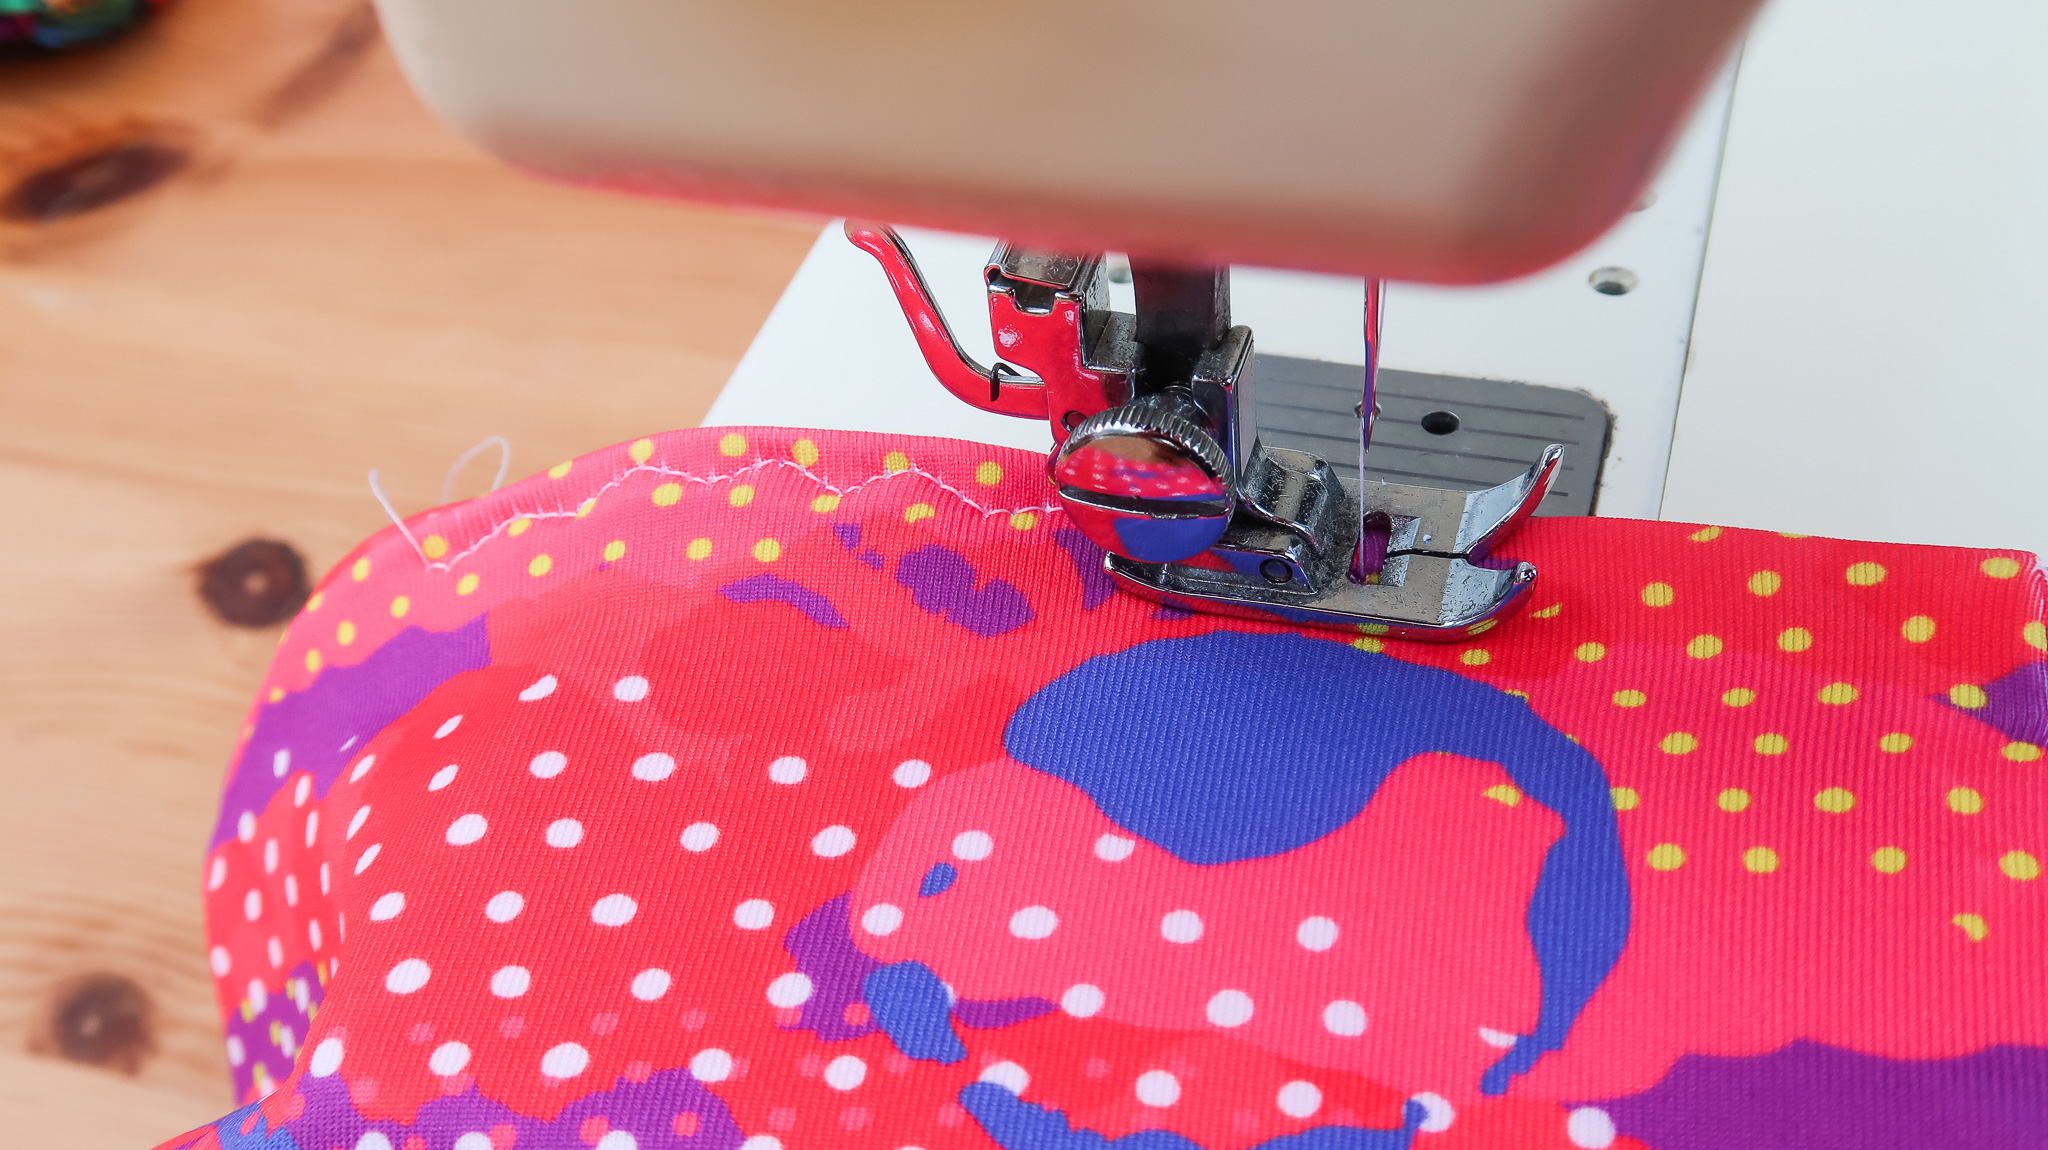
Topstitch the hole to seal your snood. If you’ve been using a thee step zig-zag stitch like we have, reduce the width a bit to reduce the size and appearnce of the stitch.
Try and keep your stitch straight and neat and as close to the edge as possible, as this will be the only visible stitch.
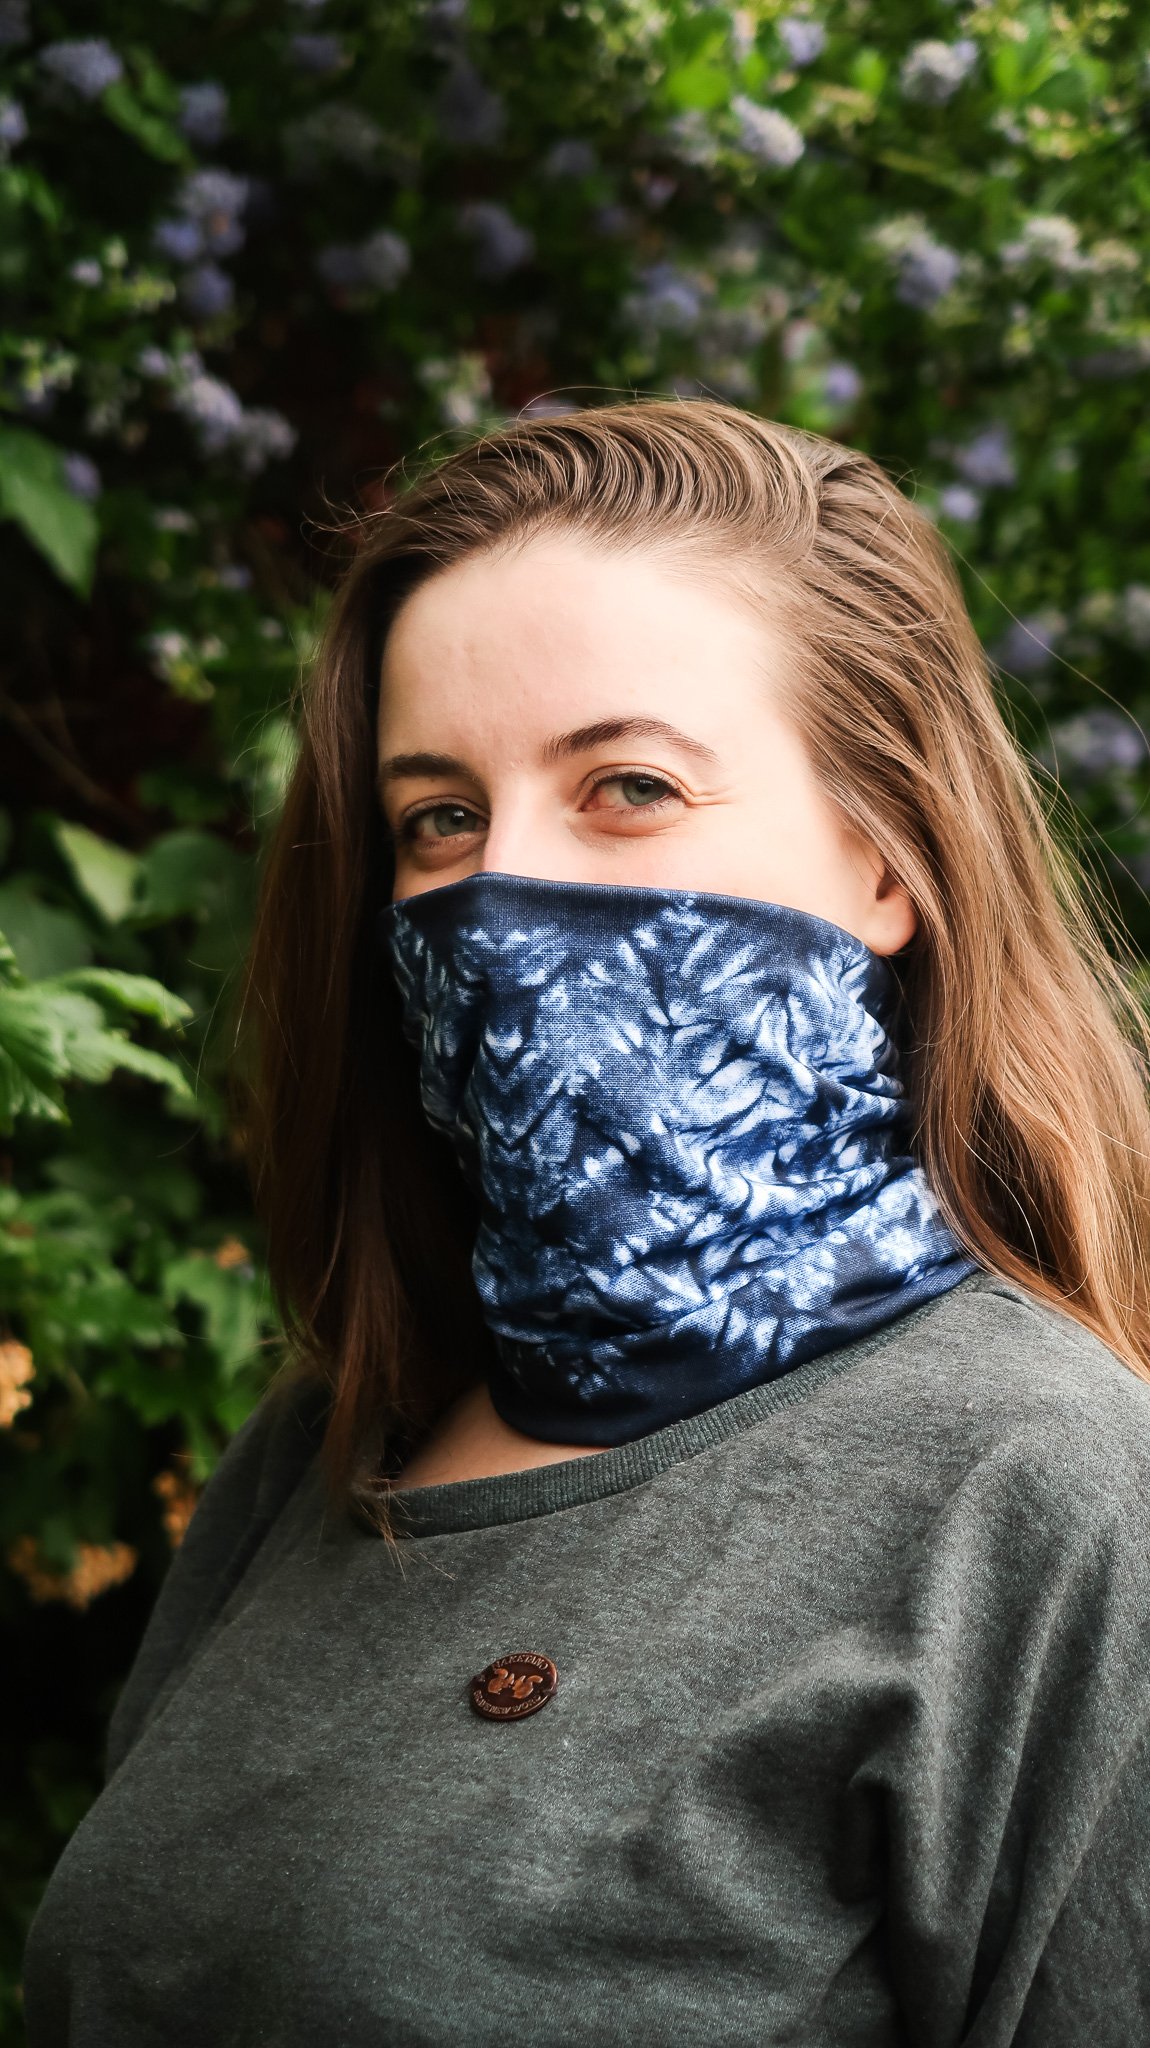
10) Try it on again & share a pic
Try your snood on and share a picture with us at Prinfab using the hashtag #prinfab.
Why not try multiple different styles?


Tips
How many can I get per fat quarter?
You should be able to get 1 snood per fat quarter.
How many can I get per metre?
You should be able to get 4 snoods per 140cm wide linear metre.
 Loading...